This is a sponsored post written by me on behalf of Miracle-Gro Gro-ables for IZEA. All opinions are 100% mine.
Starting a garden with my kids has been one of my favorite nature activities. Preschoolers love to be apart of the process, and seeing their little faces light up when they spot their plant’s finally sprouting from the ground makes it so rewarding. Gardening gives children an important opportunity to learn through participation and experience. It also allows children to investigate, experiment, and problem solve. Plus, kids love to grow things. It is pretty amazing when you can send your child outside to “pick the tomatoes you grew for the salad tonight“!
To get the kids excited about starting their first garden I made sure to have them help with everything. From picking out the plants, planning it out, to even having them make their own plant markers to display in their own garden. 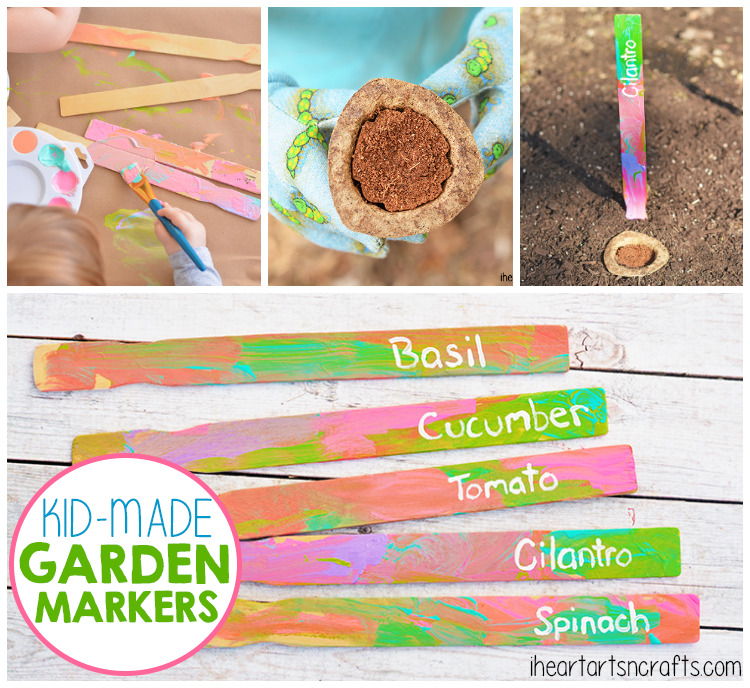 What you will need:
- Wooden Paint Sticks (You can get these for free at your local department or hardware store)
- Outdoor Paint or Acrylic Paint will work as long as you use an acrylic sealer
- Paint Brushes
- Miracle-Gro Gro-ables (check out the Gro-ables Project )
Directions:
To start I had the kids pick which kinds of vegetables and herbs that they wanted to plant in their garden. I love how easy it is to start a garden with Miracle-Gro Gro-ables, they are seed pods that contain everything you need to grow a fruit, herb, or vegetable. All you do is simply plant the seed pod, water it, and watch the seed pod grow! And each pod is guaranteed to grow.  On each seed pod label they explain what it will grow, how much time it takes, and where you should grow it. This is where the kids started comparing the different pods to see what each one needs and comparing the difference in appearance.
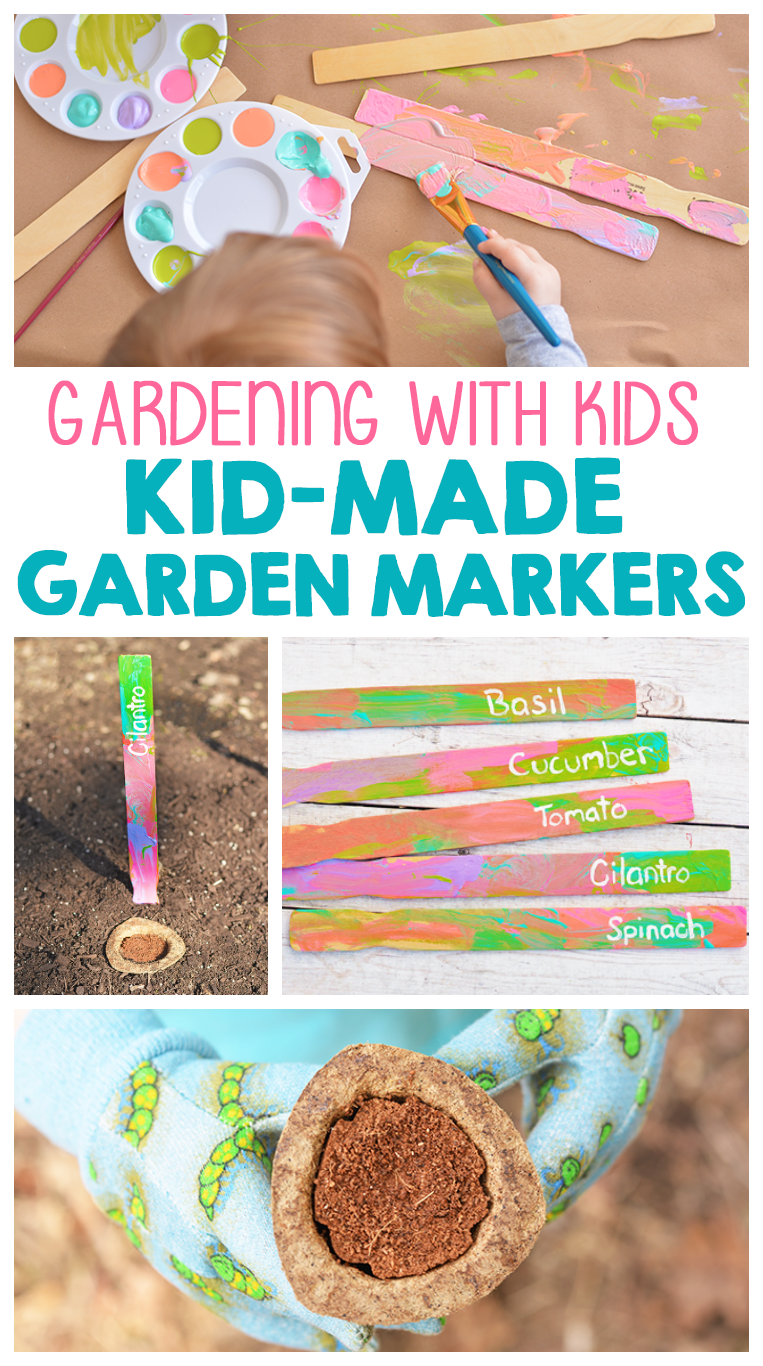
 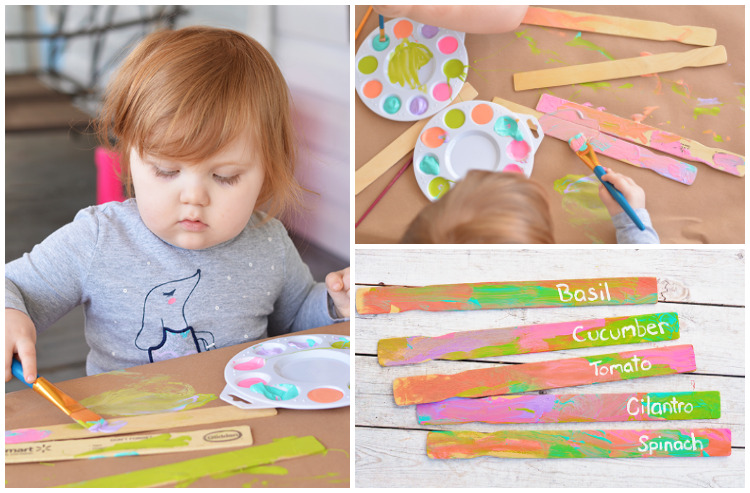 After we had the vegetables and herbs picked out we started on our garden markers. To make those we used some wooden paint sticks that we grabbed at our local hardware store for free. You could even use popsicle sticks for this if you wanted. Then take some outdoor paint and let the kids decorate the craft sticks and let them dry.
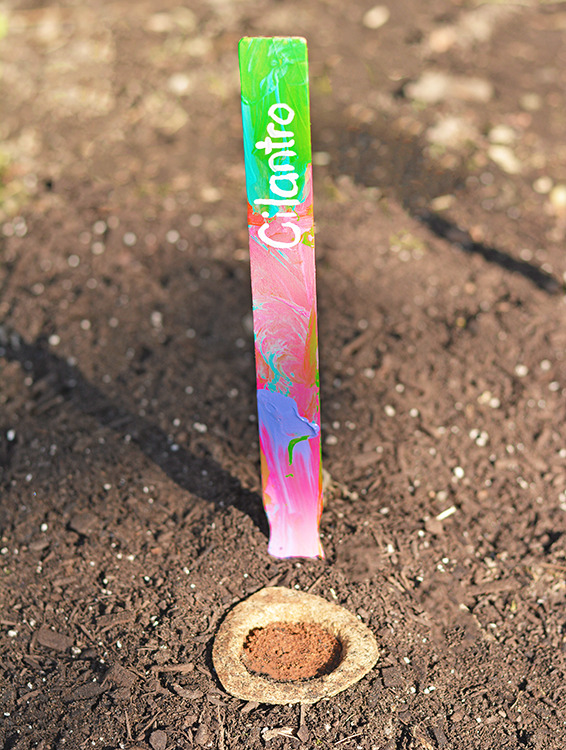
 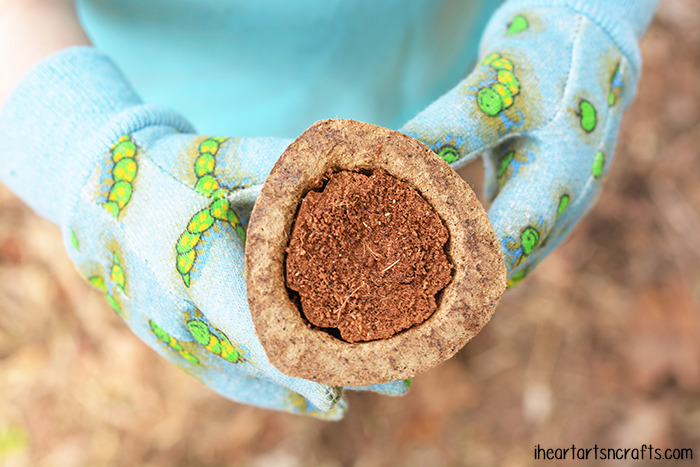 Once the garden markers are dry you can add in the names of the plant’s you picked out. Because my kids are still a little young I did this last step for them in some white tempura paint. Then you’re ready to plant.
 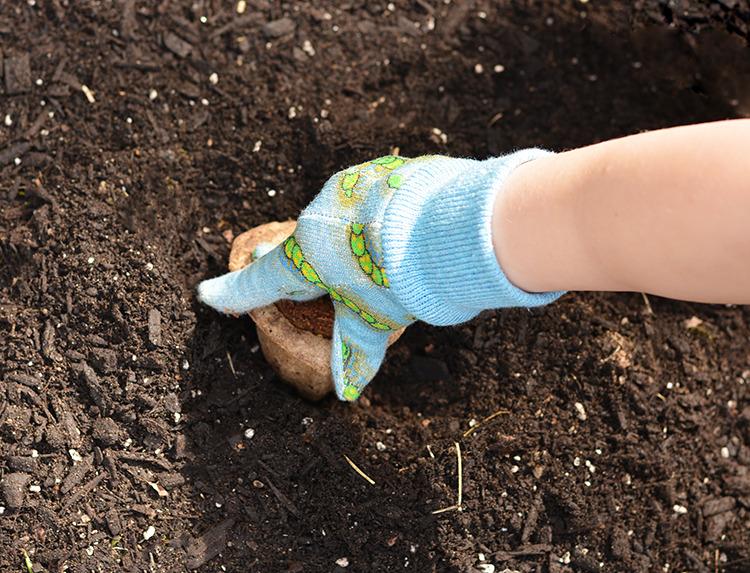 To plant your pods you simply push the pod into your potting mix until the top is level with its surface, then water daily. Make sure you stick your garden marker in the right spot so you can track the growth of each plant!
Make sure to follow I Heart Arts n Crafts on Facebook and Pinterest! And if you decide to make any of my crafts, please share them on my Facebook page or use #iheartartsncrafts on Instagram for me to see!
