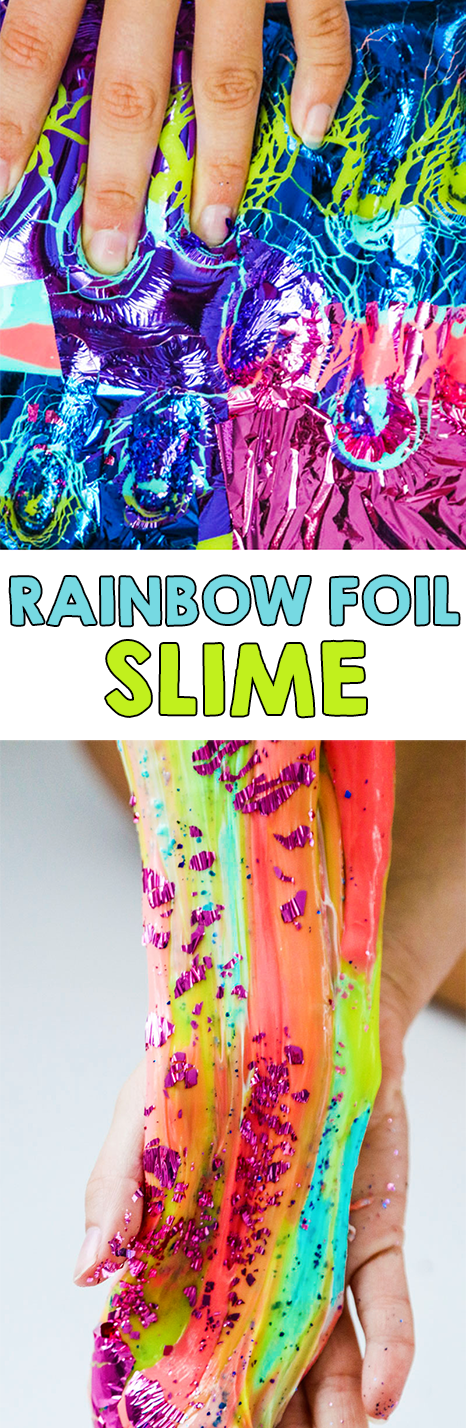
Who else was obsessed with Lisa Frank when they were younger?! I had everything you could imagine, so I was a little too excited for this slime recipe because it reminds me of those Lisa Frank animals with the colorful stripes and prints! Using some colorful paints and rainbow foils you can make your own Foil Slime or as I like to call it Lisa Frank Slime!
Rainbow Foil Slime Recipe
Materials Needed:
- 1/2 Cup of Elmer’s Washable Non Toxic Clear Glue or Elmer’s White Glue
- 1/2 Cup of Liquid Starch
- 1/2 Cup of Water
- Measuring Cup
- Bowls and a spoon
- Colored Gold Leaf Foil
- Assorted Neon Acrylic Paint Colors
Directions:
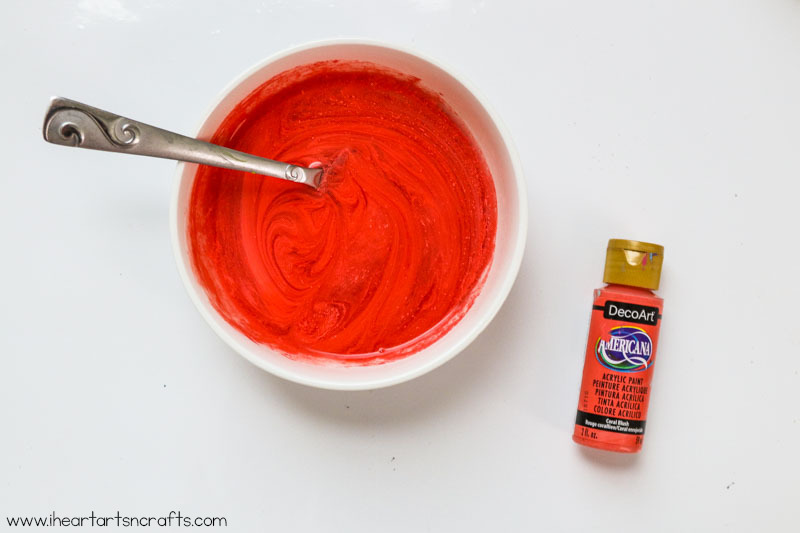
In a bowl mix 1/2 cup water and 1/2 cup of glue (make sure to really mix to combine completely).
Next you can add in whichever color paint you’d like. You can use either Elmer’s Clear School Glue or Elmer’s White glue but just remember when you add color to white glue, the color will be lighter. Use clear glue for jewel toned colors! To make other colors you’ll simply repeat these steps in another bowl but switch out the colors.
Then you’ll pour in 1/2 cup of liquid starch. You will see the slime immediately start to form and start sticking to your fork. Once it starts completely sticking, then switch to mixing with your hands for a few minutes until you feel the majority of the liquid incorporated into the slime.
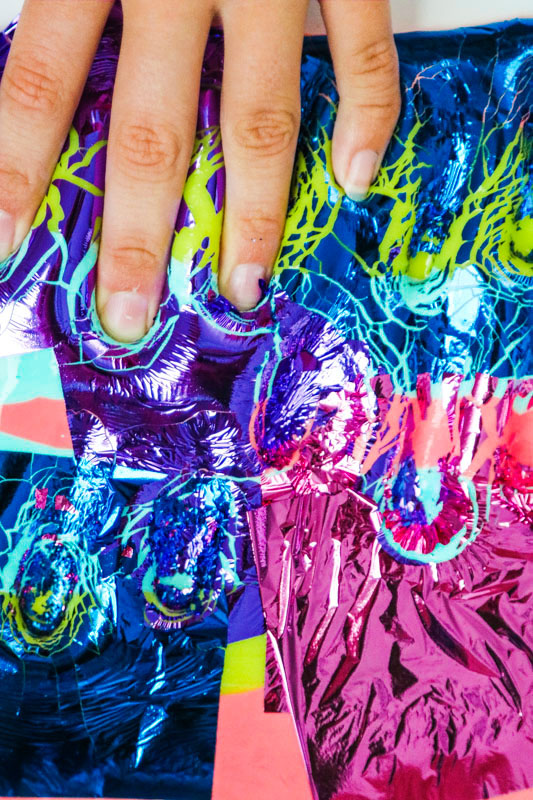
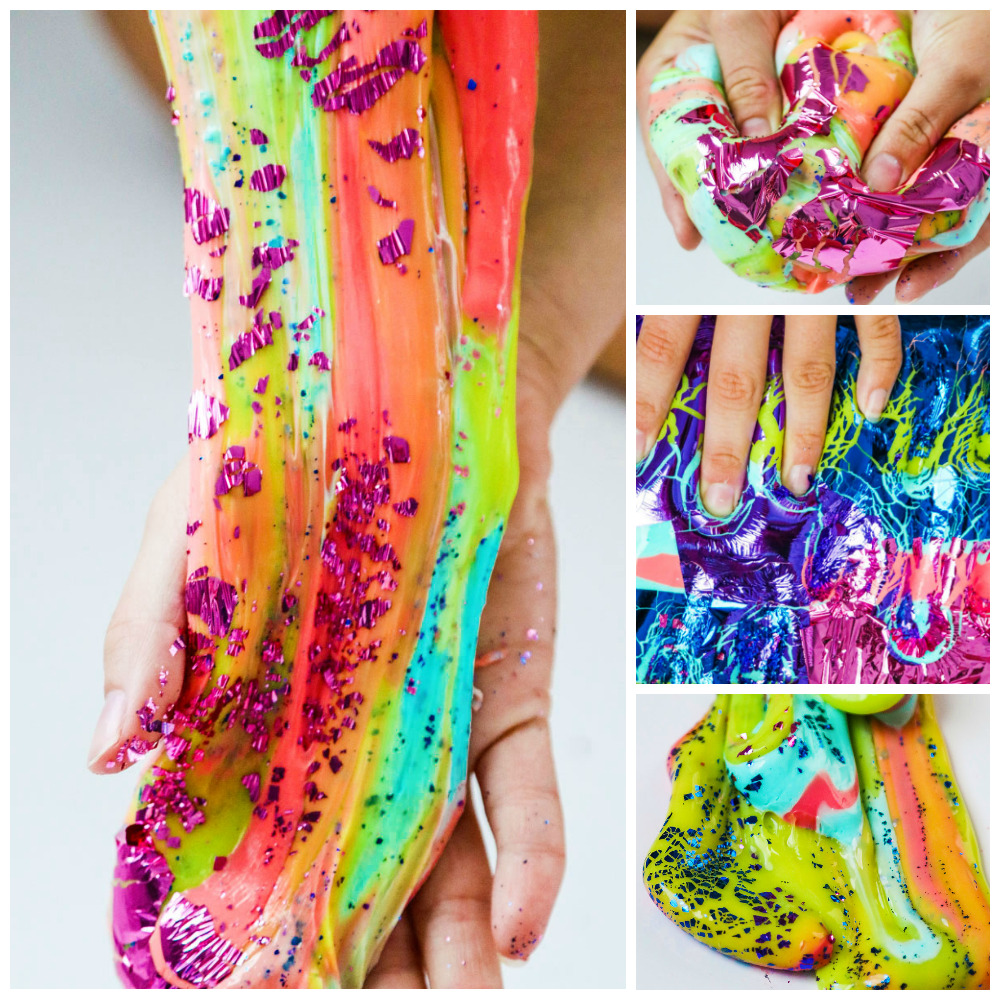
Next after you’ve repeated these steps and have all of your colors made, you’ll lay out your slime and you can start to add in your colored foil. Add in as many as you like! It’s so fun seeing the colors and the foil mix together, it almost looks like colorful zebra stripes.

Slime can be played with right away but it’s consistency changes a bit over the next 30 mins to a smoother looking substance as opposed to the stringier slime that you’ll originally see. And don’t worry if the consistency isn’t changing, simply add more liquid starch if it is too sticky and add more glue if it is too gloppy. You’ll want to store this in a clean and dry container or a zipper bag.
*Note: that this is not a recipe for human consumption. It is for play purposes only. Make sure to supervise young children.
Make sure to follow I Heart Arts n Crafts on Facebook and Pinterest! And if you decide to make any of my crafts, please share them on my Facebook page or use #iheartartsncrafts on Instagram for me to see!