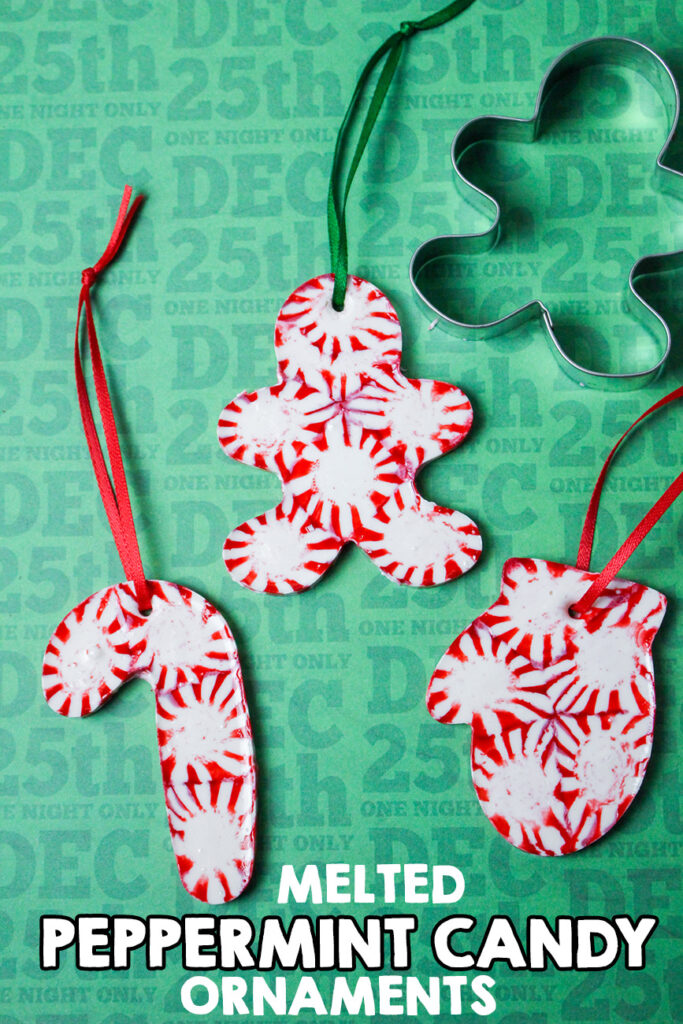
These Melted Peppermint Candy Christmas Ornaments are so cute and super simple to make! Using just a few simple supplies you can have these ornaments done in no time. You can use red and white, green, or even white hard candy to make some pretty peppermint ornaments.

These DIY Christmas ornaments couldn’t be any easier to make! Just follow the directions below to get started.
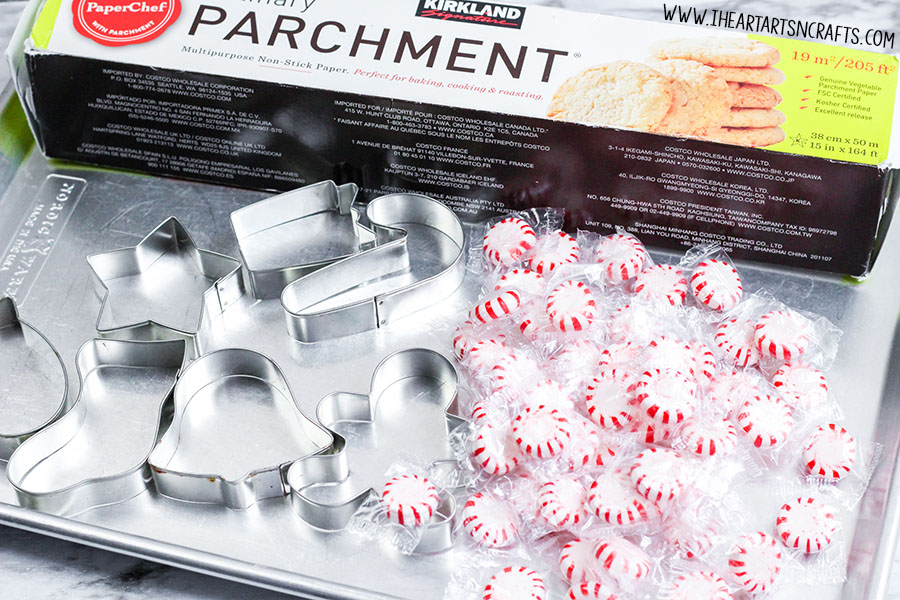
How To Make Melted Peppermint Candy Ornaments Kids Craft
Supplies For Peppermint Candy Ornaments
- Peppermints, unwrapped
- Metal cookie cutters
- Baking pan
- Aluminum foil
- Bamboo skewer or toothpick
- 1 teaspoon oil, any kind of liquid cooking oil
Directions:
Step 1 – Preheat the oven to 350 degrees.
Step 2 – Line the baking pan with aluminum foil to protect the pan and make it easier for the ornaments to release from the pan.
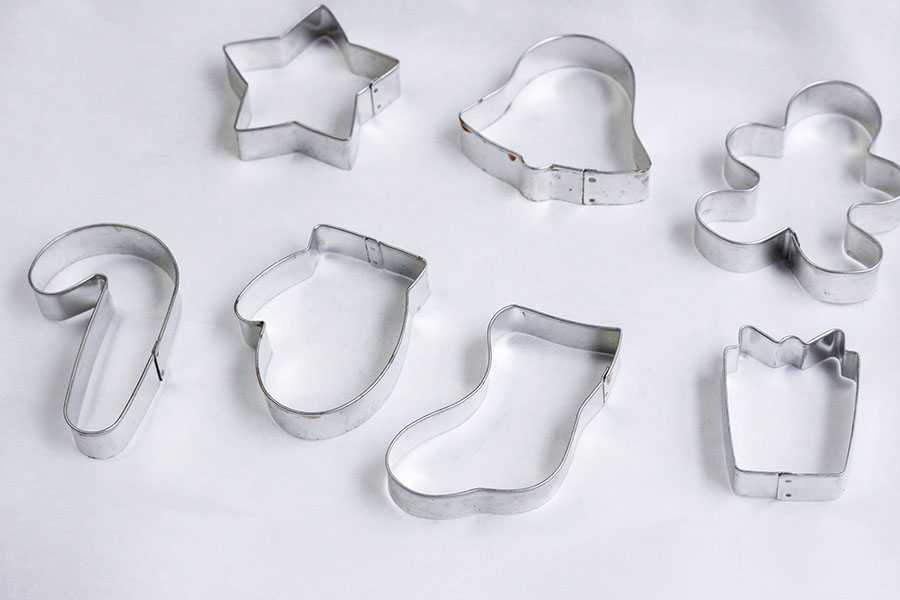
Step 3 – Place cookie cutters on aluminum foil in the baking pan.
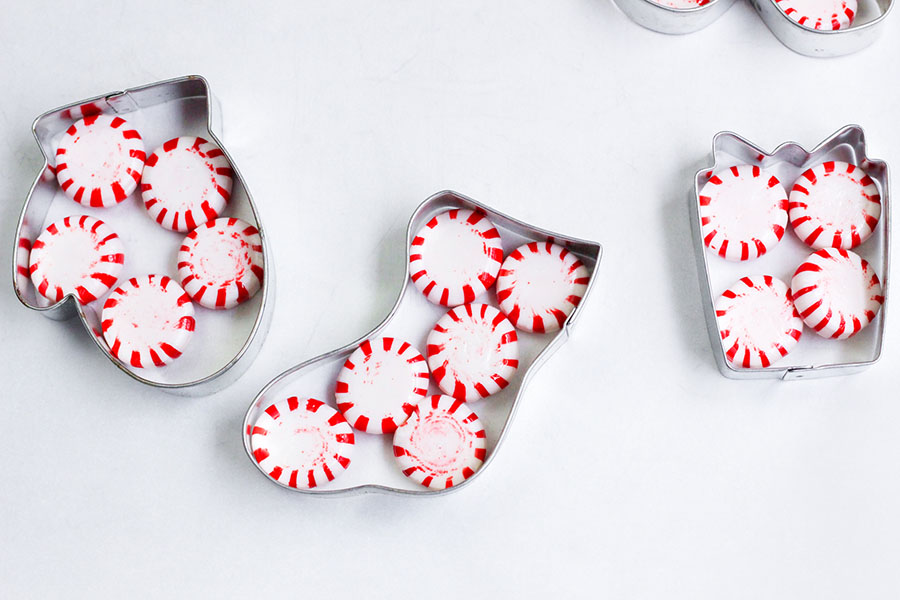
Step 4 – Fill each ornament with a single layer of peppermints. The peppermints will spread to fill in gaps but pieces of broken peppermints can be used for larger cracks.
Step 5 – Carefully put the baking sheet in the oven and melt the peppermints. The time can vary based on the type of peppermint. Begin checking at 5 minutes. (My ornaments took 8 minutes to melt.)
Step 6 – Remove from the oven and allow to cool just slightly.
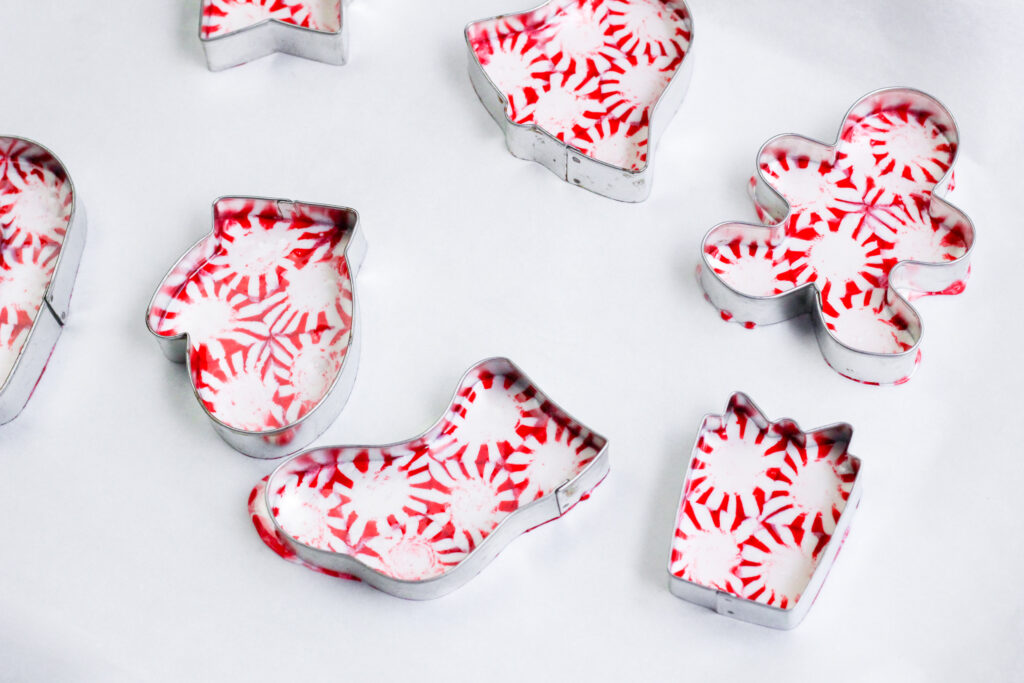
Step 7 – While still very warm, dip a bamboo skewer in a little oil and use the skewer to create a hole for the ornament hanger.

Step 8 – Cool the ornaments completely prior to removing them from the cookie cutters. To remove the ornaments, gently pull the sides of the cookie cutter away from the ornament.
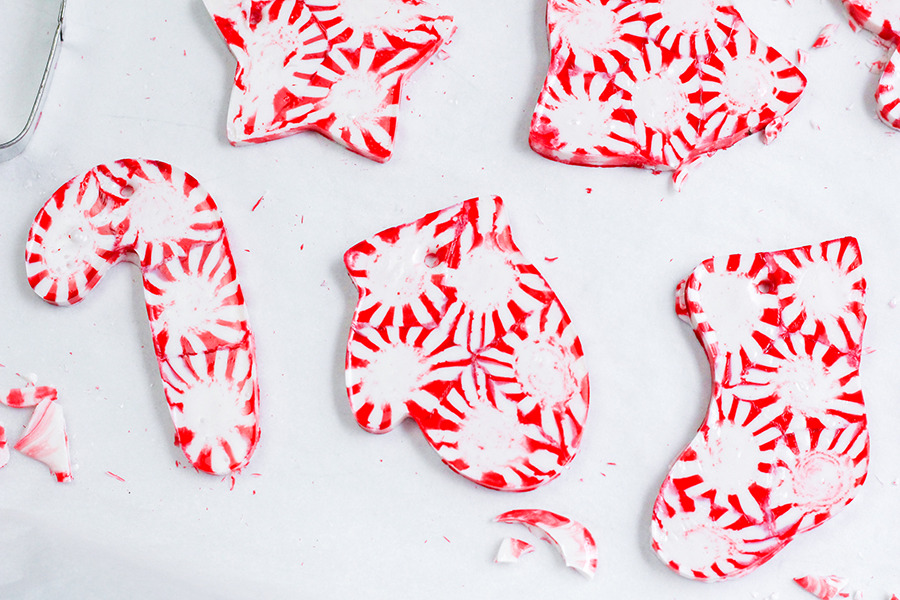
Step 9 – Hang using ribbon or an ornament hanger.
Notes: These ornaments are sticky and will not last for longer than one Christmas season.
Make sure to follow I Heart Arts n Crafts on Facebook and Pinterest! And if you decide to make any of our crafts, please share them on our Facebook page for us to see!
Pin it for later:
