These snowman ornaments that actually light up look so great on the Christmas tree! Use some tea lights from the dollar store and a few other supplies to make these Melted Snowman Tea Light Ornaments!
This little DIY snowman ornament is our latest Christmas ornament craft. We just put our tree up a few days ago and 80% of the ornaments are all homemade…by the kids! To get started on some ornaments for this year we used some tea lights I had found in the dollar store and used some card board I had from my online Christmas shopping. Didn’t they turn out so sweet! These little guys are so easy to make and a great holiday craft to do with the kids!

How To Make a Melted Snowman Tea Light Ornament
Materials:
- Tea Light
- Brown Pipe Cleaners
- Black Sharpie
- Hot Glue Gun
- Glue
- Scissors
- Ribbon
- Buttons
Directions:
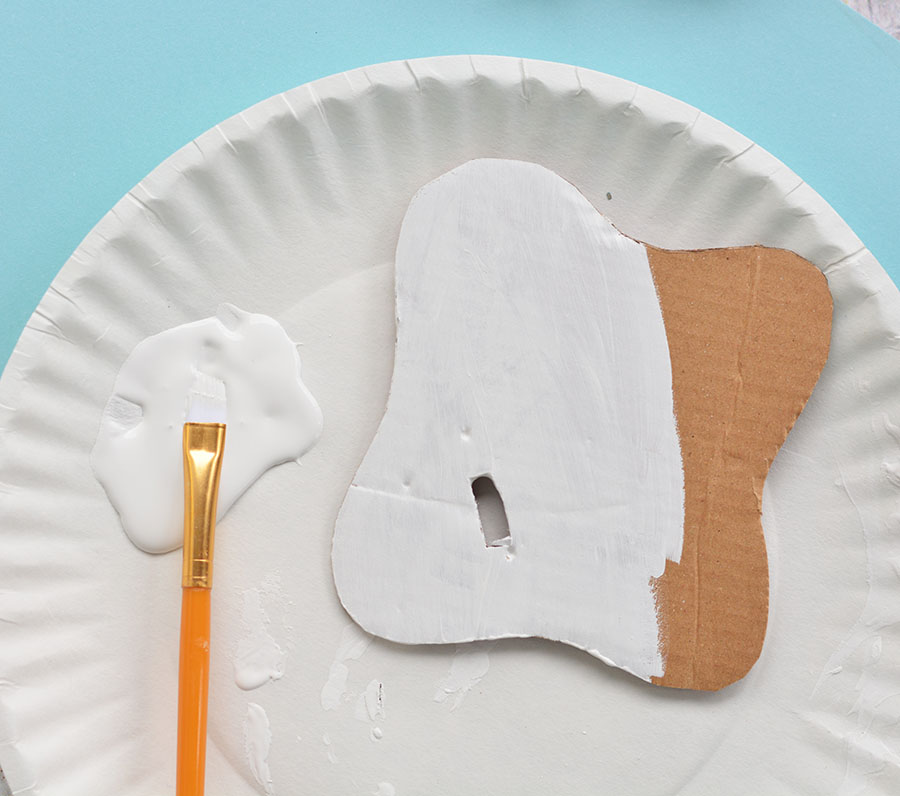
1.Take your scissors and cardboard, then cut out a melted puddle shape like the image below.

2. Then you’ll want to cut out a small hole on the cardboard where your tea light will be glued to. This way you can switch the tea light on and off as you please.
3. Paint your cardboard with white acrylic paint.
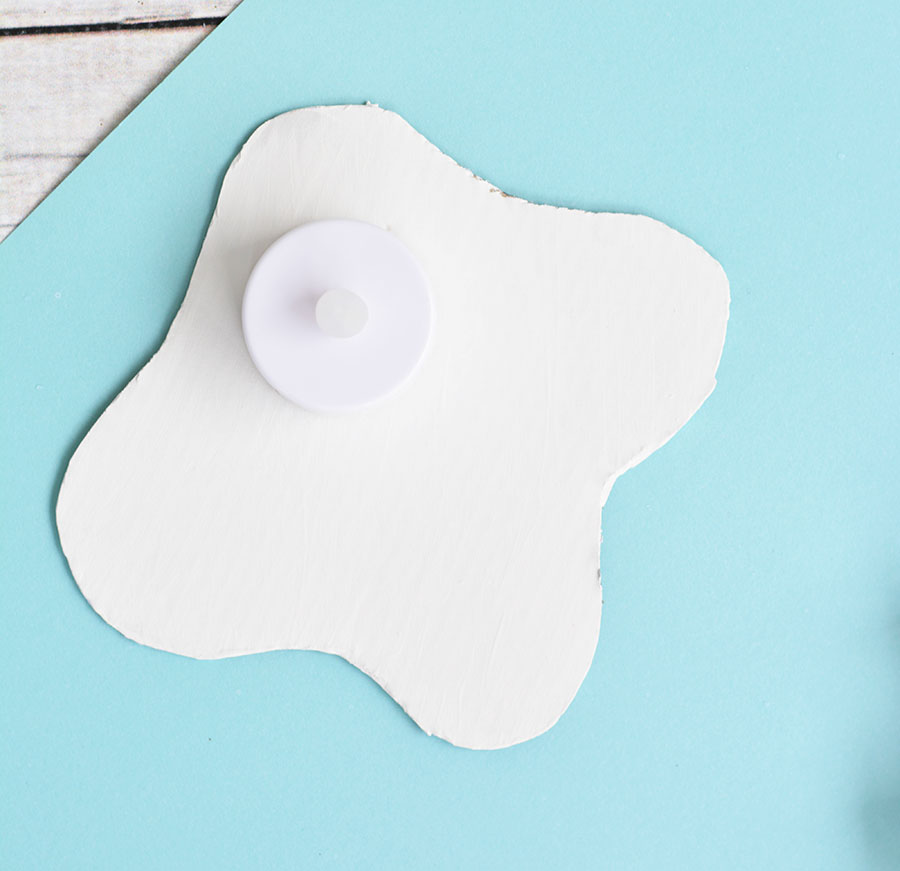
4. Next you’ll take a hot glue gun (have an adult do this) and hot glue the tea light to your card board. Make sure to match it up to the hole for the switch on the bottom of the light.
4.Next take your black felt and cut out a small hat, then glue it onto your tea light.
5. Using your black sharpie, you can draw in the dots for the eyes and mouth.

6. Then take some festive holiday ribbon and glue on a scarf that wraps around the tea light.
7. For the buttons, we used red buttons and glued them in random places around the melted snow (cardboard)

8. Then take some brown pipe cleaner and glue on some snowman hands onto your card board.
9. Glue on a string on the back and hang your snowmen from the tree!
Make sure to follow I Heart Arts n Crafts on Facebook and Pinterest! And if you decide to make any of our crafts, please share them on our Facebook page for us to see!

