This post is a sponsored post. I was given the xTool M2 machine to review. As always, all opinions and experiences expressed are my own. This post contains affiliate links. Please see my disclosure policy.
Looking for a fun and unique Christmas craft to make with your laser cutter? This personalized Christmas shaker ornament is such a cute way to create a keepsake your family will treasure for years to come! I used my xTool M2 laser cutter and engraver to create a layered wooden ornament, added a clear window made with Shrinky Dink paper, and filled it with tiny white foam balls for “Snow” and red sequins for a fun shaker effect.
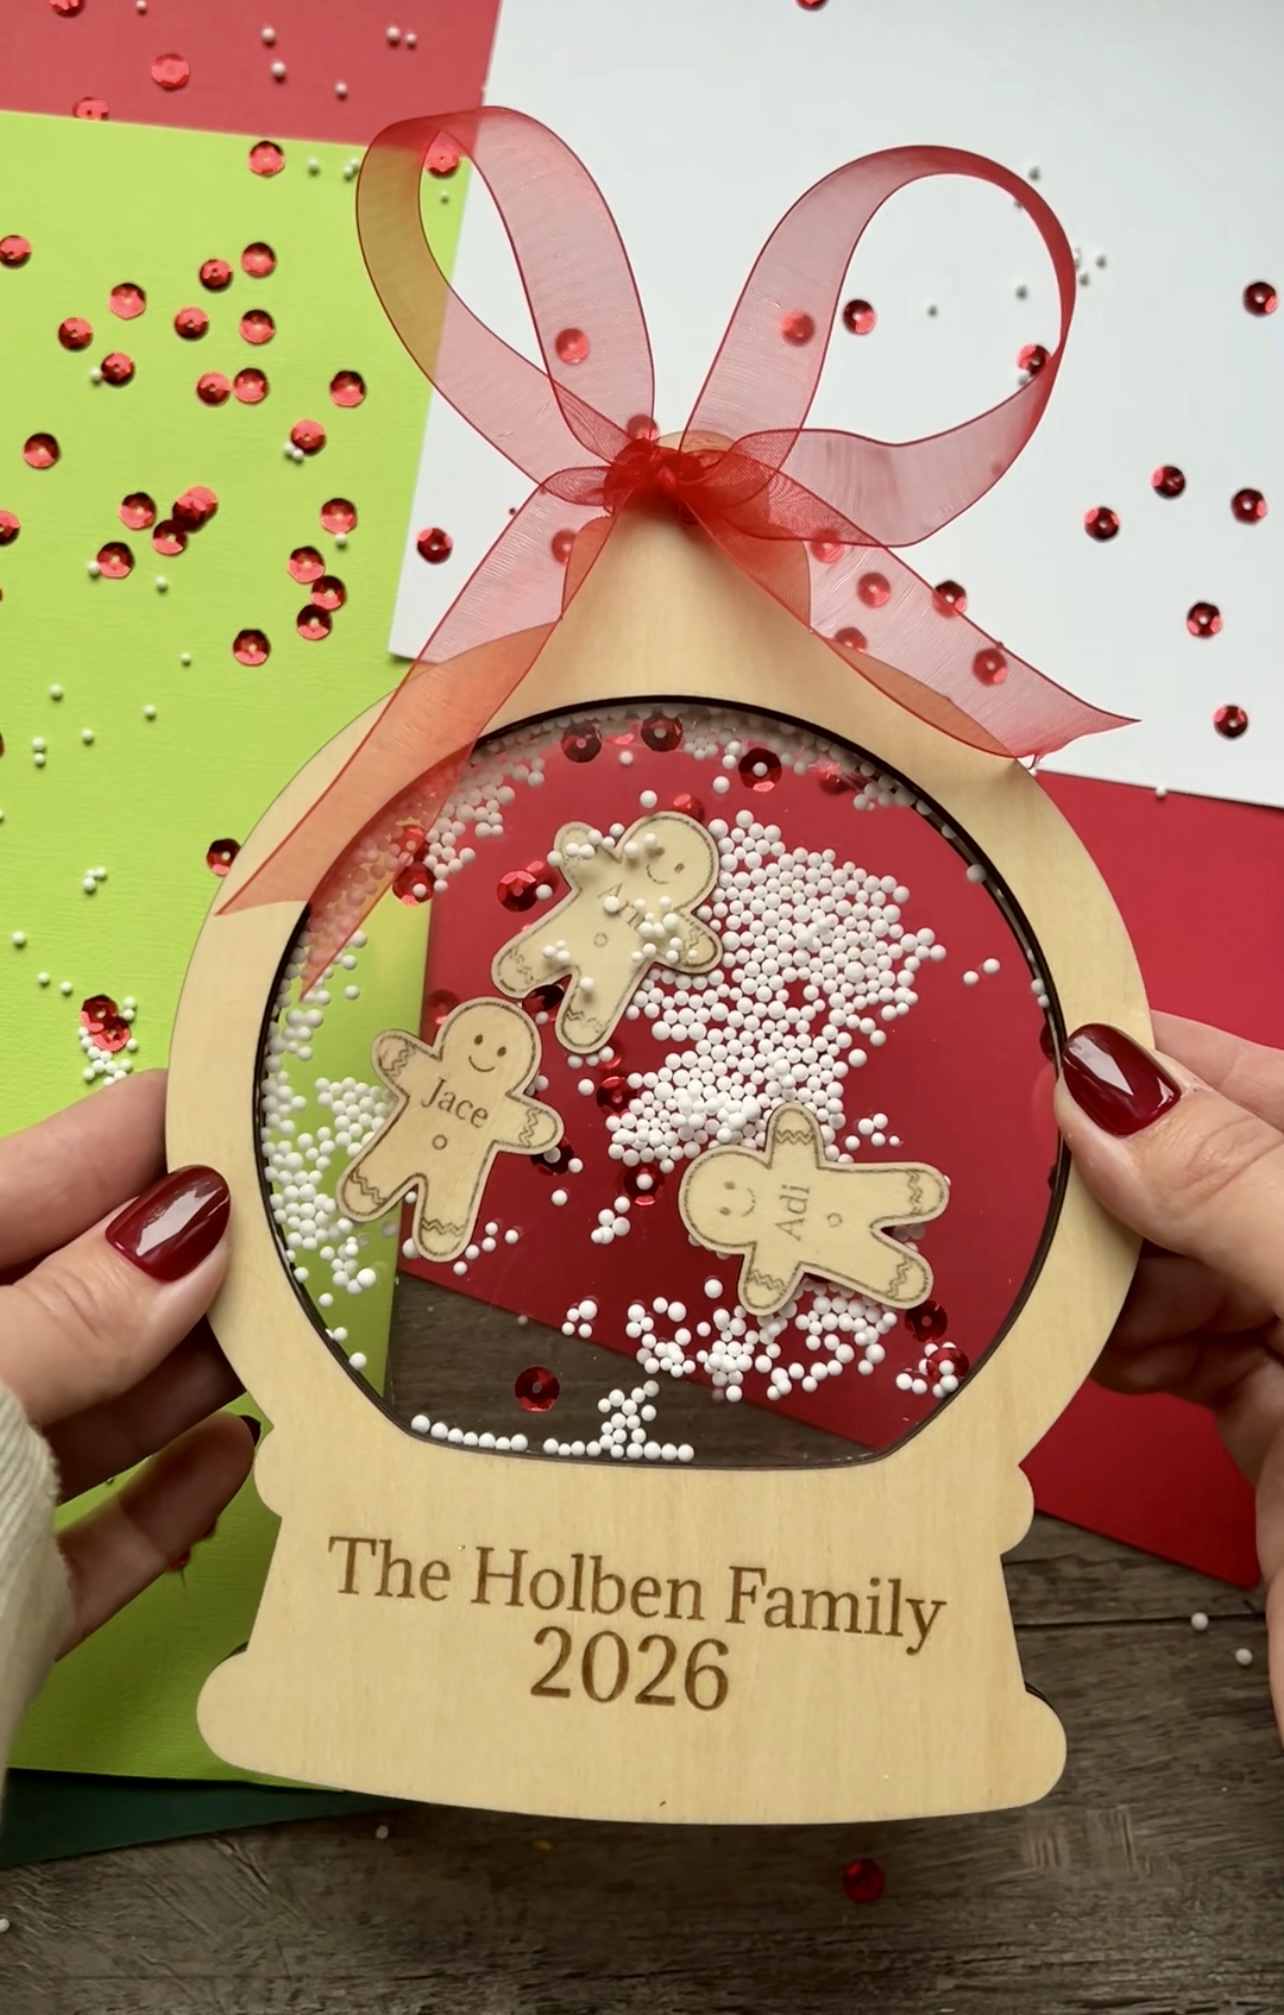
The best part? You can personalize the ornament with your family name, the year, and little wooden gingerbread people with individual names. It’s a beautiful handmade Christmas decoration and would also make a thoughtful gift for grandparents, parents, or anyone who loves personalized holiday decor.
If you love making DIY Christmas ornaments, laser-cut crafts, and personalized gifts, this project is a great one to add to your holiday crafting list!
Materials You’ll Need
- xTool M2 laser
- Laser-compatible wood or plywood suitable for your machine
- Clear Shrinky Dink paper for the transparent window (these will be cut with scissor not the machine)
- White foam beads or small shaker beads
- Red sequins
- Craft glue suitable for your materials
- Ribbon
- xTool Studio
- The downloaded snow globe file here: Snowglobe & Gingerbread File

How to Make a Personalized Christmas Shaker Ornament
Step 1: Design Your Ornament
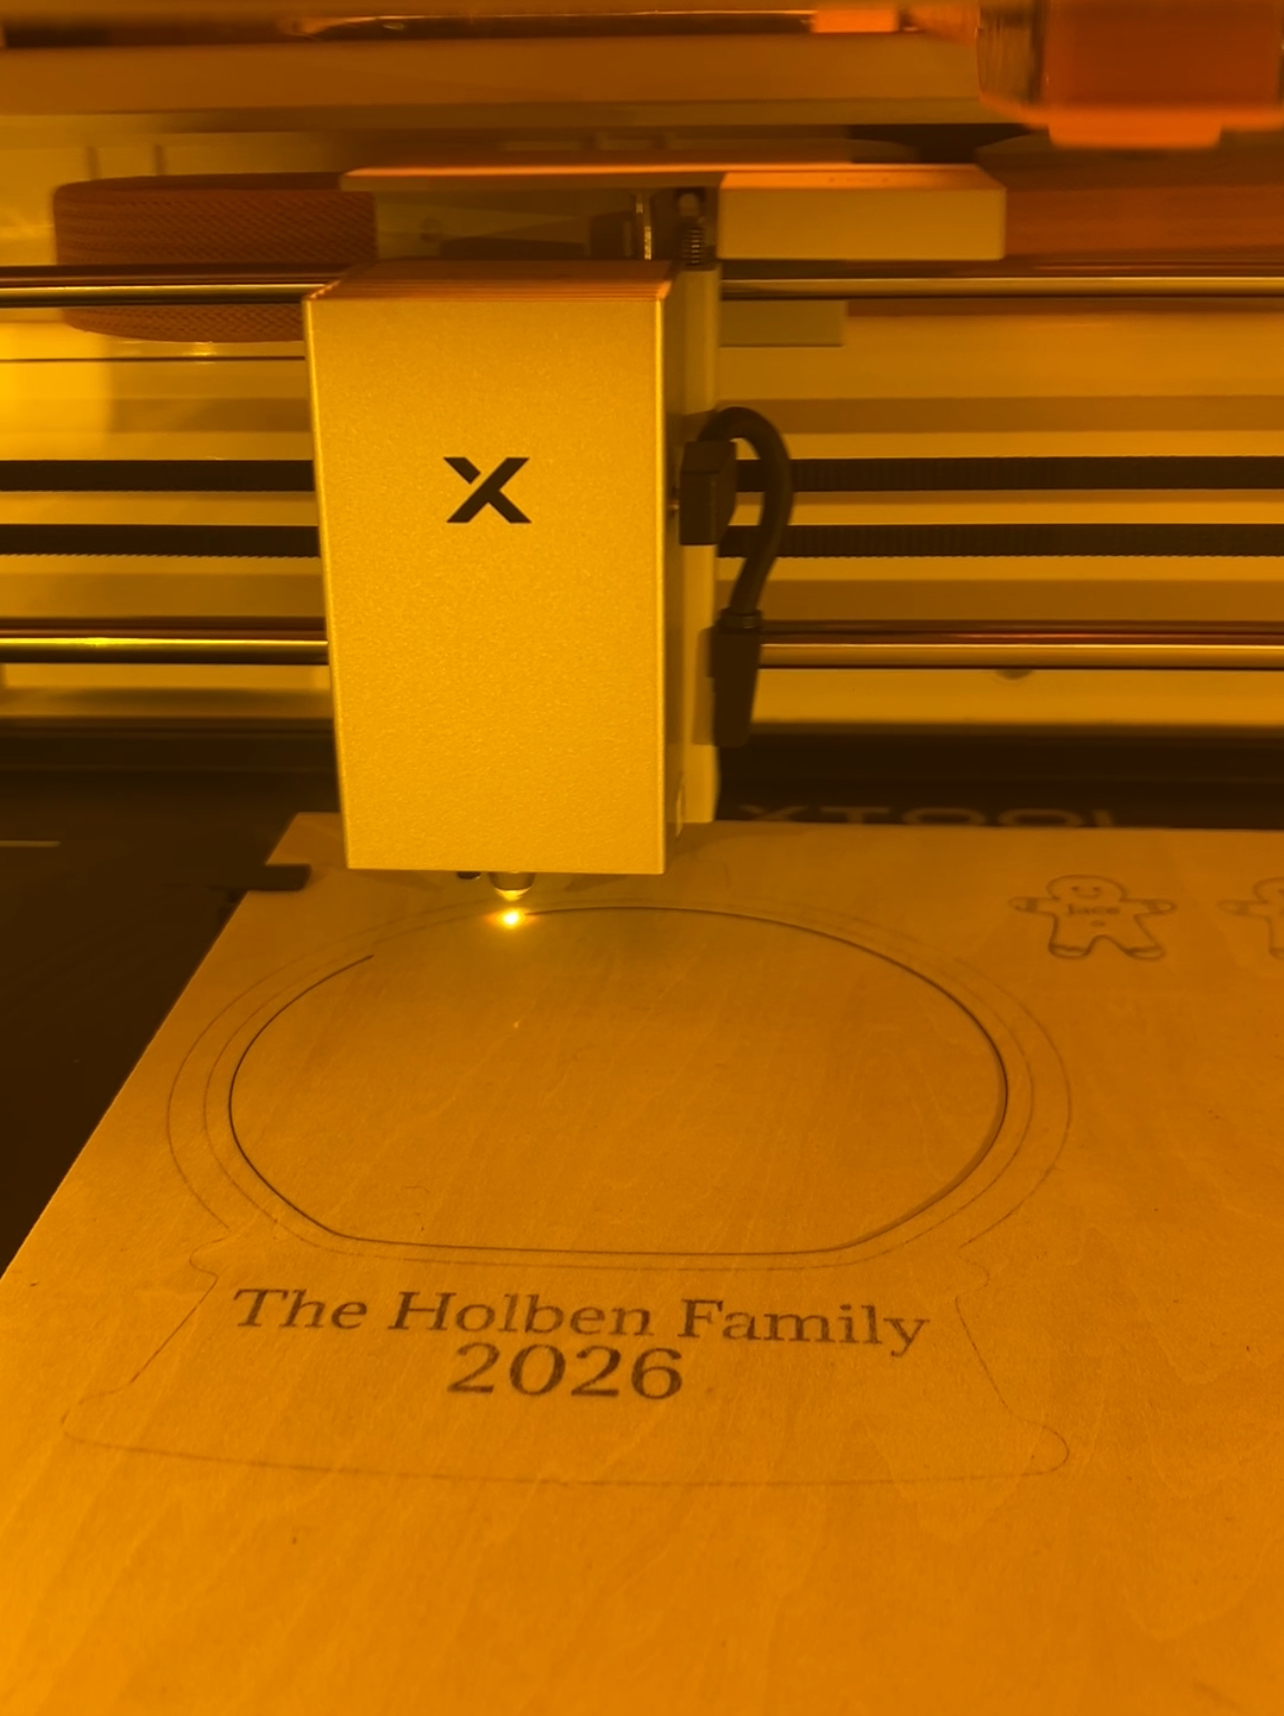
I started by uploading my design into xTool Studio. Personalize your snow globe and gingerbread cut outs with names and dates if preferred. Load your wood into your xTool with the magnetic clips, and connect your machine.
You’ll be cutting out three sets of the snow globe for a three layered ornament. Set the offset to the gingerbread men to 1 and cut. You’ll be setting the inside of the gingerbread men to engraving. Then select the snow globes and set them to cut.
Step 2: Cut and Engrave the Wooden Layers
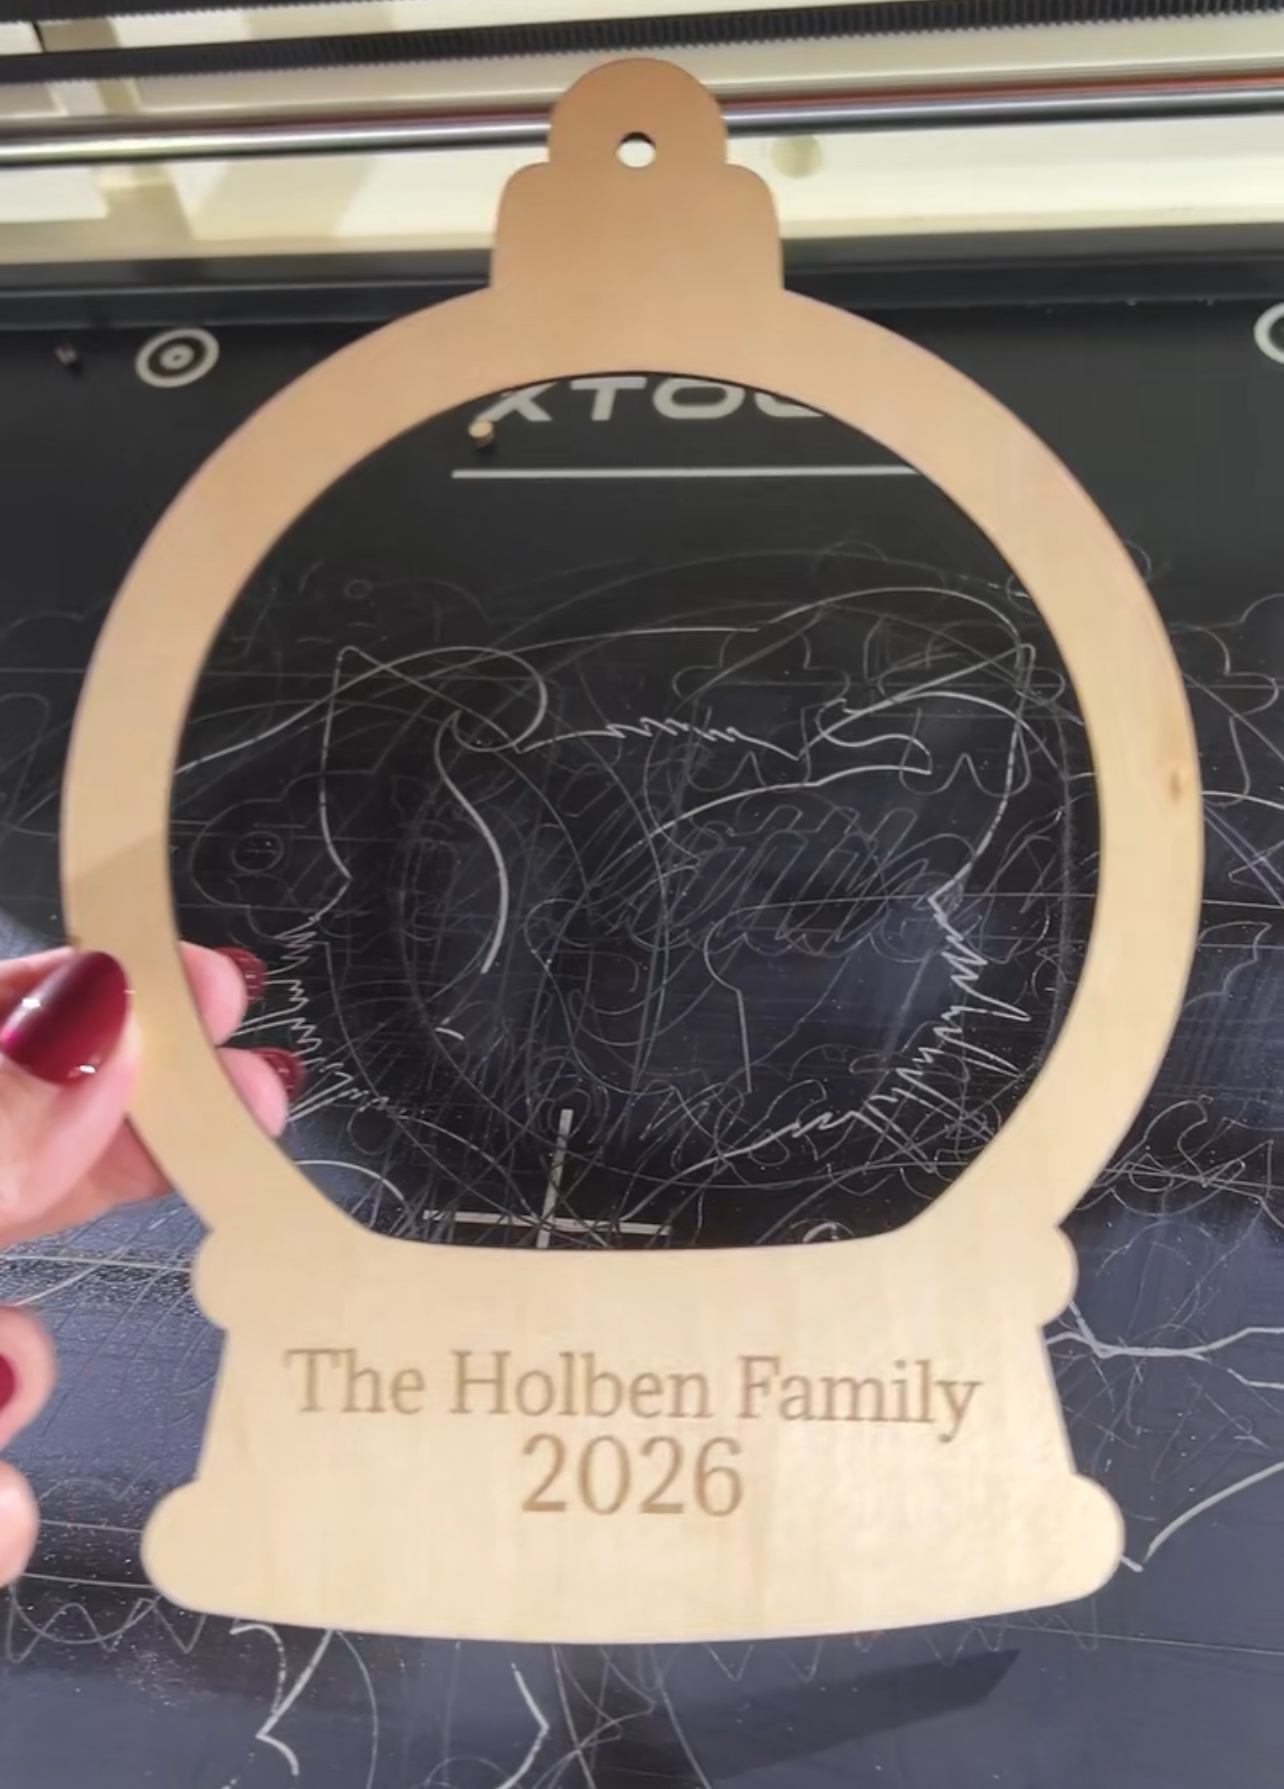
For this project, I used three wooden layers to create the shaker ornament.
The xTool M2 made it possible to cut the ornament shape and gingerbread pieces while engraving the family name and year directly onto the wood.
Each layer has a purpose:
- Back layer: Provides the base for the ornament.
- Middle layer: Creates the space needed for the beads and sequins to move around.
- Front frame: Holds the clear window in place and gives the ornament its finished look.
Important: Your exact speed, power, adn pass settings will depend on the type of thickness of wood you’re using, so use the recommended settings for your material and do a test cut first.
Once everything is set up process the project to print then cut.
Step 3: Prepare the Clear Window
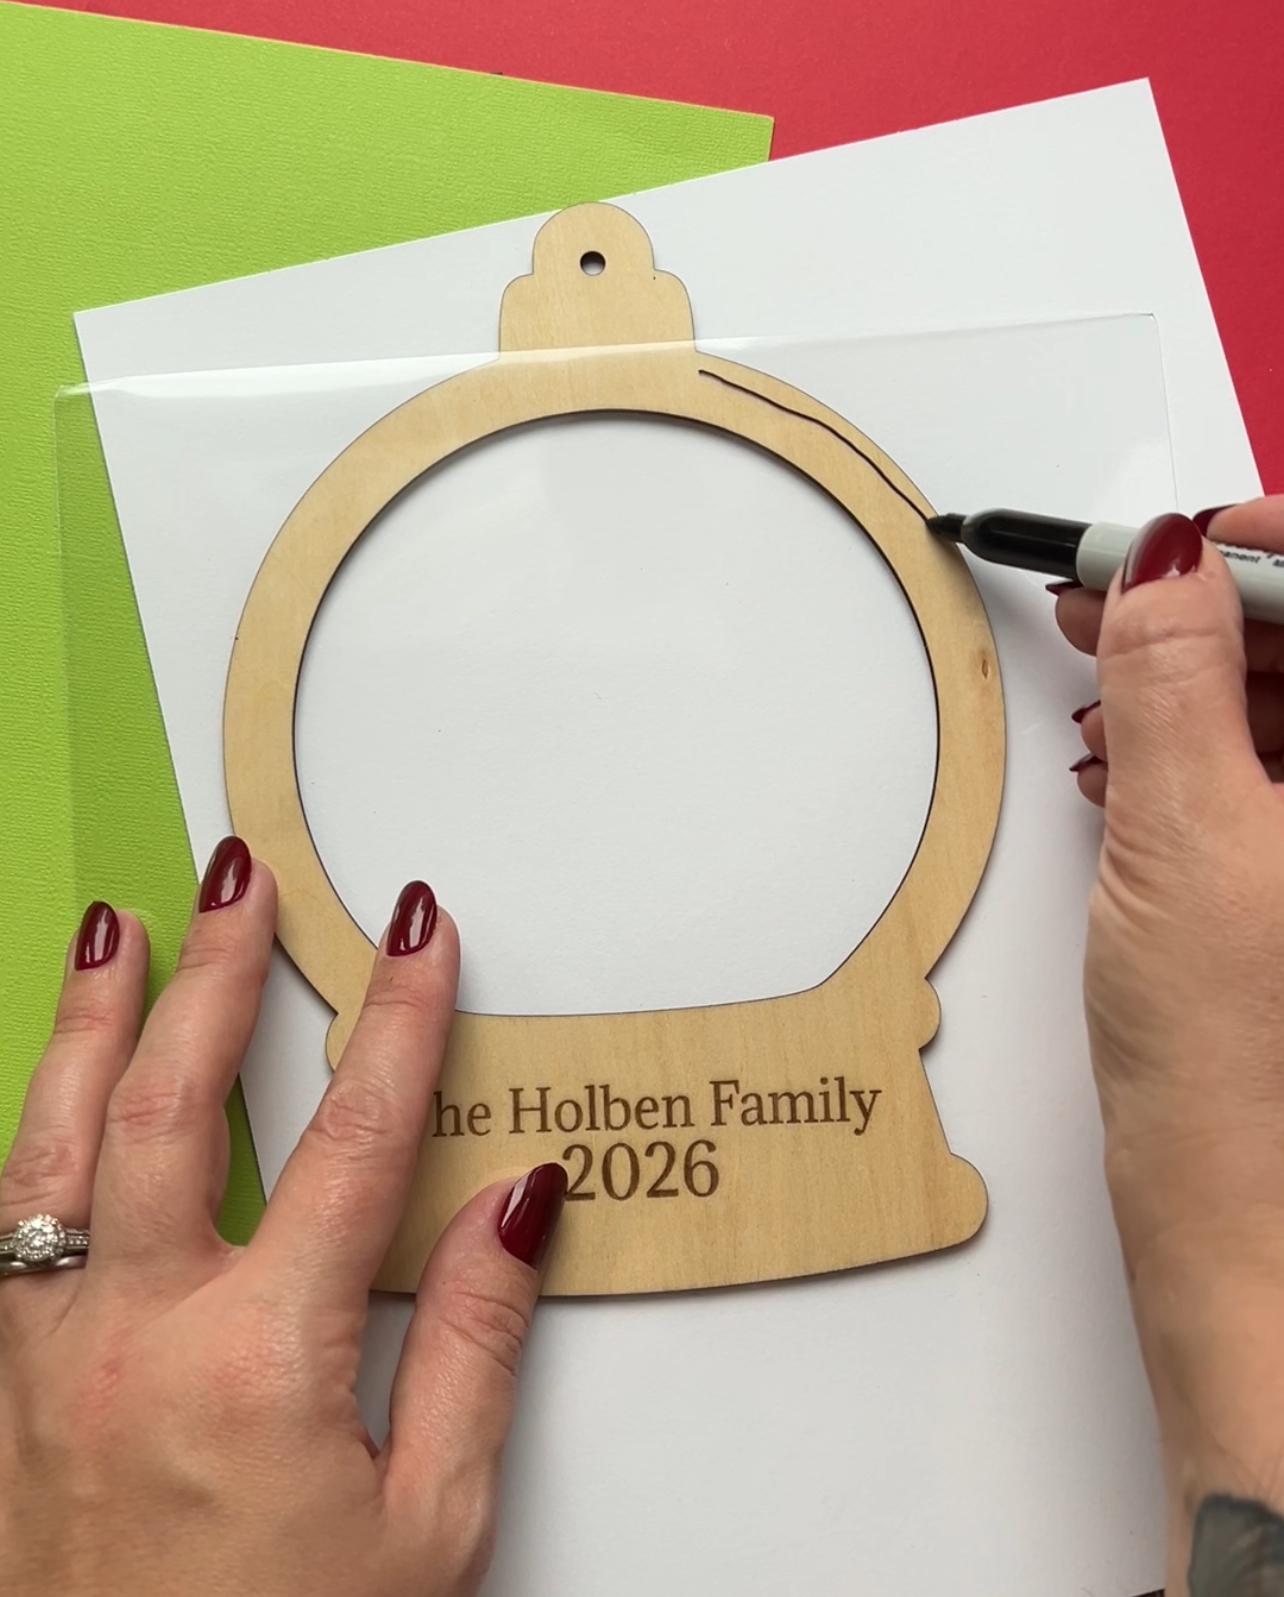
To create the transparent shaker window, I used clear Shrinky Dink paper cut to fit the opening of the ornament.
The clear material lets you see all the little gingerbread people and festive shaker pieces inside while keeping everything contained.
Make sure your window is cut to the correct size before assembling the ornament. A good fit helps prevent beads and sequins from escaping. Using a strong glue, glue the clear Step 4: Add the Gingerbread People
Next, I added the little wooden gingerbread people inside the ornament.
Personalizing each one with a name makes this project perfect for celebrating everyone in the family. You could also make the gingerbread people represent children, parents, grandparents, or even pets!
You can change the number of gingerbread people depending on how many family members you want to include.
Step 5: Fill Your Ornament
Now for the fun part!
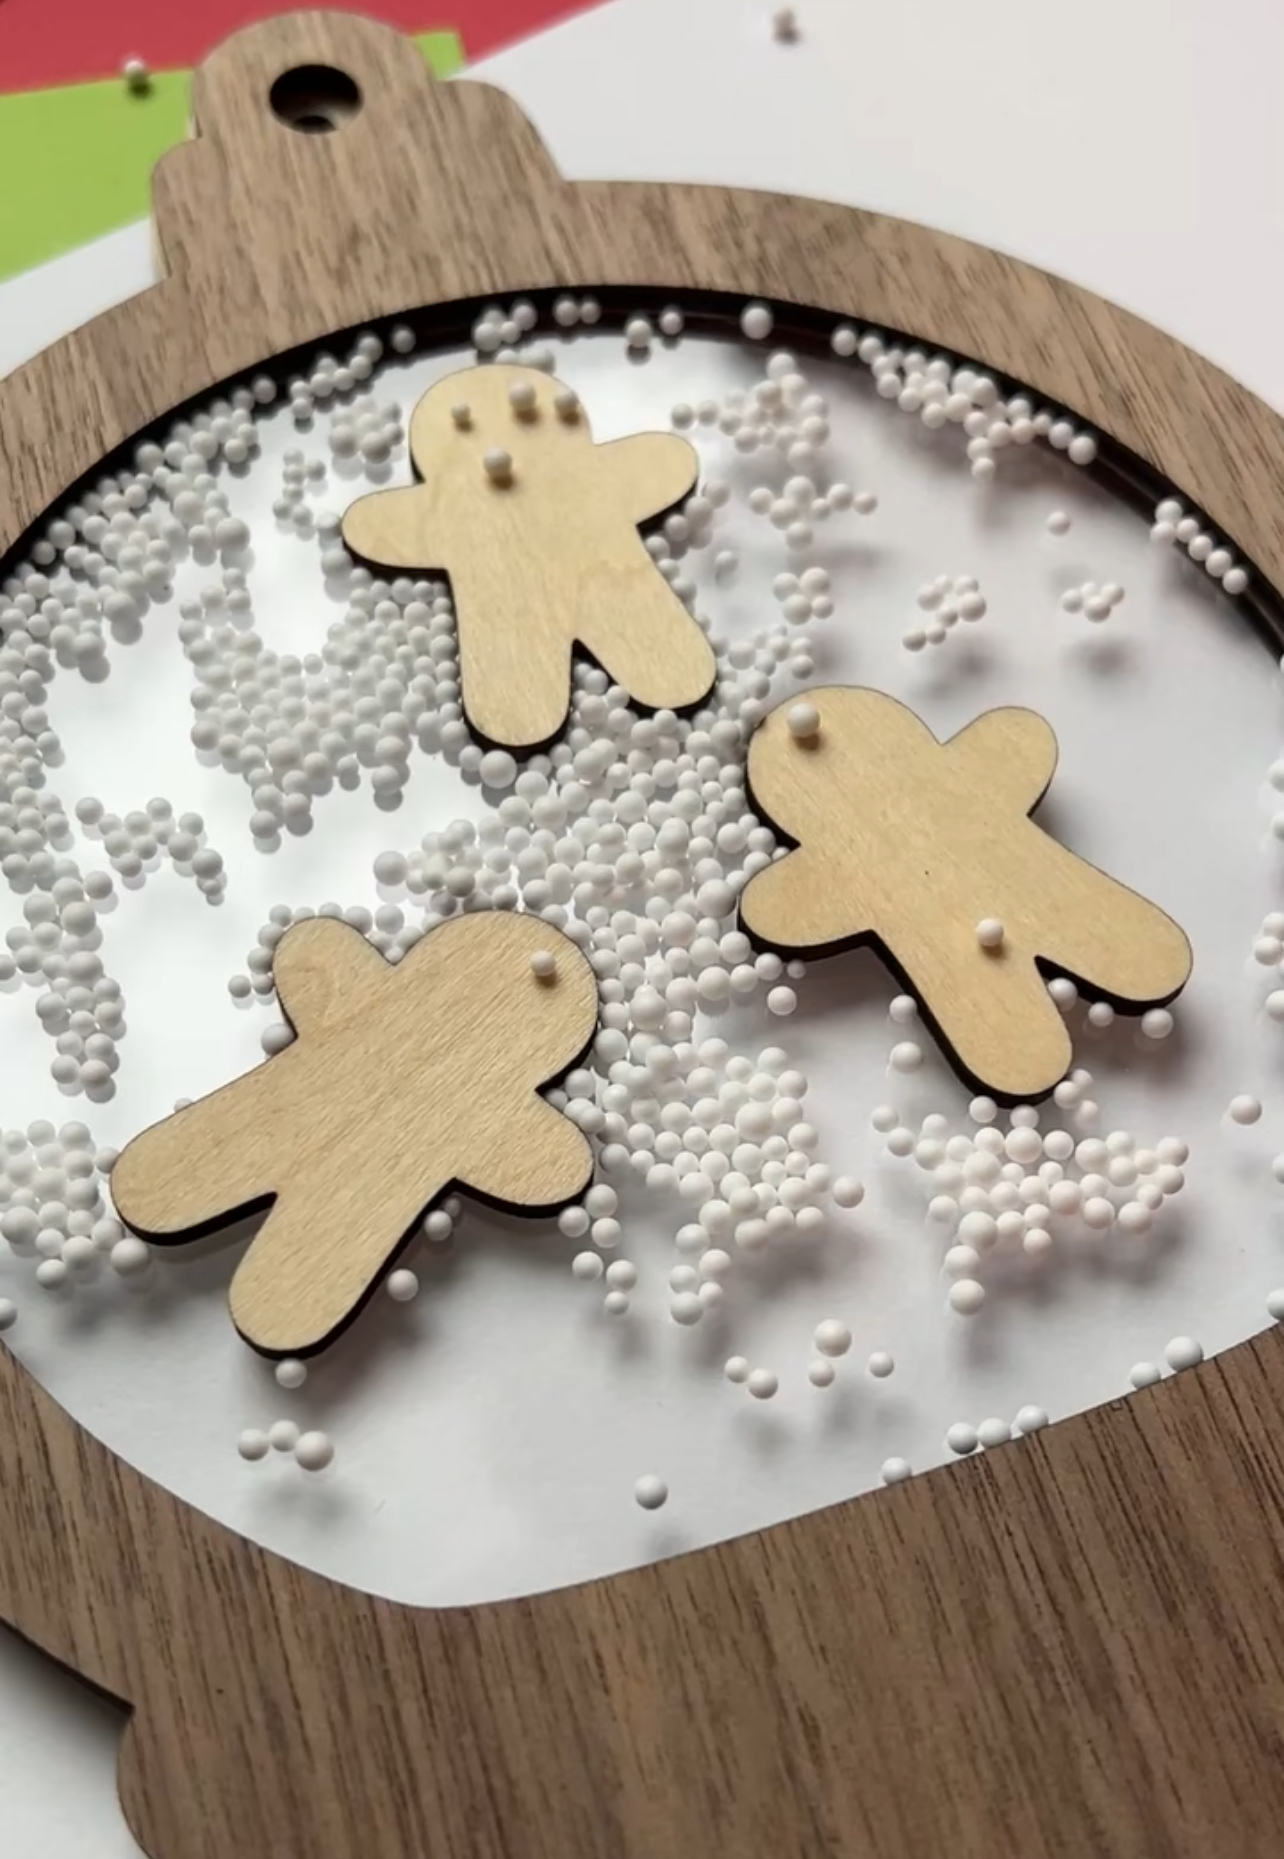
I added tiny white beads and red sequins to the inside of the ornament. The combination of white and red gives it a festive Christmas look, and the pieces move around when you shake it.
You can customize the filling to match your Christmas decor. Try miniature snowflakes, silver sequins, iridescent confetti, or other small decorative pieces that fit safely inside your shaker.
Be careful not to overfill the ornament. Leaving some extra space allows the beads and sequins to move freely.
Step 6: Assemble the Three Layers
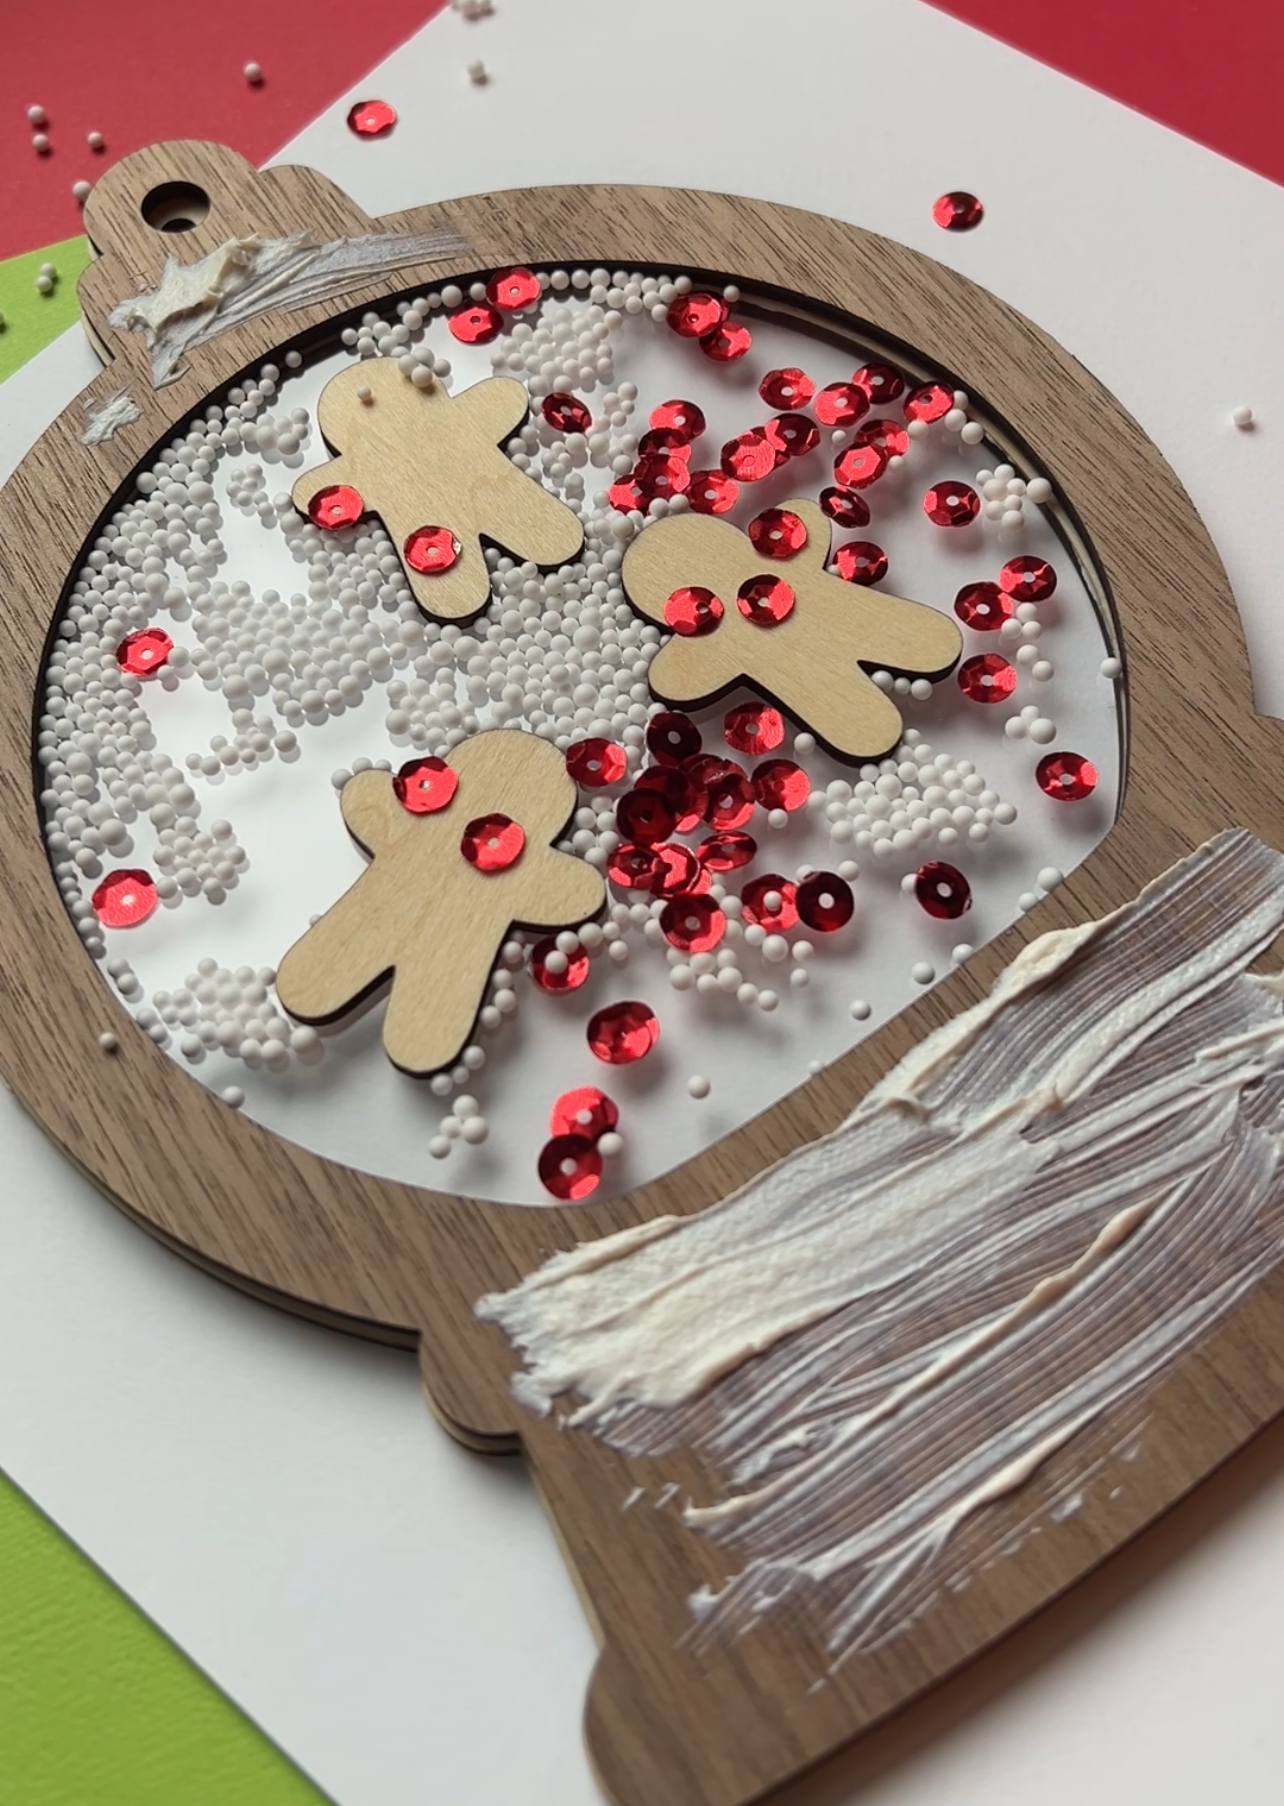
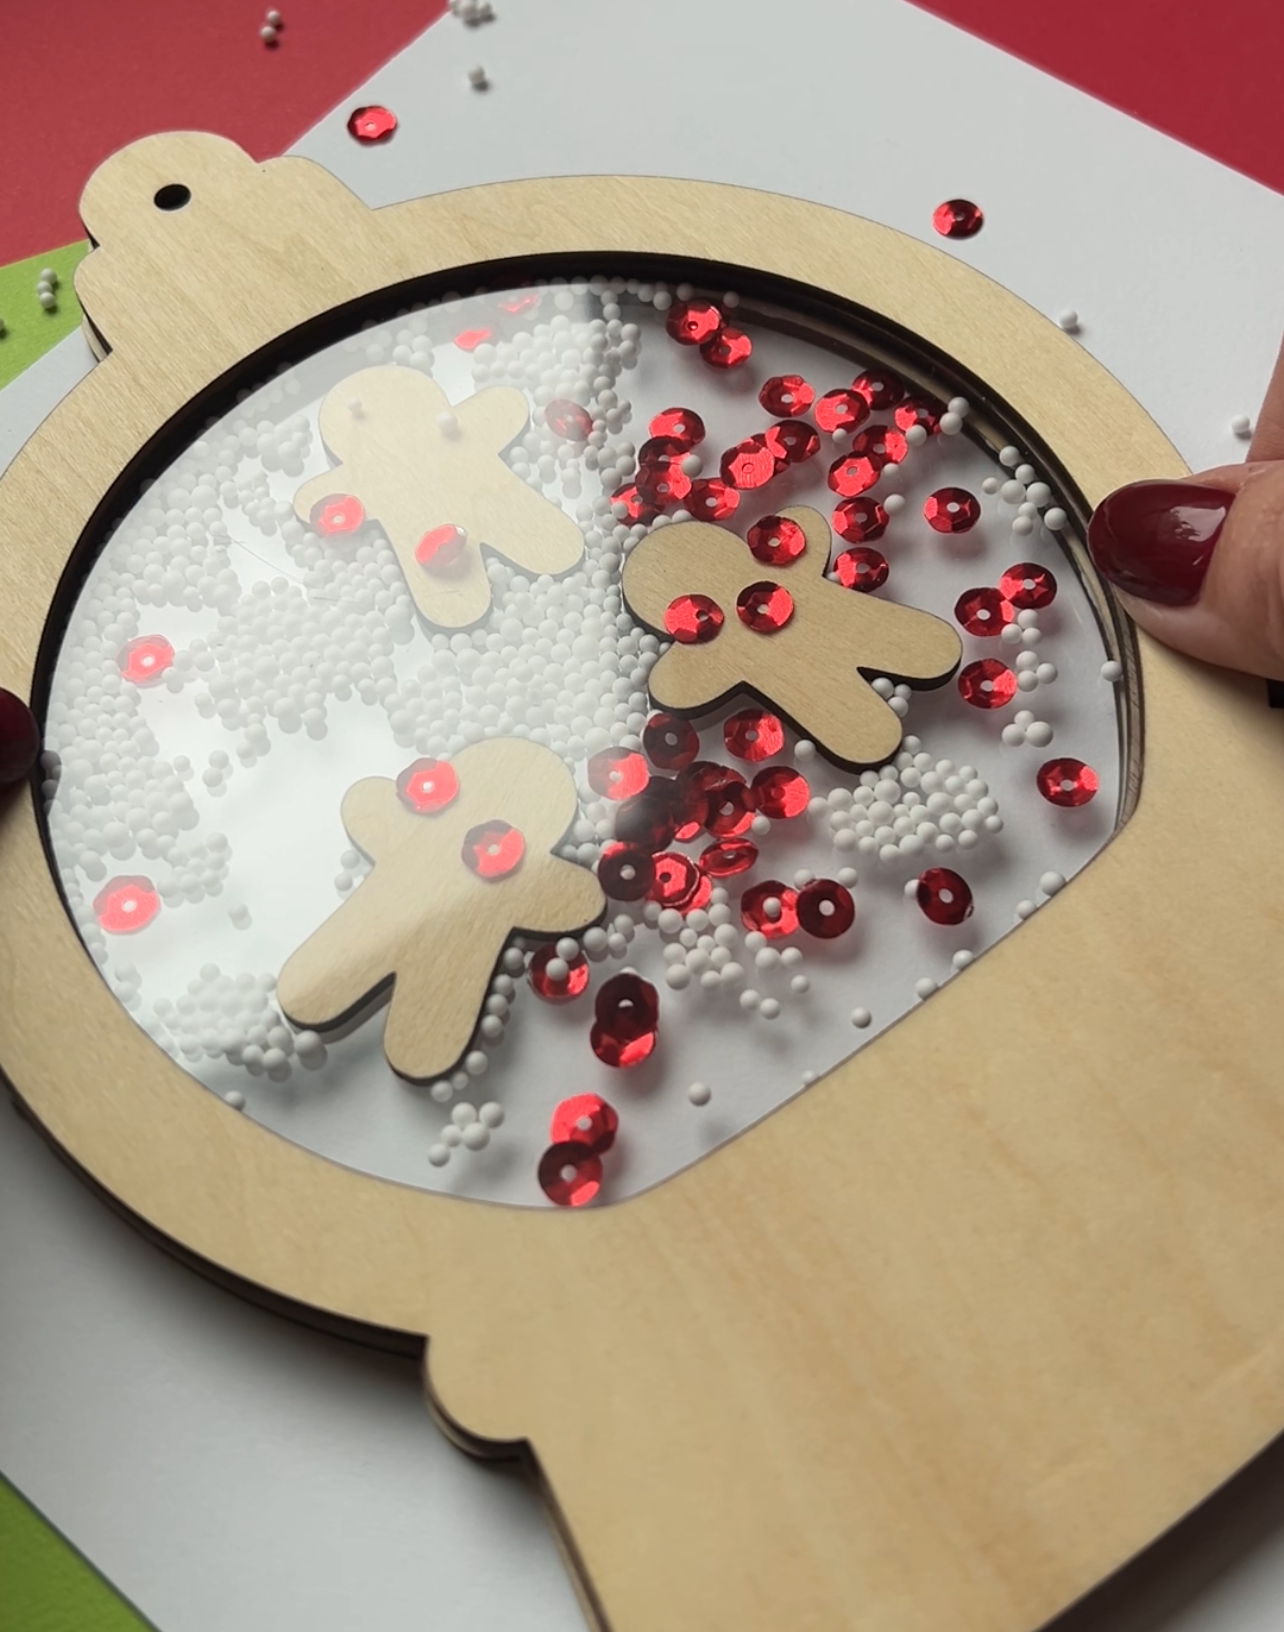
Once everything was in place, I carefully glued another shrinky dink paper on top and then the last wooden layer on top of that to seal the ornament, sandwiching the clear window and shaker filling inside.
Make sure the window is secured and the edges are sealed so the beads and sequins stay inside. Allow the adhesive to cure fully according to its instructions before shaking the ornament.
This is an important step because you want your ornament to last through the holiday season and beyond!
Step 7: Add the Finishing Touches
To finish the ornament, I added a sheer red ribbon bow at the top.
The ribbon adds a pretty finishing touch and makes the ornament ready to hang on your Christmas tree. You could also use velvet ribbon, twine, or a different color to coordinate with your holiday decorations.
And that’s it! Your personalized Christmas shaker ornament is ready to display.
Whether you’re making crafts for your family or creating items for your handmade business, the xTool M2 is a useful tool for bringing personalized craft ideas to life.
My xTool M2 helped me bring this design to life, from cutting the wooden pieces to engraving the family name and year. If you love creating personalized Christmas decorations, handmade gifts, and unique laser-cut crafts, this is a project worth trying!
Be sure to visit I Heart Arts n Crafts for more DIY crafts, creative projects, and holiday inspiration.
Happy crafting!
