If you love vintage Halloween decorations, this DIY Halloween garland is such a fun project to make!
I wanted to create a Halloween decoration that had that nostaligic, old-fashioned Halloween feel rather than the bright, modern Halloween decor you see everywhere. I love the look of vintage Halloween graphics (especially the ghost). For this project I used my xTool M2 to create print and cut the wooden pieces and then strung them on some jute string.
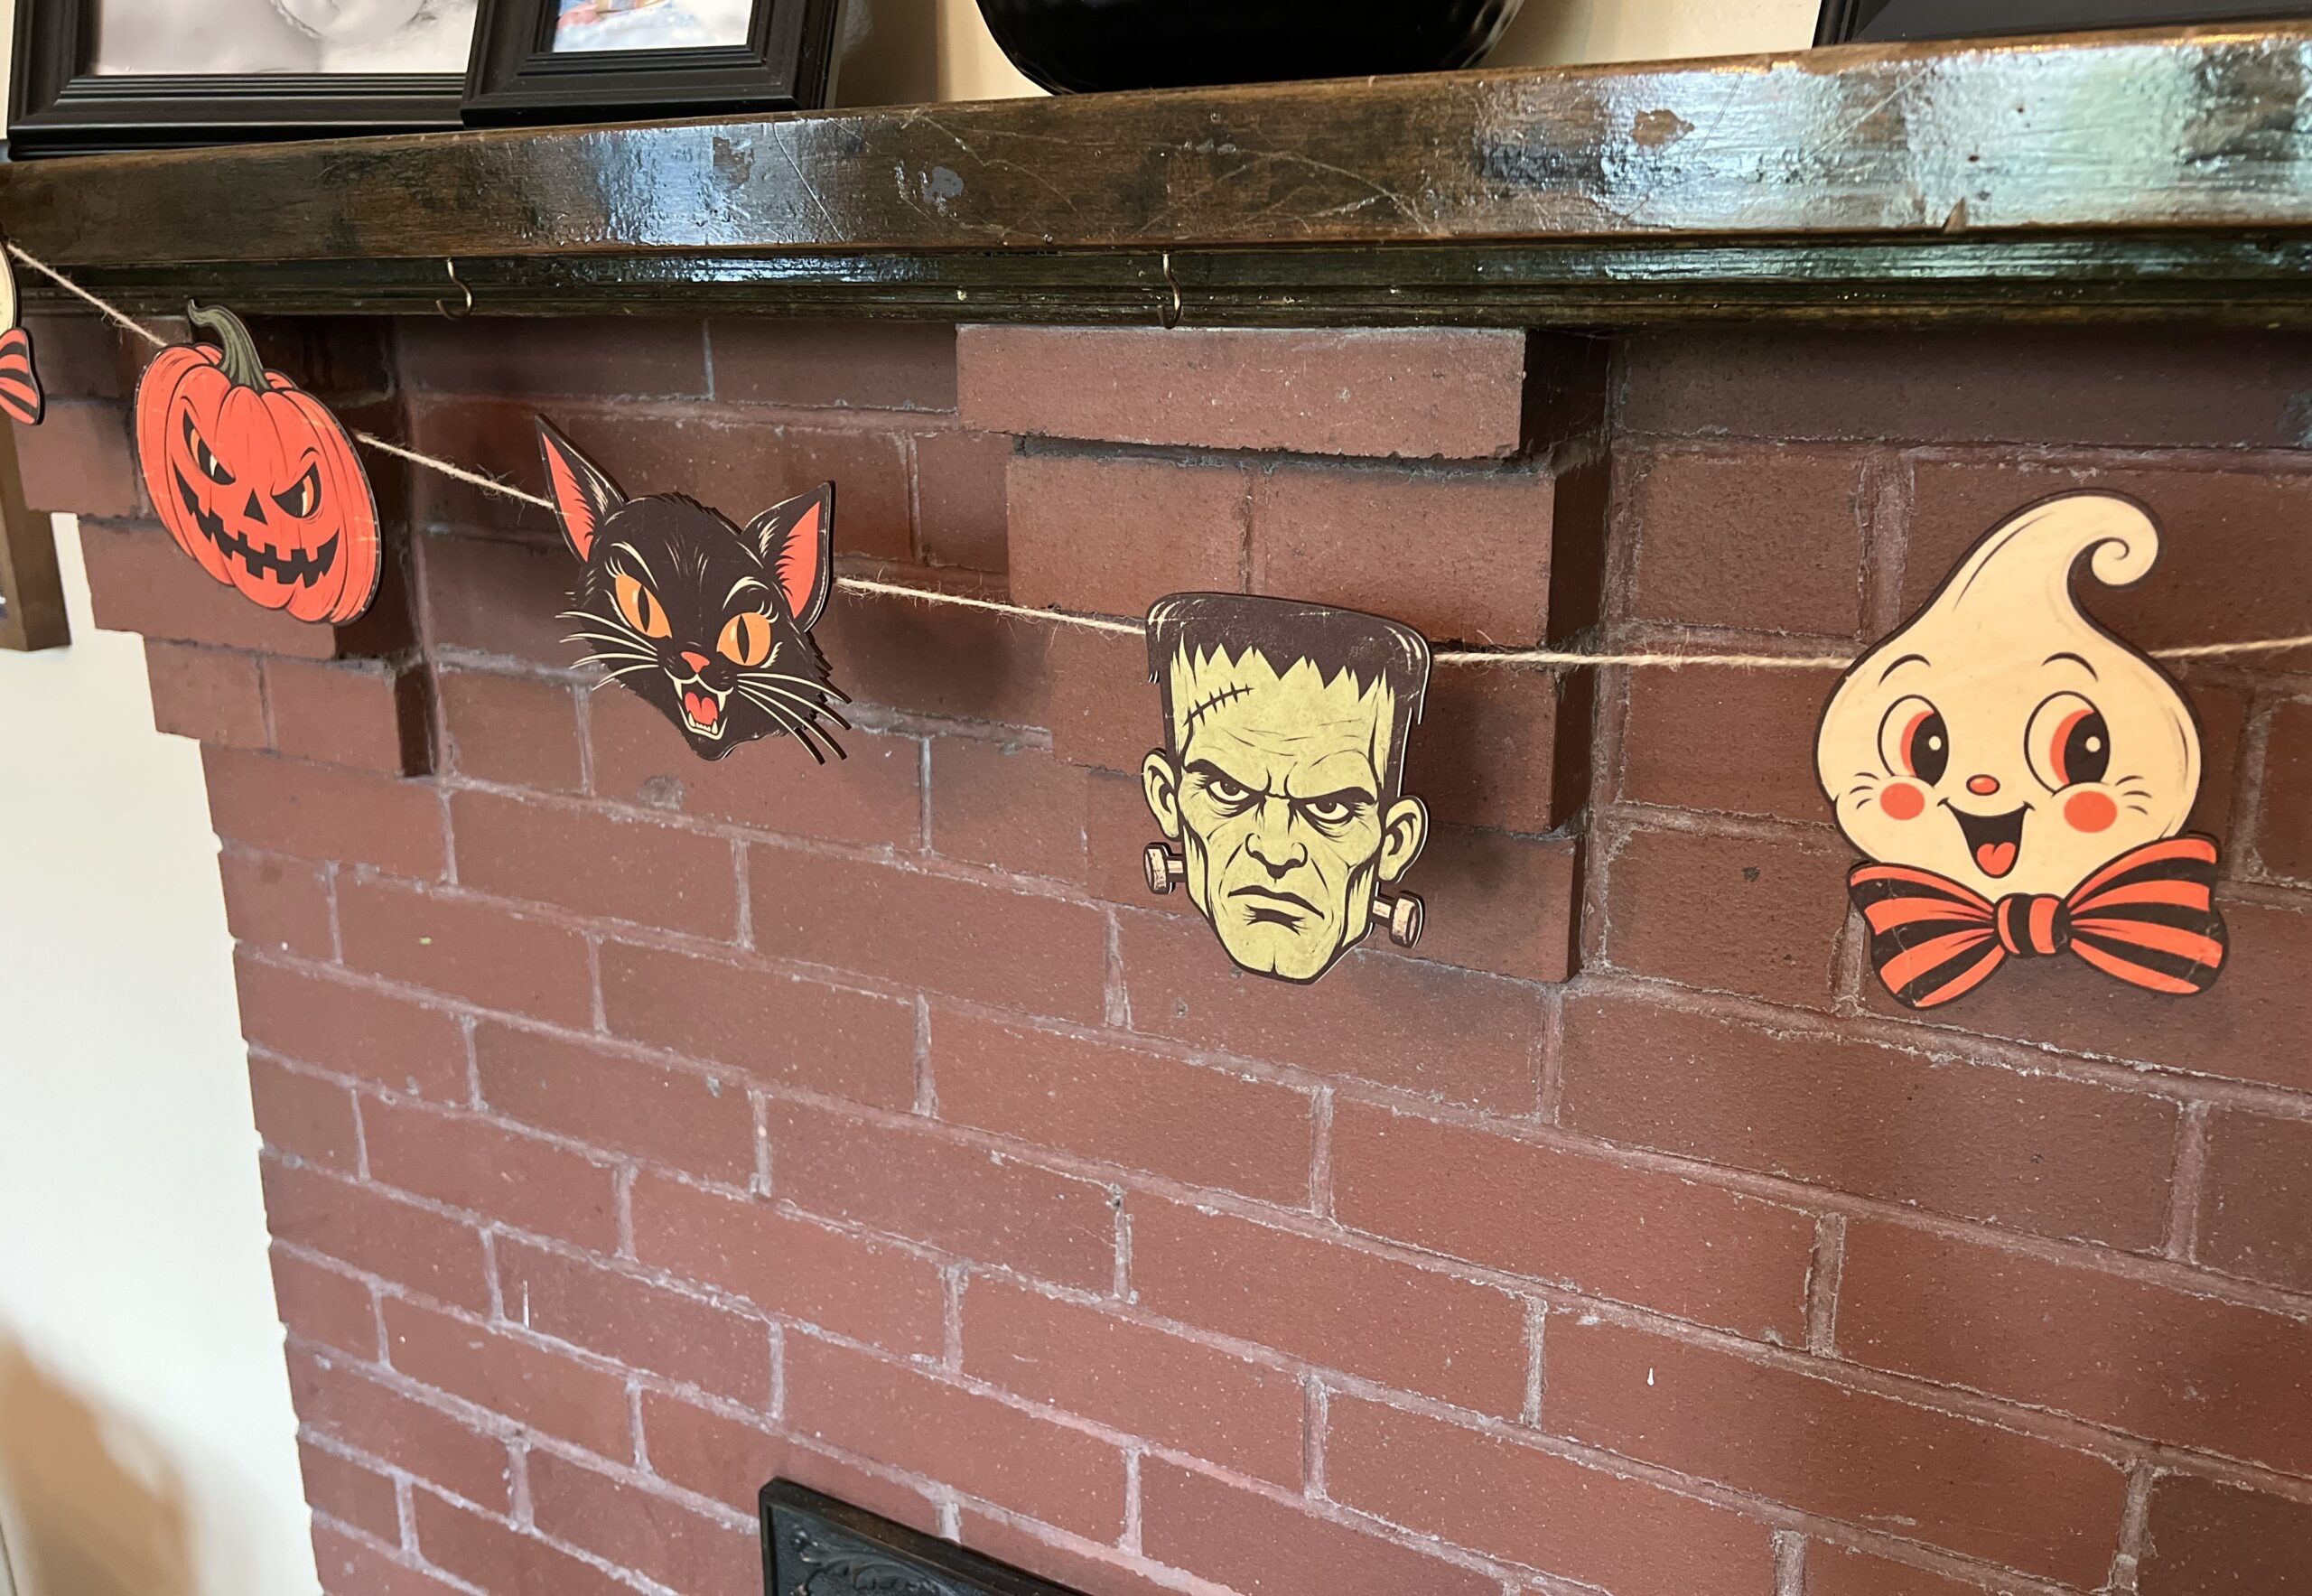
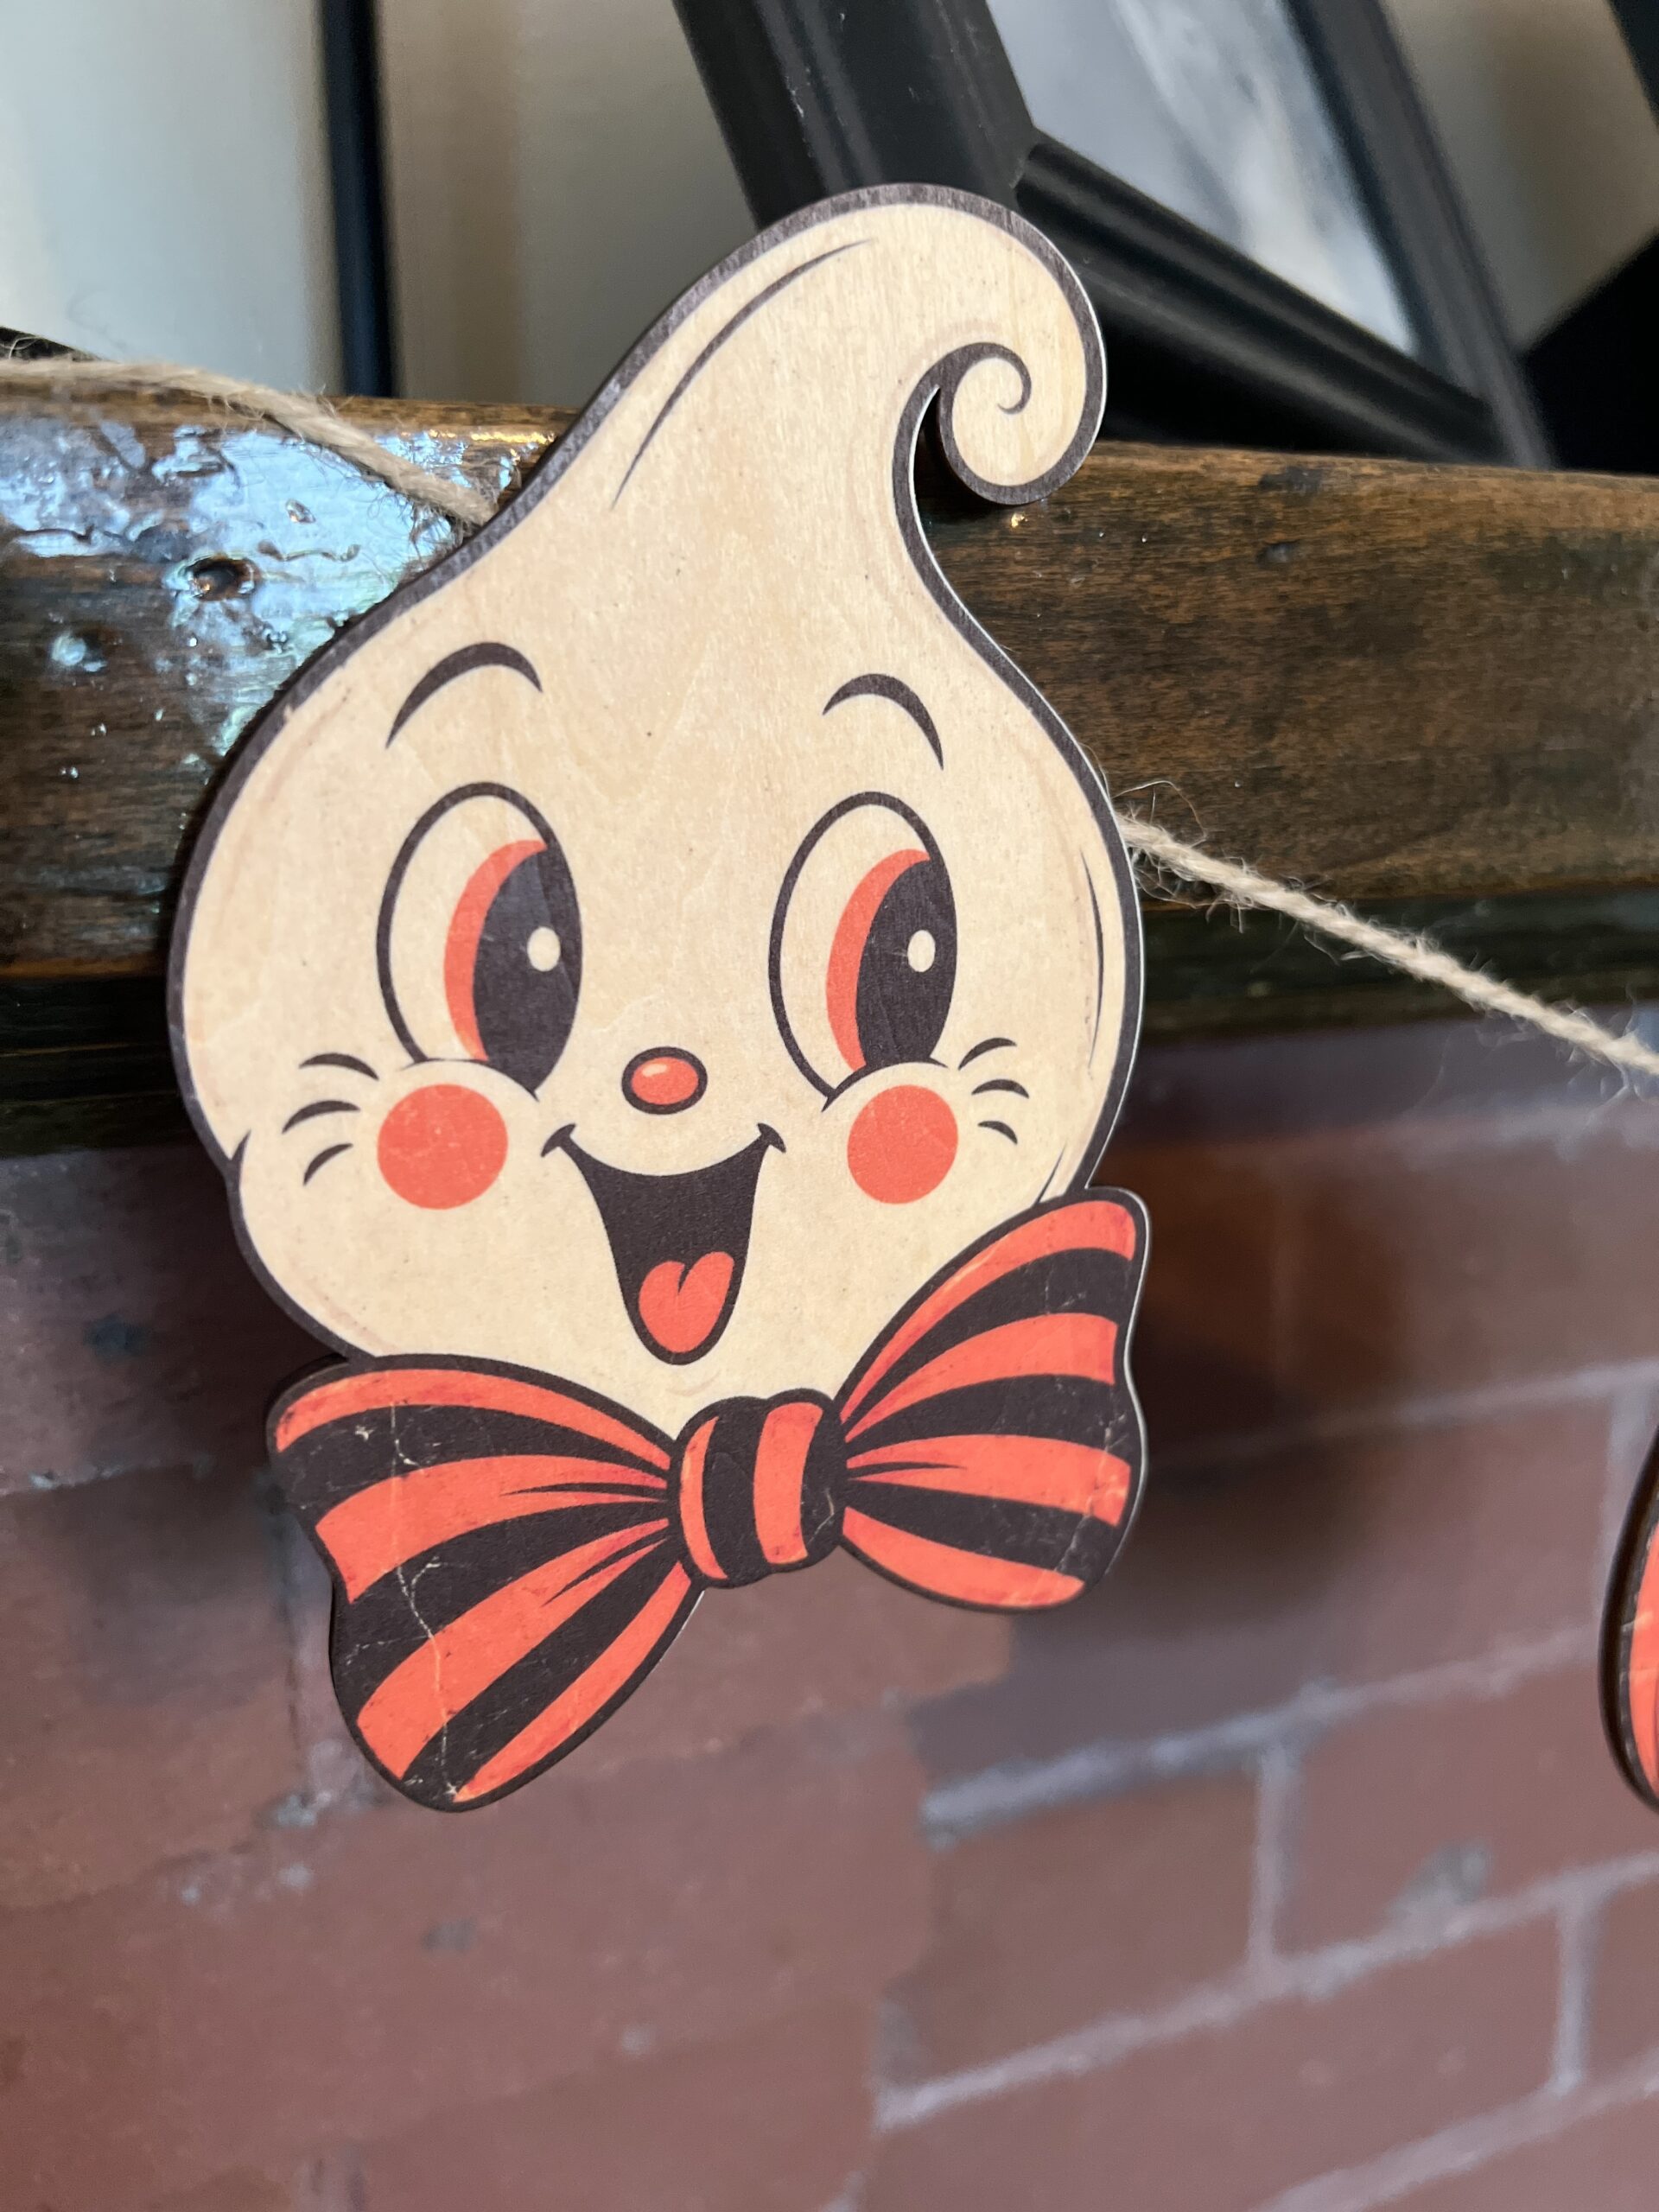
The finished garland features adorable Halloween designs including a spooky cat, jack-o’-lantern, Frankenstein- inspired monster, and a sweet vintage ghost character with an oversized Halloween bow.
It looks so cute hanging across the fireplace mantel!
Supplies:
Here’s what you’ll need to make your own vintage Halloween garland:
- xTool M2
- Basswood
- White School Glue
- Foam Brush
- Twine or jute string
- Hot Glue
- Vintage Halloween Designs
You can download the vintage design here: Click here to download the Ghost, Cat, Frankenstein, and Jack-o’-Lantern.




How to Make A Vintage Halloween Garland
Step 1:
For this project we’re printing and then cutting so we need to prepare our wood. I used a mixture of 50/50 glue and water and a foam brush to apply a thing layer onto your wood. Let this dry before printing. After it’s dried you’ll place the wood into your xTool M2 with the magnetic clips and connect your maching.
Step 2:
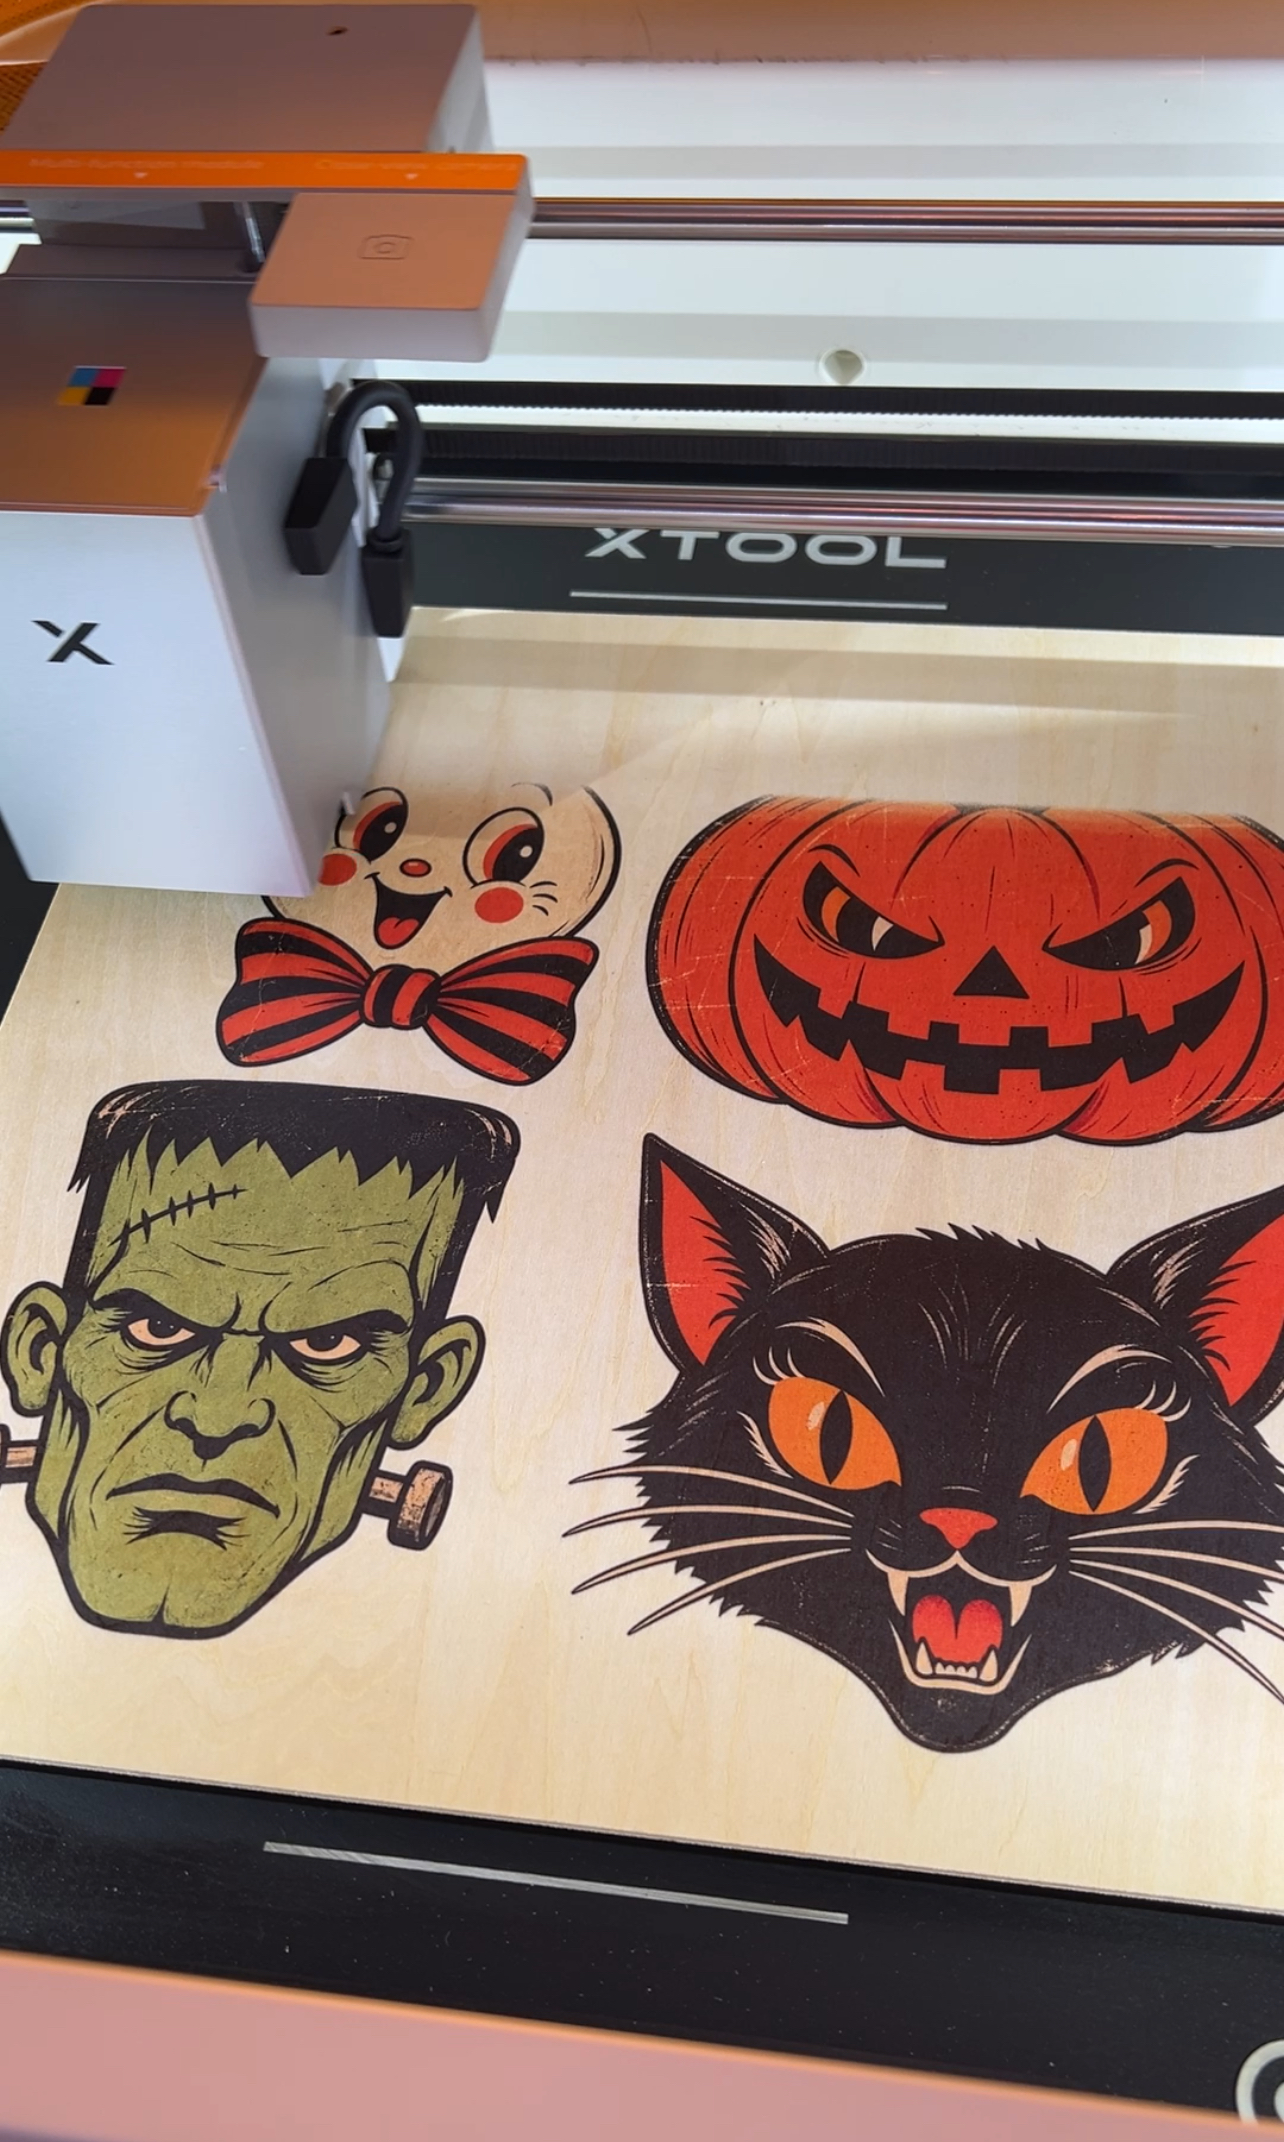
Open up xTool Studio and select print then cut. Upload your images and select the cut out option to select the white background and delete that so you have just the face. Arrange your image onto your wood. I made my all 5 inches wide. Then select convert to print to cut on the menu and change the offset to 0 so that there is no border.
Step 3:
Important: Your exact speed, power, adn pass settings will depend on the type of thickness of wood you’re using, so use the recommended settings for your material and do a test cut first.
Once everything is set up process the project to print then cut.
Step 4:
Once all the pieces are finished cutting you can apply a sealer if you’d like just make sure it’s an acrylic sealer so that the ink doesn’t bleed. Then hot glue the pieces of wood onto the twine and space them out evenly.
Why the xTool M2 is Great for Seasonal Crafts
One of my favorite thigns about having a laser cutter is being able to create seasonal decorations that you can’t necessarily find in stores. The xTool M2 lets you take an idea or digital design and turn it into an actual physical pieces of decor.
I’ve been using mine for all kinds of creative projects, and seasonal crafts like this are especially fun because you can create something completely customized for your home. Whether you’re making Halloween decorations, Christmas gifts, signs or party decor, there are so many possibilities.
Save this project for your next Halloween craft and make your own vintage-inspired Halloween garland with your xTool M2. It’s spooky, it’s nostalgic, and it’s completely handmade!
