Create an adorable Halloween keepsake with your xTool M2 and your little one’s handprints! Turn tiny hands into a spooky ghost and Frankenstein for a personalized decoration you’ll love bringing out every Halloween.
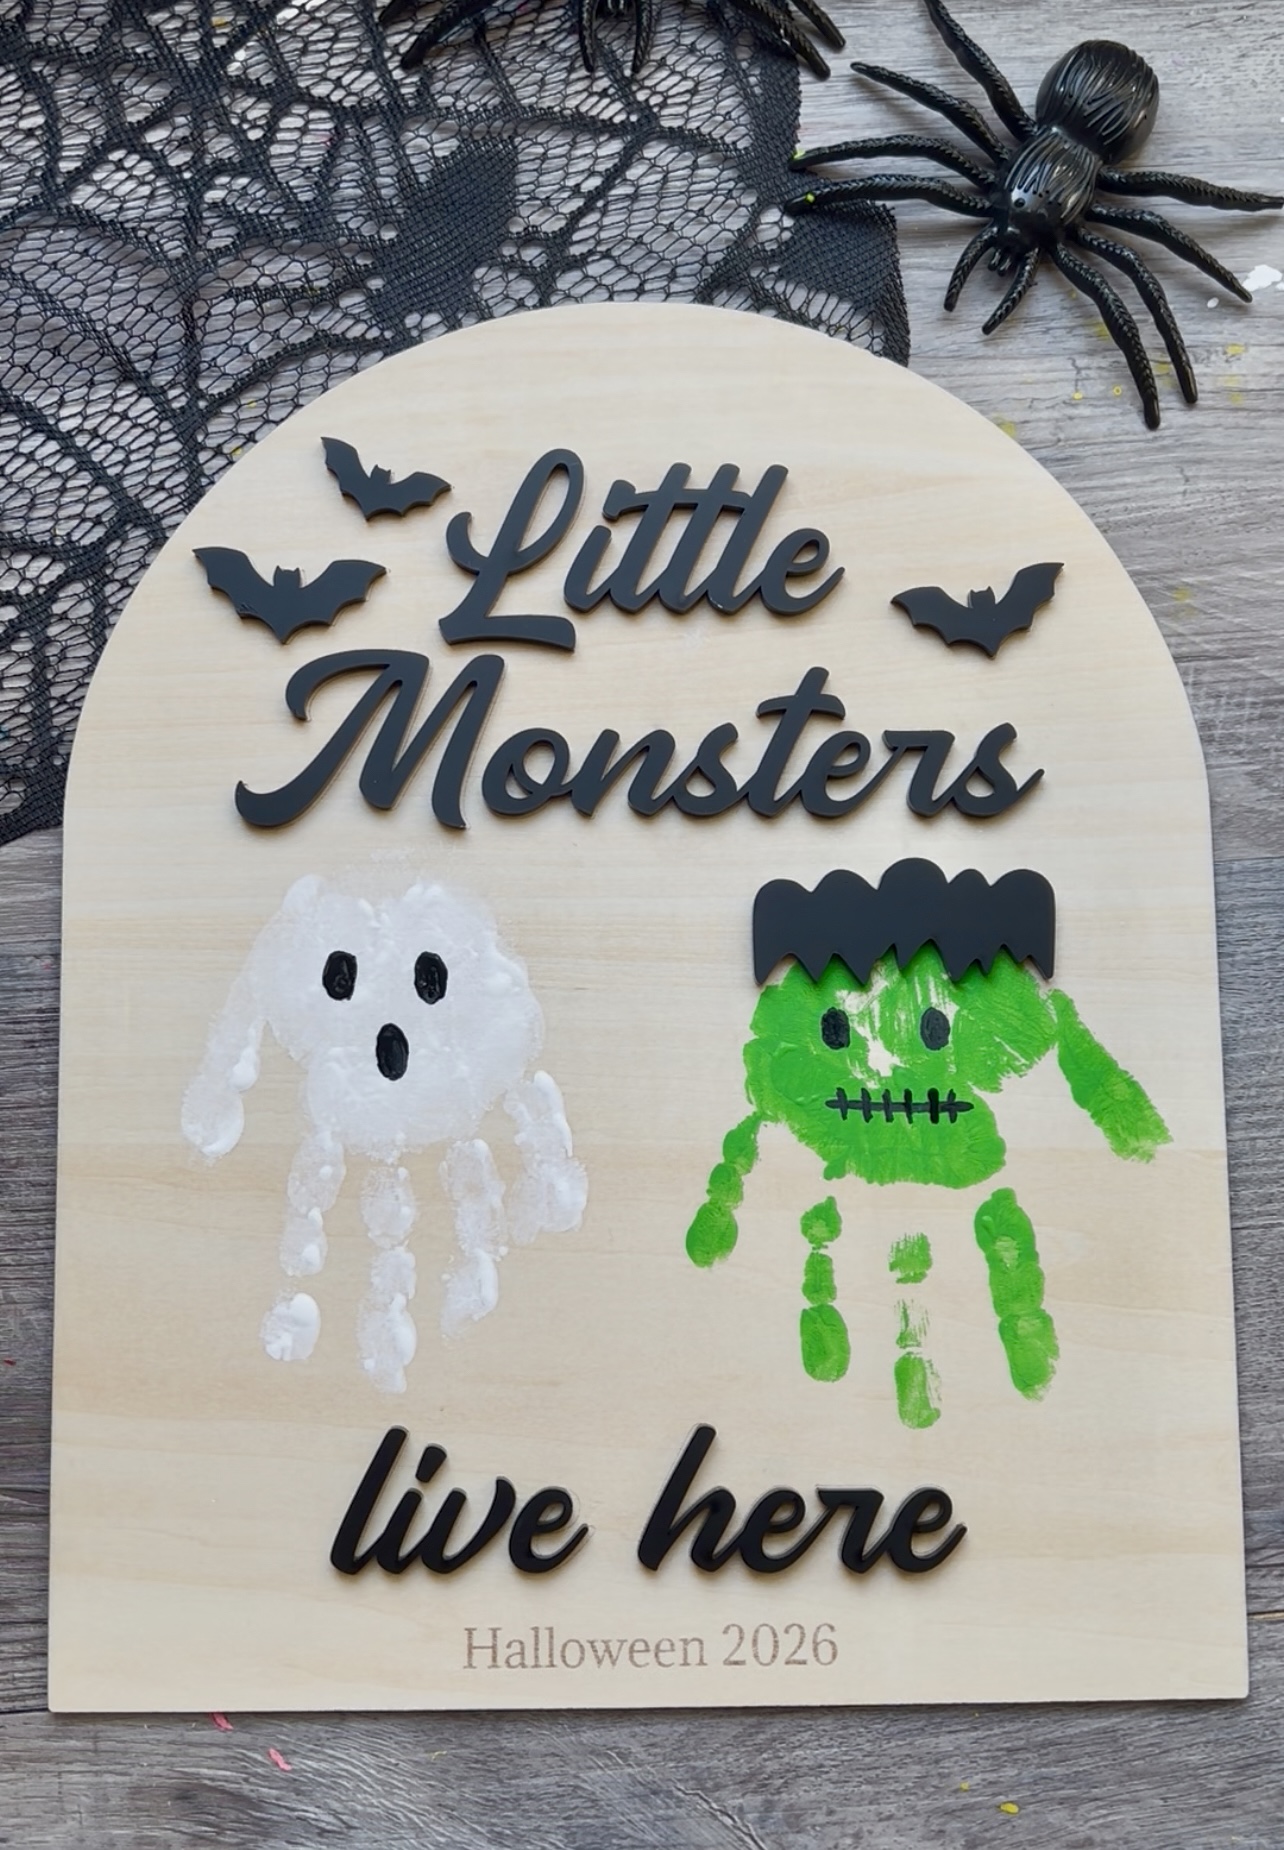
I combined laser-cut wood and black acrylic with my daughters handprints to create a fun decoration we can display year after year.
What you’ll need:
- xTool M2 Laser Cutter
- xTool Studio
- Wood Sheet
- Black Acrylic Sheet
- White, Black, and Green Acrylic Paint
- Paintbrushes
- Wood Glue or we used Double Sided Adhesive Tape
- Your little monster’s hands!
- Optional: Clear Protective Sealer
Important: Always check xTool’s recommended material settings for the exact material you’re using, Acrylic types, and thickness can require different settings, and xTool specifically recommends checking material compatibility before processing.
A Little About the xTool M2
For this project, I used my xTool M2 to cut both the wooden sign and acrylic pieces.
The M2 is a desktop color craft laser that can color, cut, and engrave materials such as wood and compatible acrylic. It also has dual cameras that help with positioning and previewing your design. The M2 also supports a variety of materials and has a working area of approximately 16.7 x 12.6 inches with the 10W/20W laser modules, which gives you plenty of room for pojects like signs, decorations, and layered wood crafts.
How To Make a Little Monsters Halloween Sign in the xTool M2
Step 1: Upload the project into xTool Studio
I created the sign in xTool Studio, there are two files. One is for the first layer that will be cut and engraved onto the basswood. The next file are the pieces you’re cutting out on acrylic. Download file one for the basswood here. Download file 2 for the acrylic layer here.
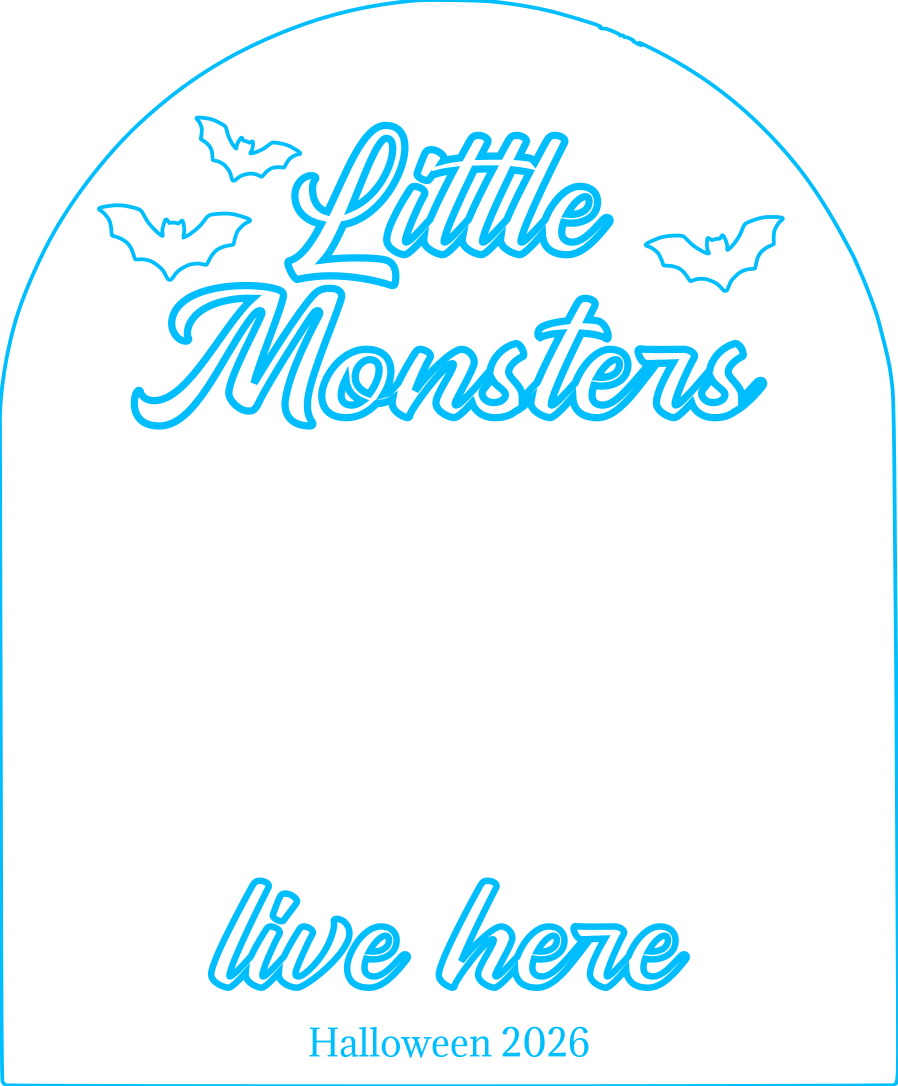
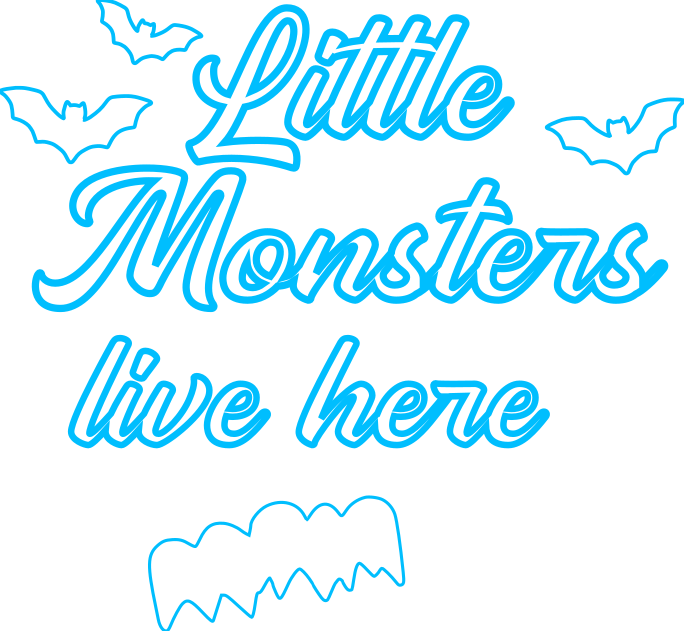
Once you upload your design into xTool Studio you can edit the year if needed. Also make sure that the sizing of your text is the same size as the acyrlic file text so when you glue the pieces they fit correctly.
Step 2: Cutting the wood
Place your basswood into the xTool M2 and set up your material according to the type and thickness of wood you’re using.
Here are the following settings for this file. We’re going to cut the shape of the sign, then lightly score the outline of the bats and “little monsters live here” because this will give us a light outline so we know where to glue our acrylic pieces when those are cut in the next steps. Then we’ll engrave “Halloween 2026”
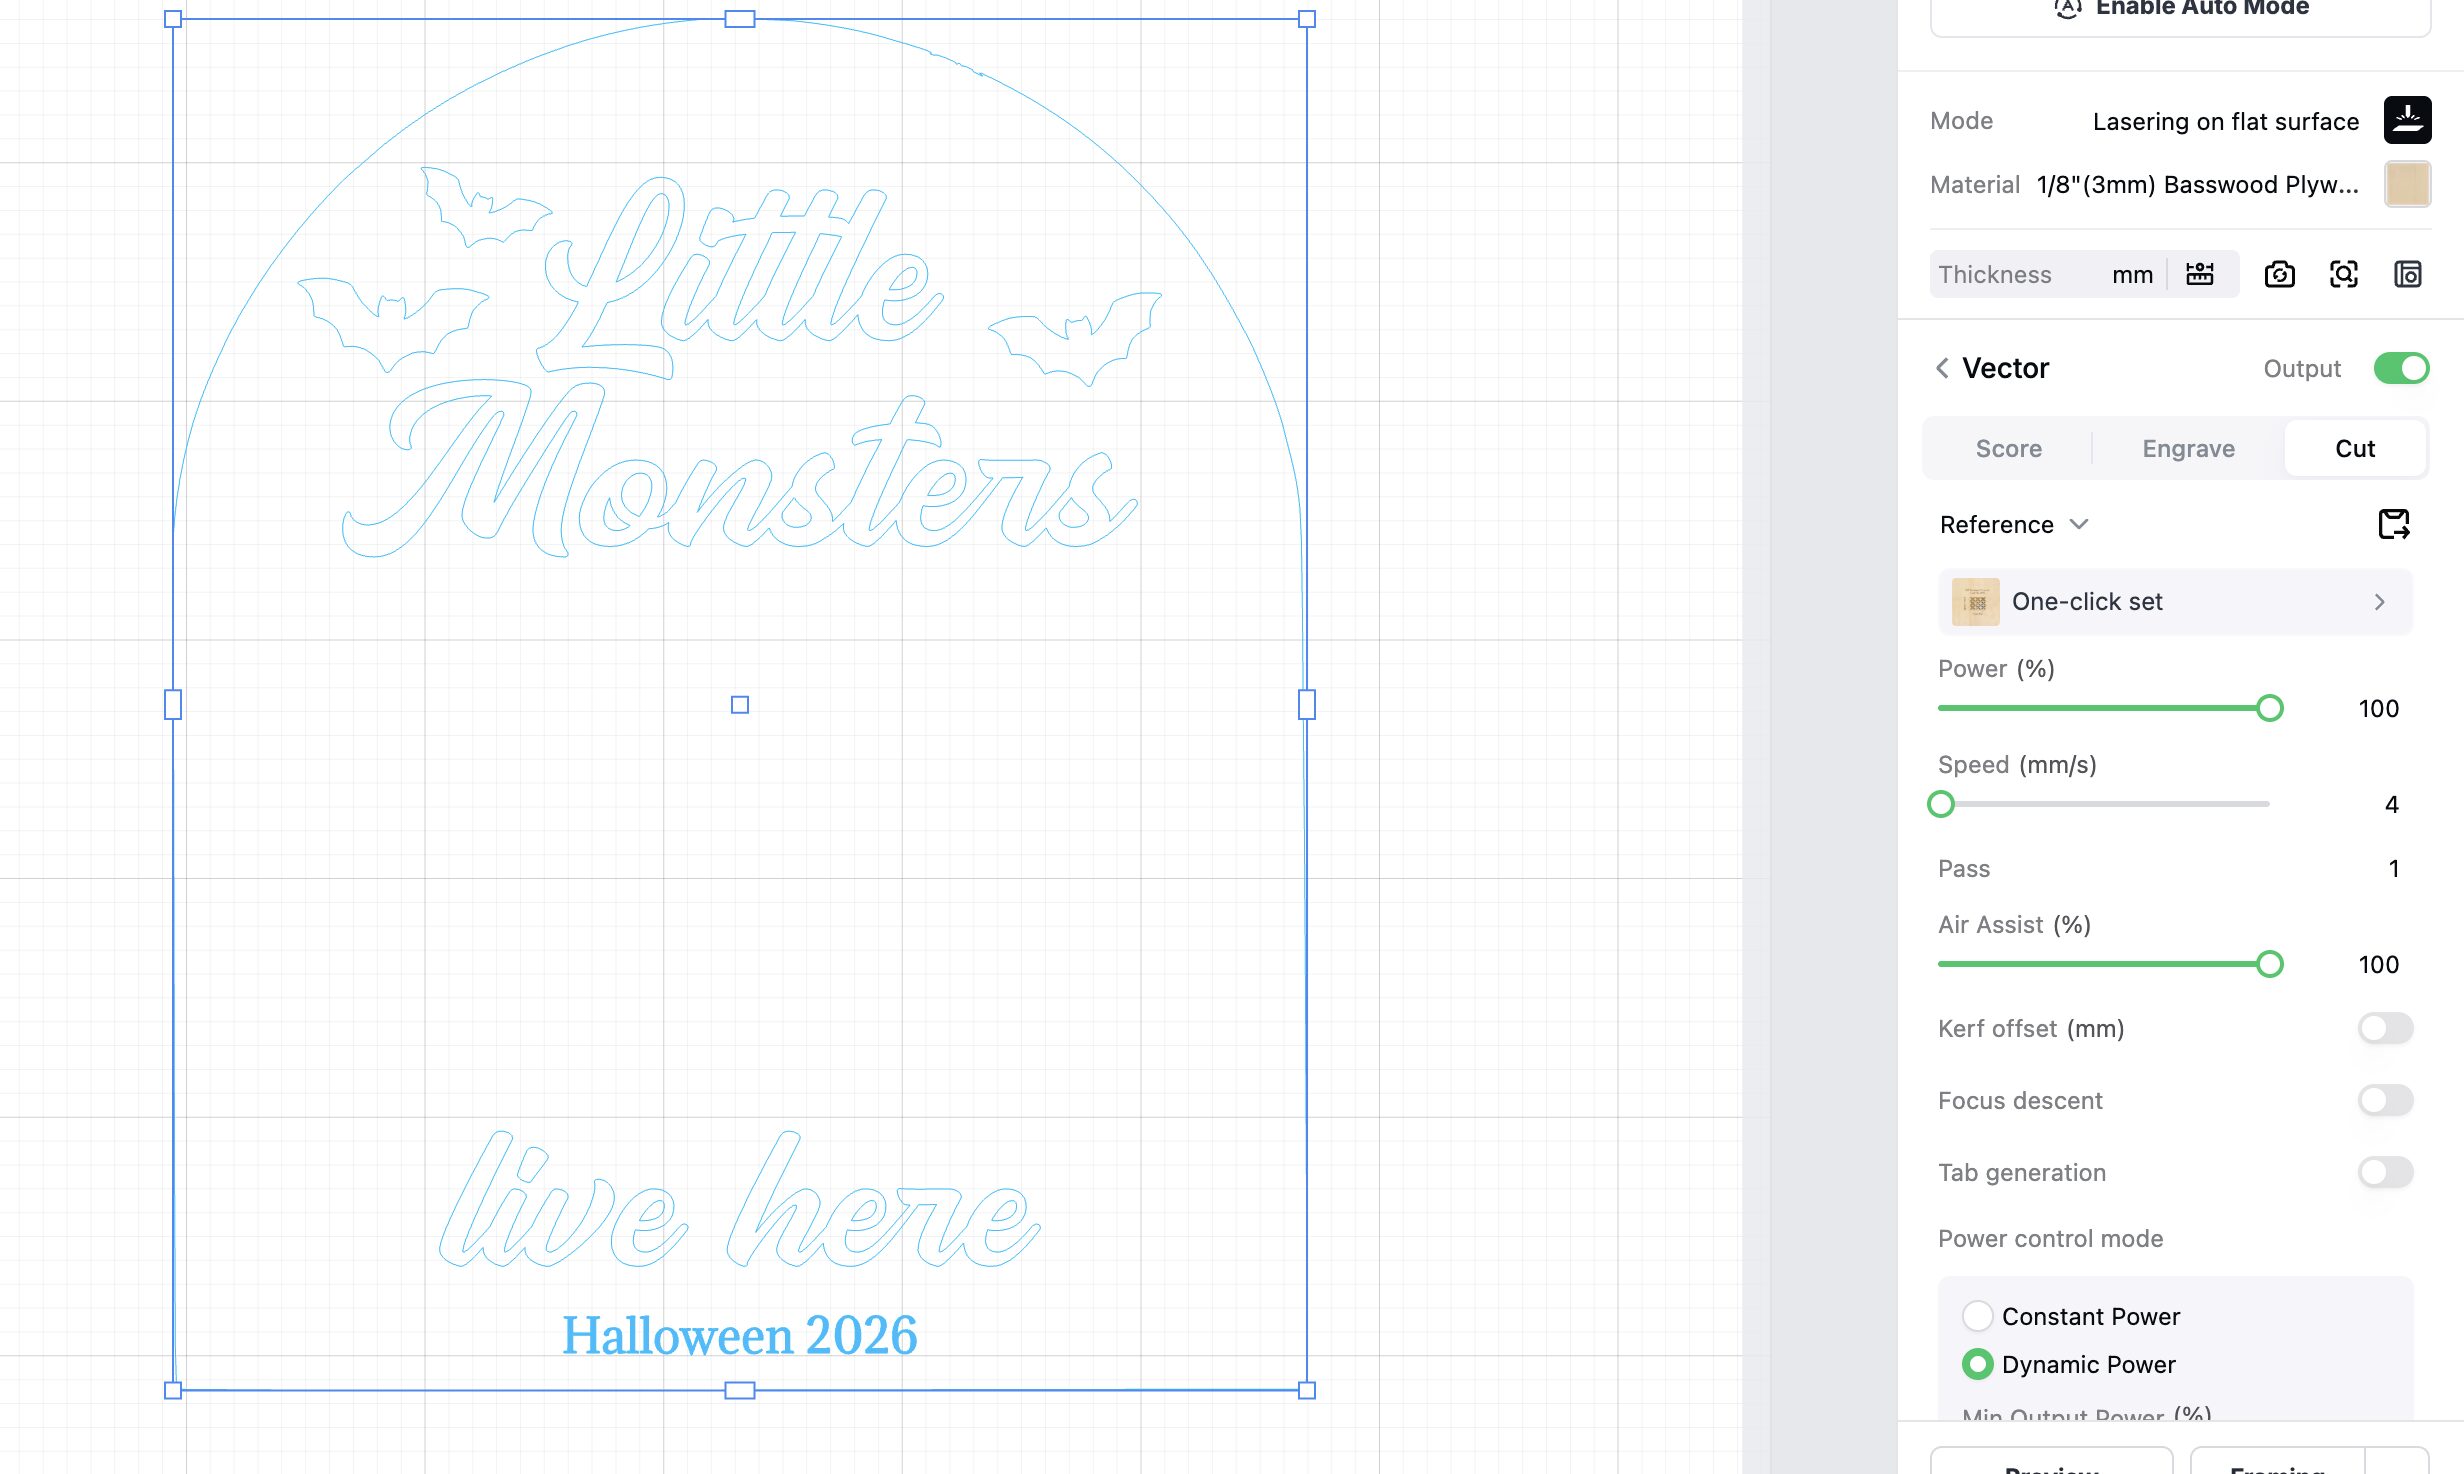
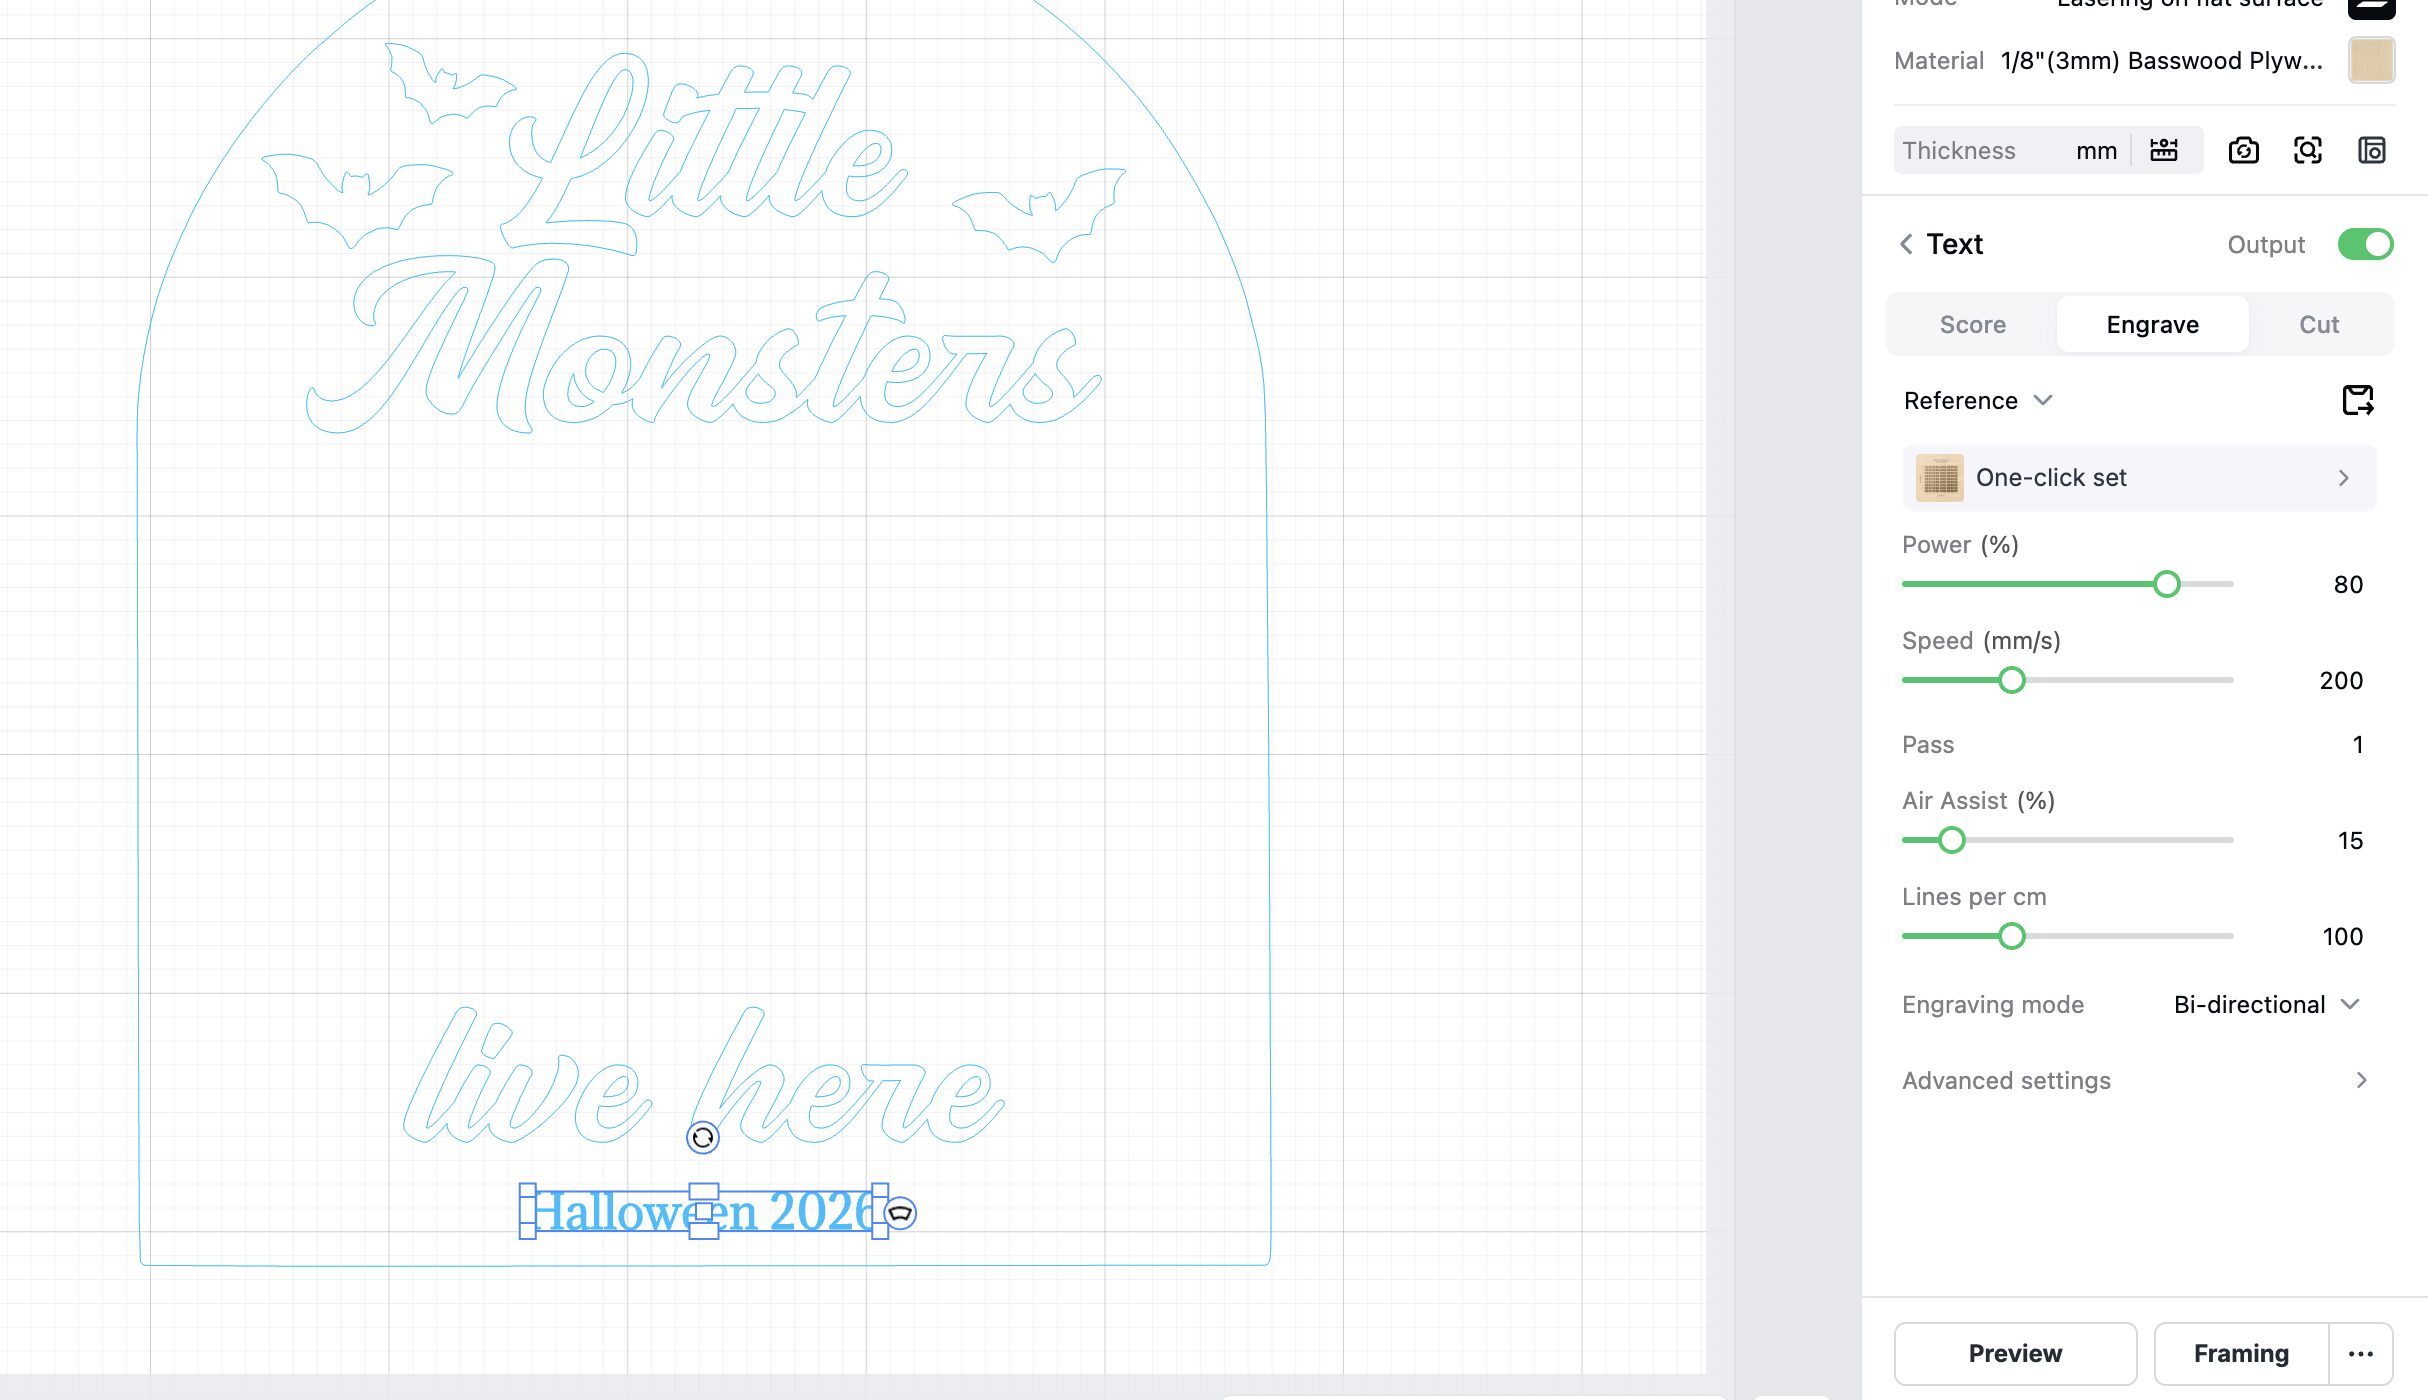
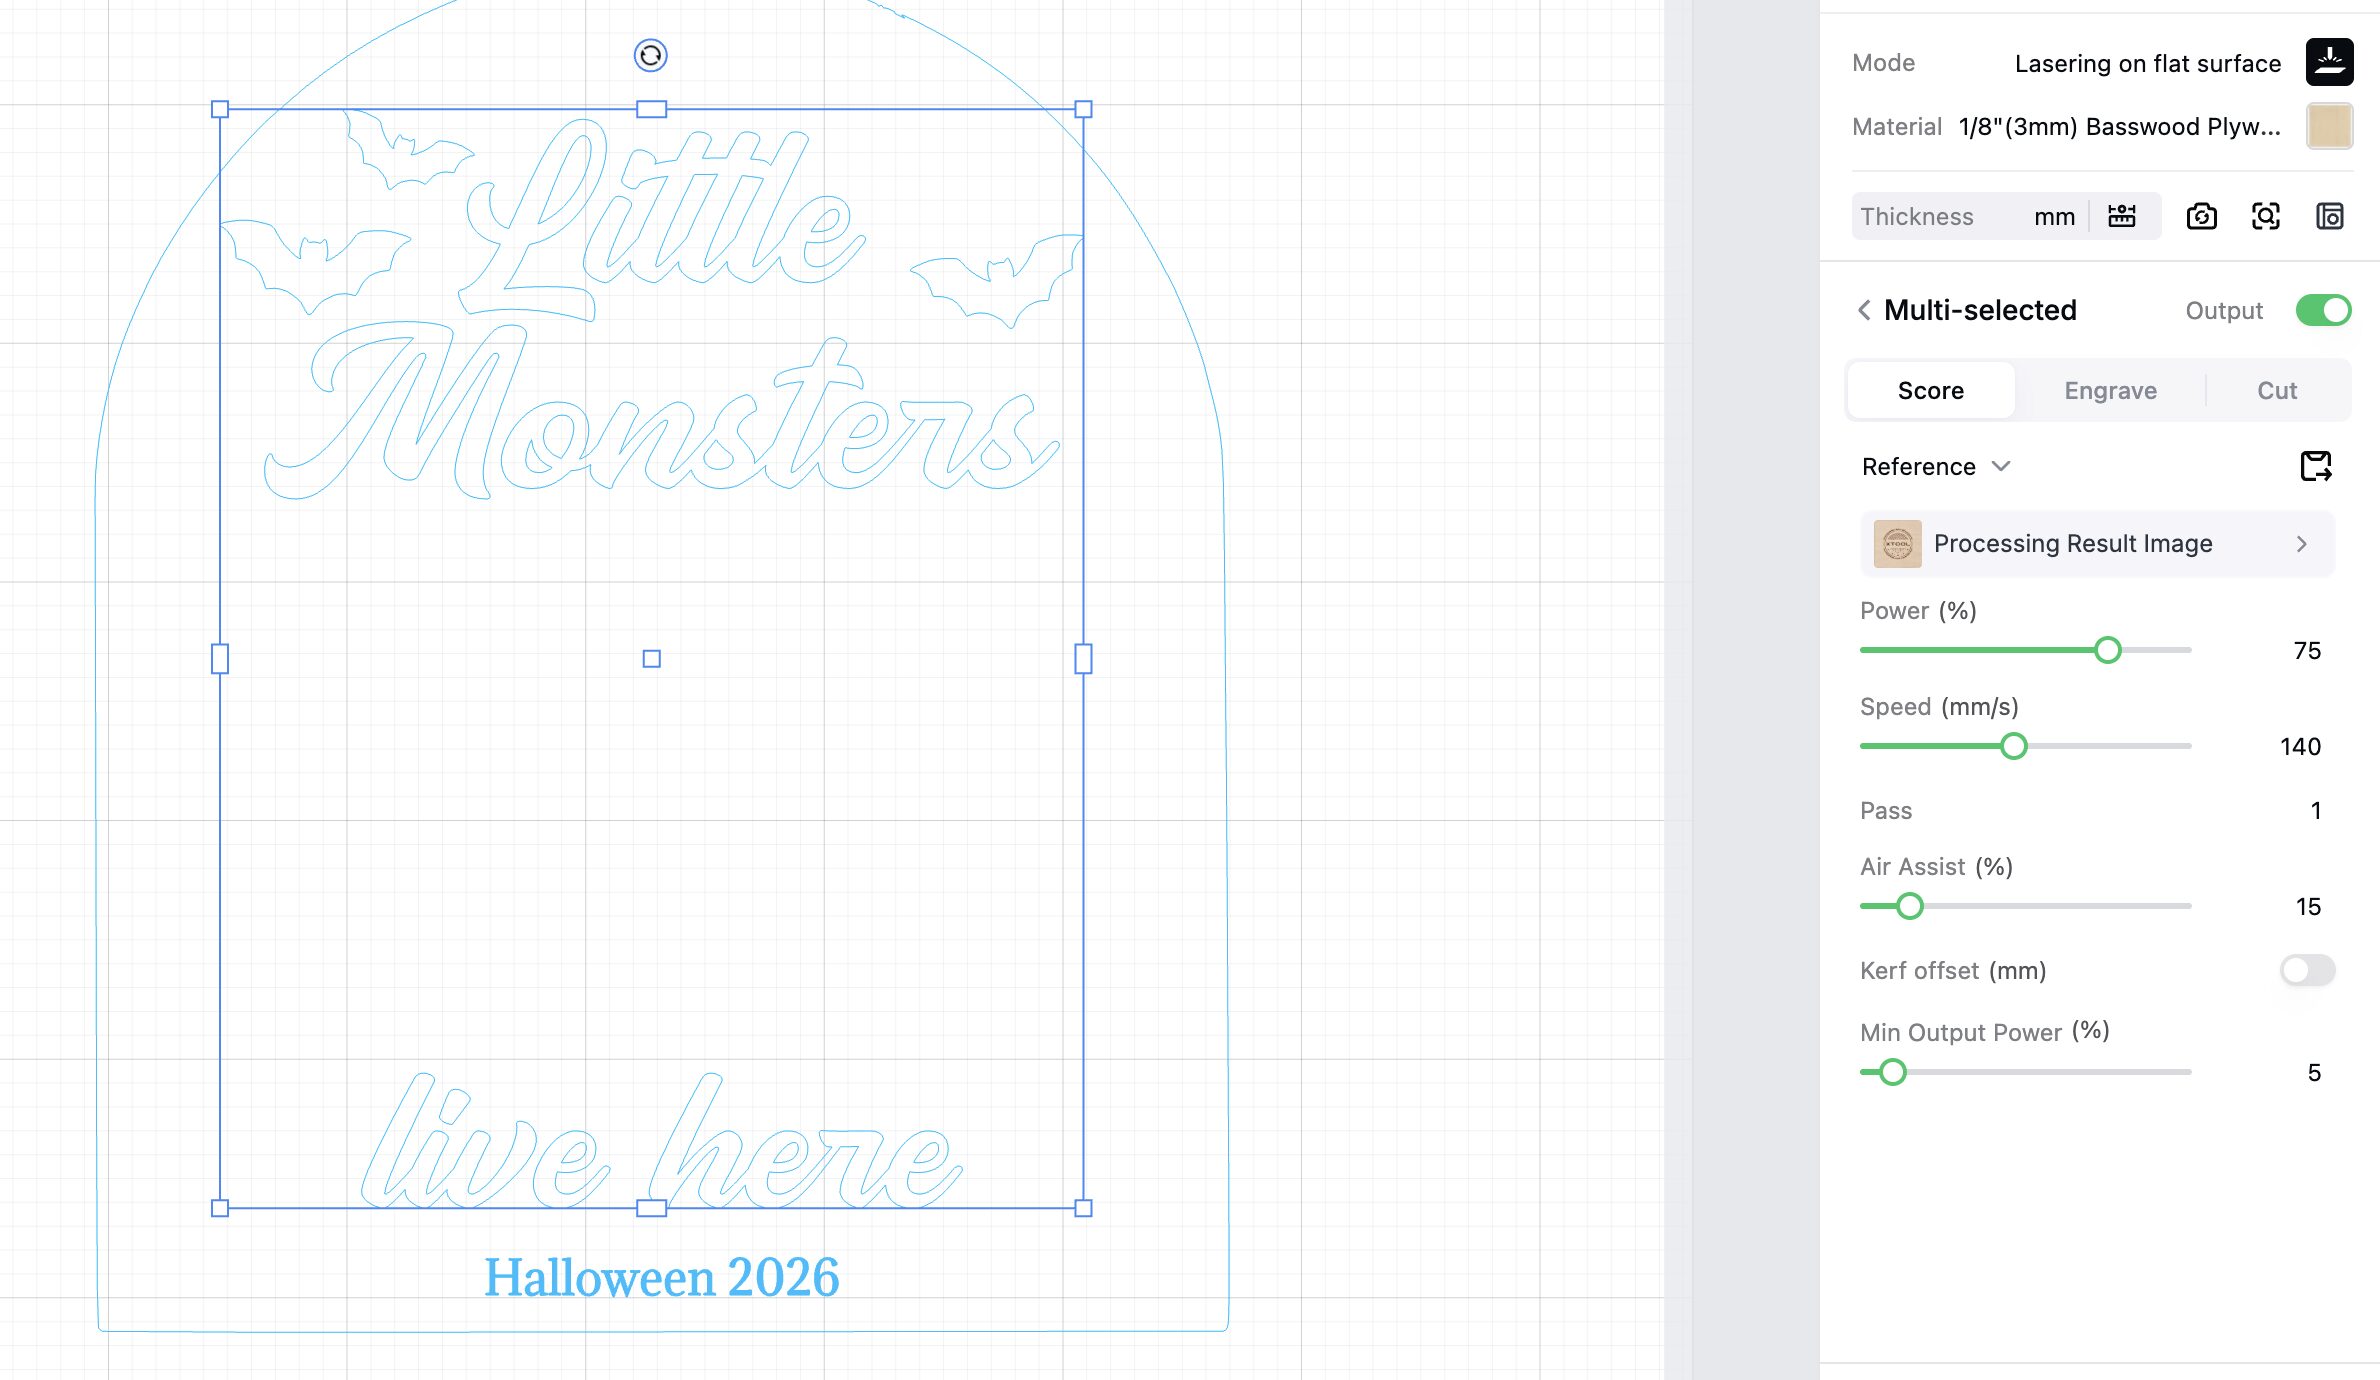
Process your project and send it to the xTool M2 to cut out.
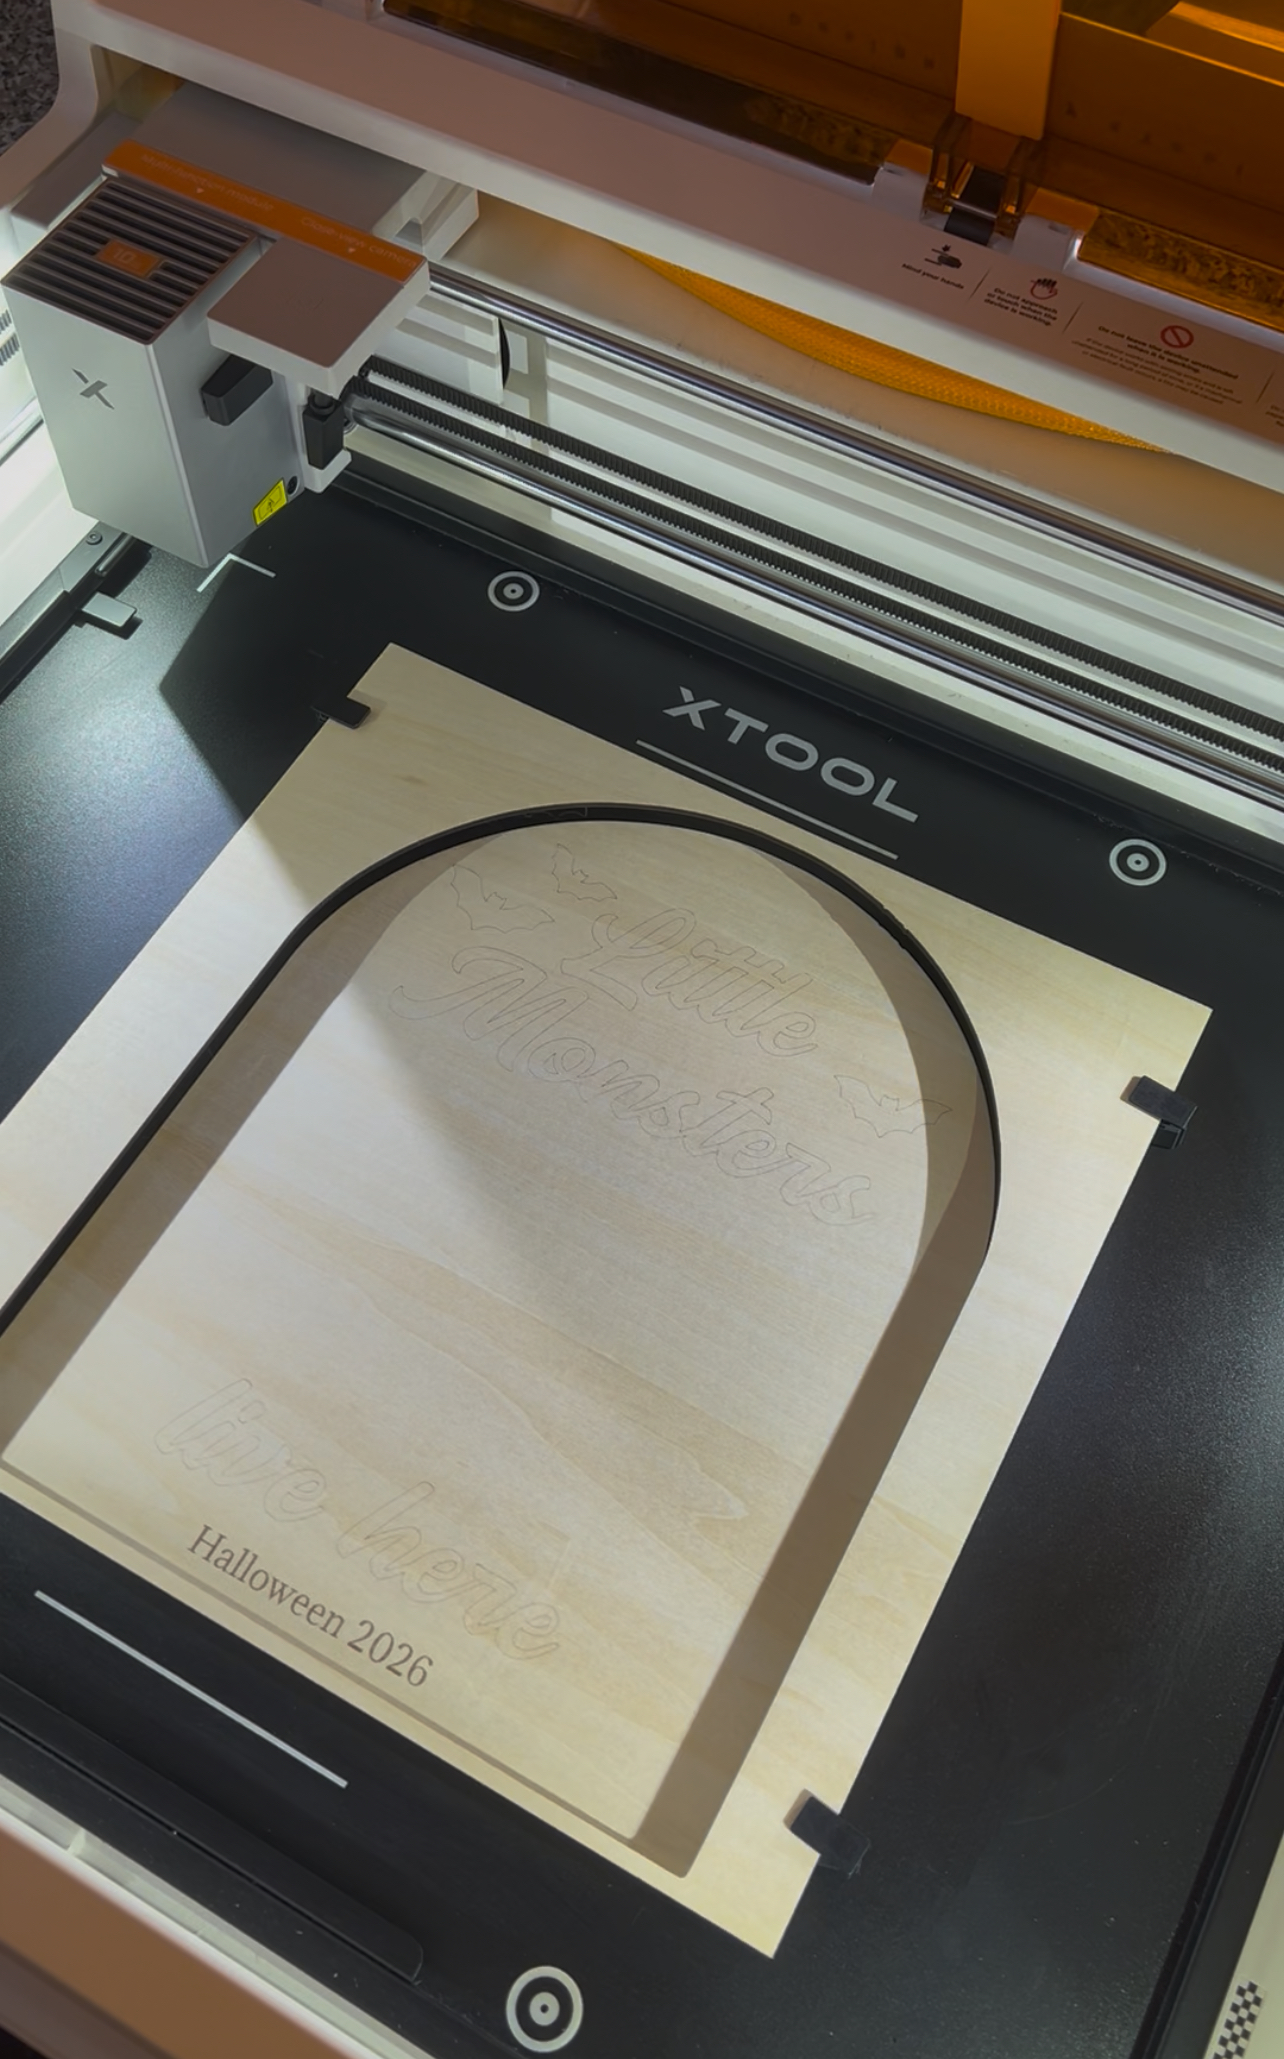
Once the cut is finished, remove the sign from the machine and wipe your laser bed to get it ready for the next file to cut.
Step 3: Cut the black acrylic pieces
For cutting out small pieces of acrylic I like to use double sided adhesive tape rather than wood glue but it’s up to you. If you’re using double sided tape make sure to place it on the back of your acrylic. I used the black acrylic to cut the raised pieces of my design.
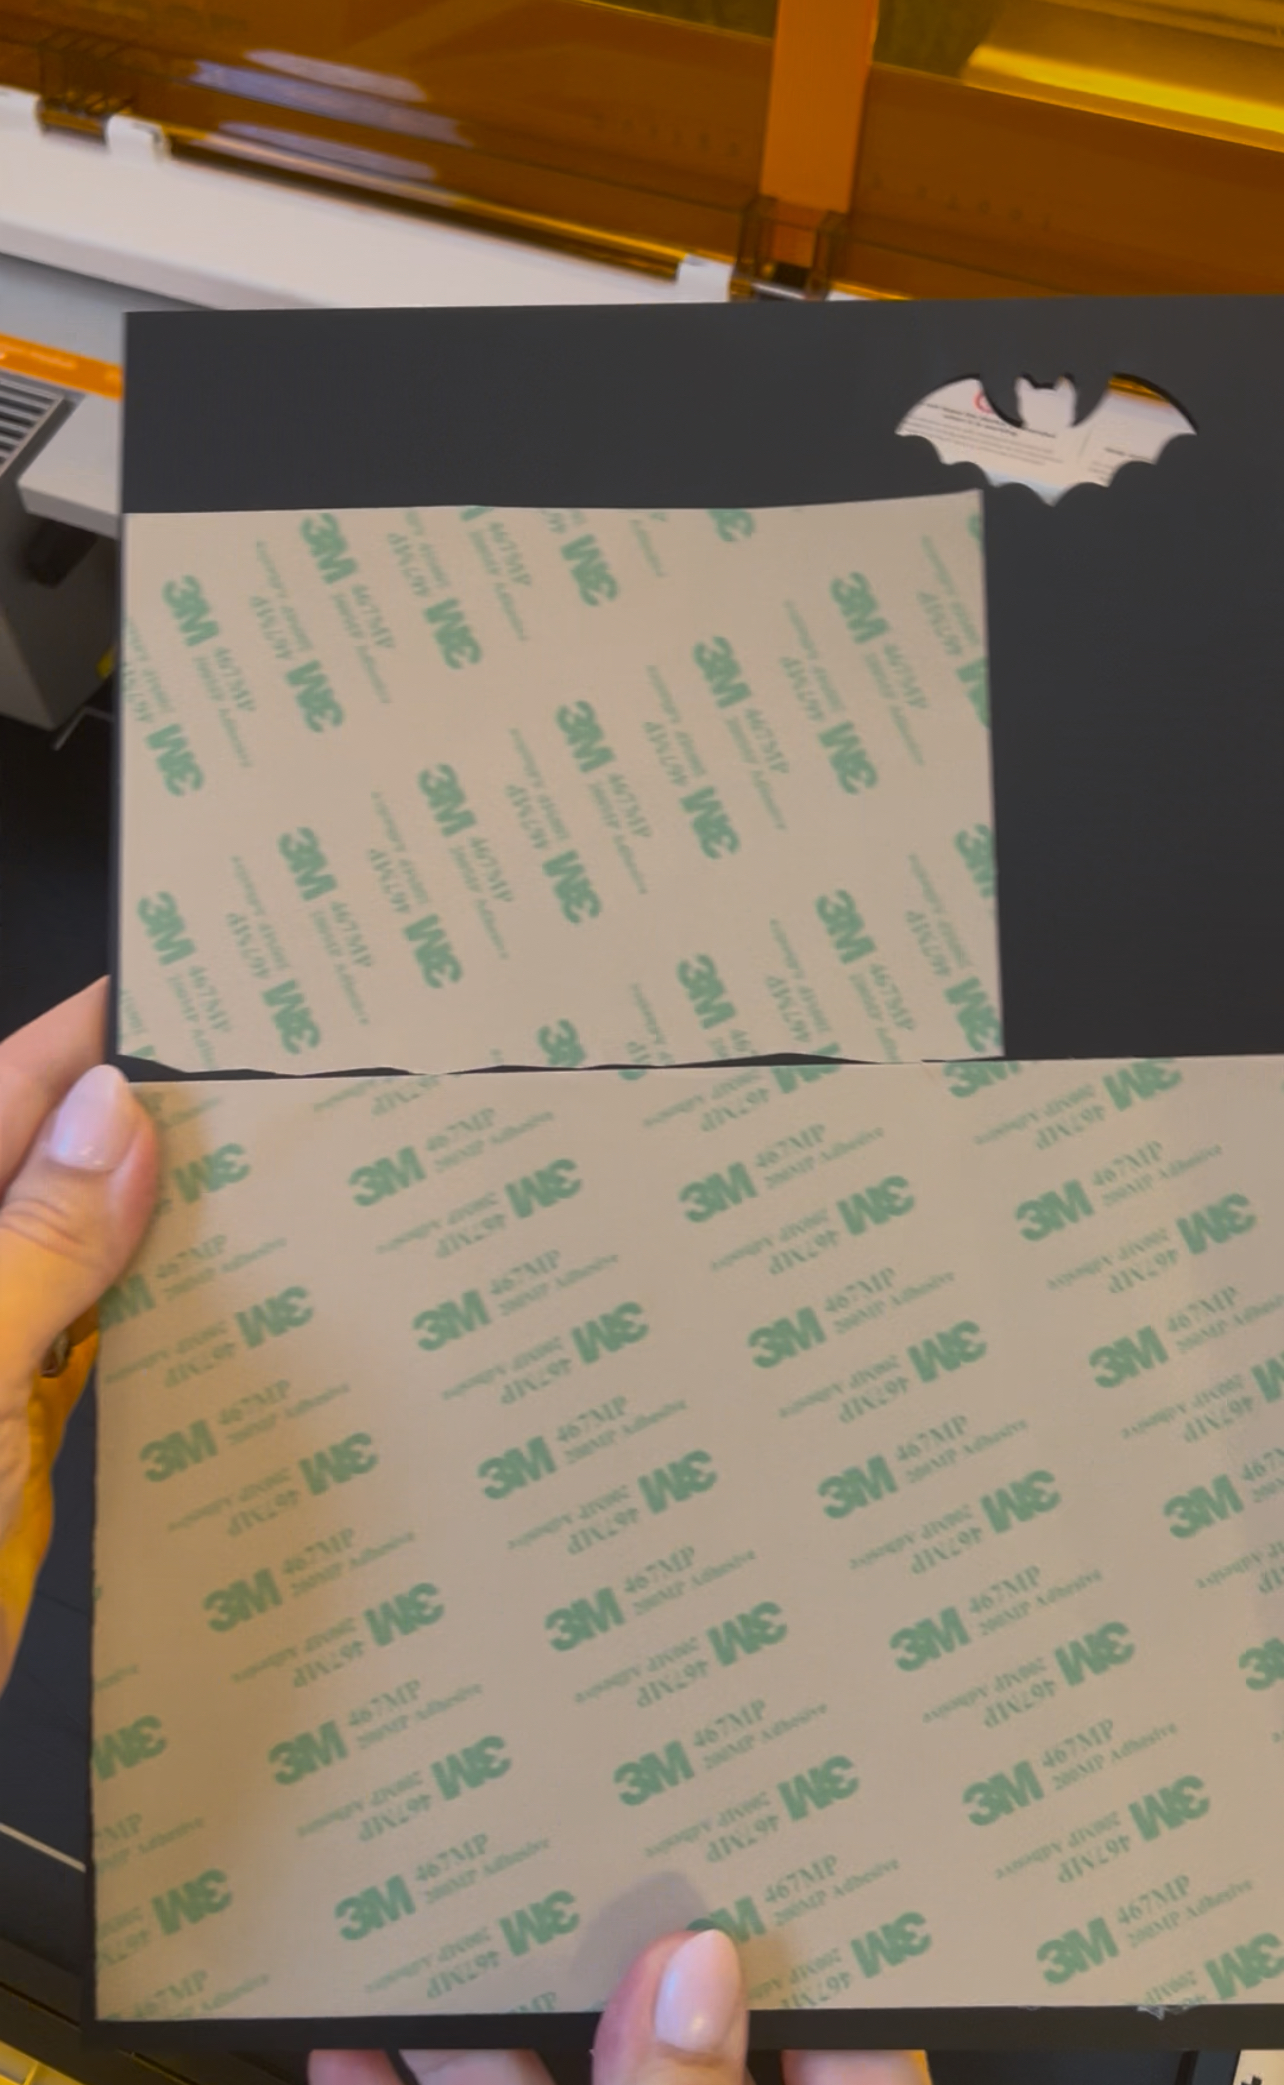
I cut:
- “Little Monsters”
- “Live Here”
- The bats
- and Frankensteins hair
Using the black acrylic gives the sign a nice dimensional look instead of having everything painted onto the wood.
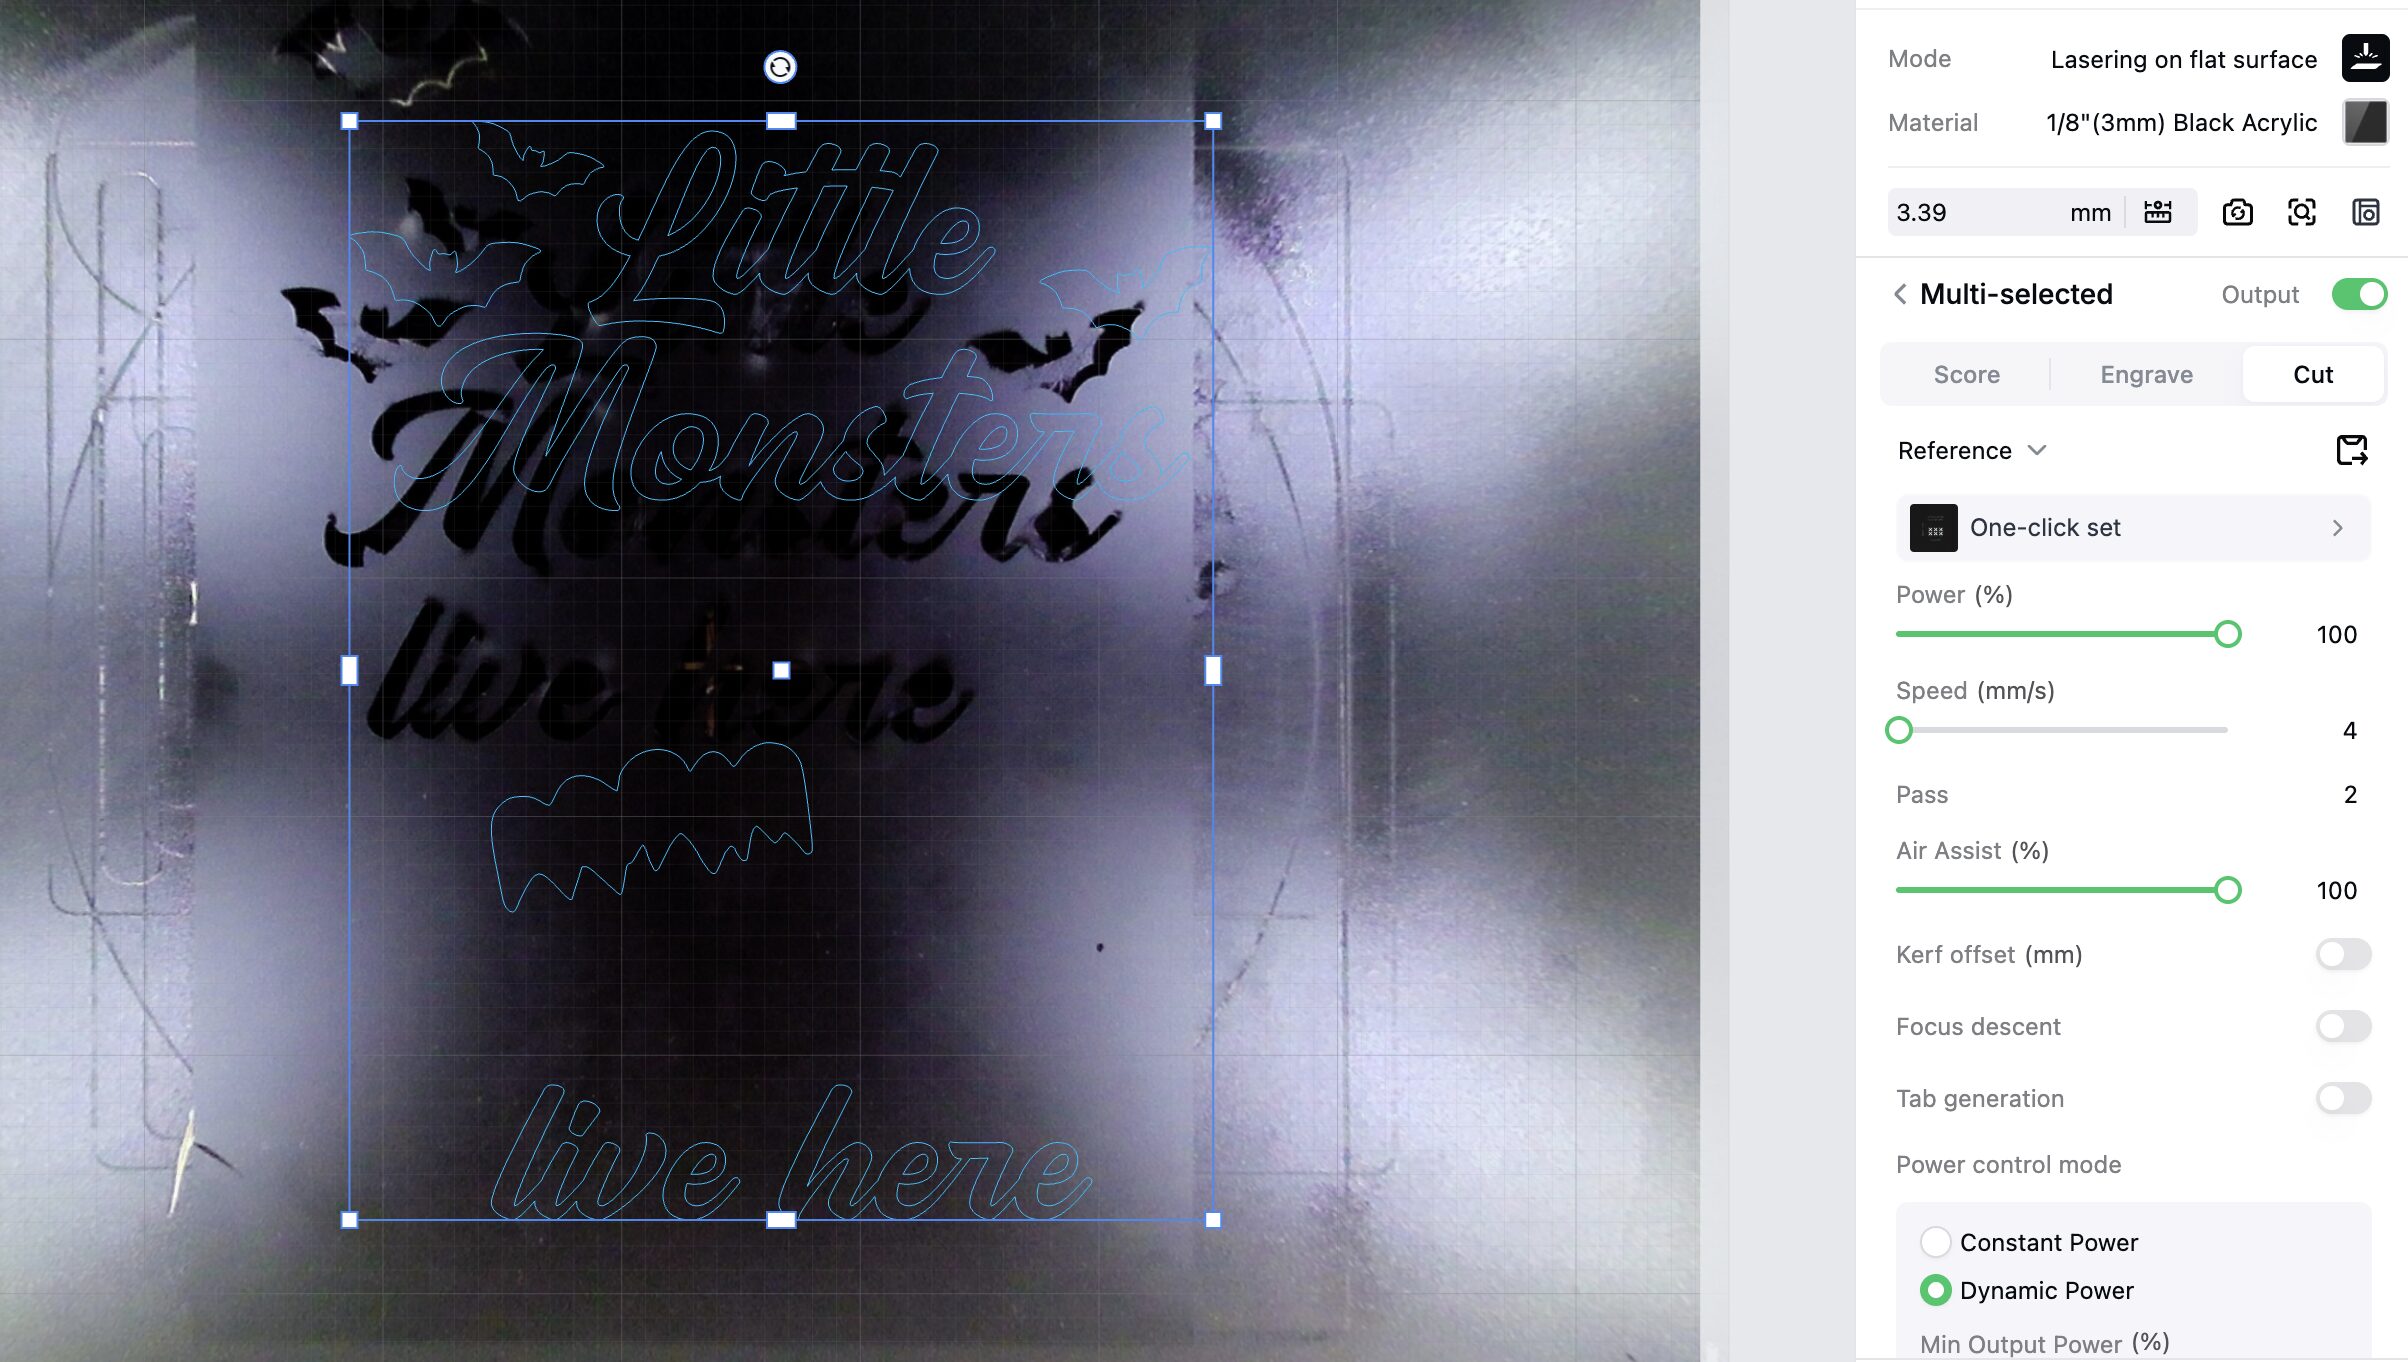
Tip: Before cutting, double-check your acrylic settings in xTool Studio and make sure your using the appropriate settings for the exact acrylic you’re using. In this project I used black acrylic supplied from xTool. But every acyrlic is different so make sure you test a small spot before doing the full cut.
For these settings for the black xTool acrylic I selected 3mm black acyrlic and used their automated settings. 100 power, 4 speed and 2 passes.
Step 4: Assemble
Assemble your acyrlic pieces onto your sign using wood glue or removing the backing of your double sided tape. For Frankensteins hair I waited to add that until the green handprint was dried.
Step 5: Create the handprint art
Next I painted my daughters hand with white acrylic paint and carefully pressed her hand onto the wooden sign, then repeat with a green handprint. Once the paint dried I added the black eyes and mouth.
Tip: Do a practice handprint on scrap paper first. It makes it much easier to figure out how much paint ot use and how you want to position the hand.
Once the paint is dried I attached the black acrylic hair on Frankenstein.
Optional: Seal it with a craft sealer
This project is a fun combination of laser crafting + kid-made art, which is exactly what makes handmade projects so special. And someday, when my little monster isn’t so little anymore, I’ll be able to pull this Halloween sign out and remember those tiny hands!
