This post is a sponsored post. I was given the xTool M2 machine to review. As always, all opinions and experiences expressed are my own. This post contains affiliate links. Please see my disclosure policy.
Turn your family into the cutest Thanksgiving decoration! This personalized turkey garland is made with cardstock and family photos, all printed and cut on the xTool M2. It’s an easy project that adds a fun personal touch to your Thanksgiving decorating – and you can even include your pets!
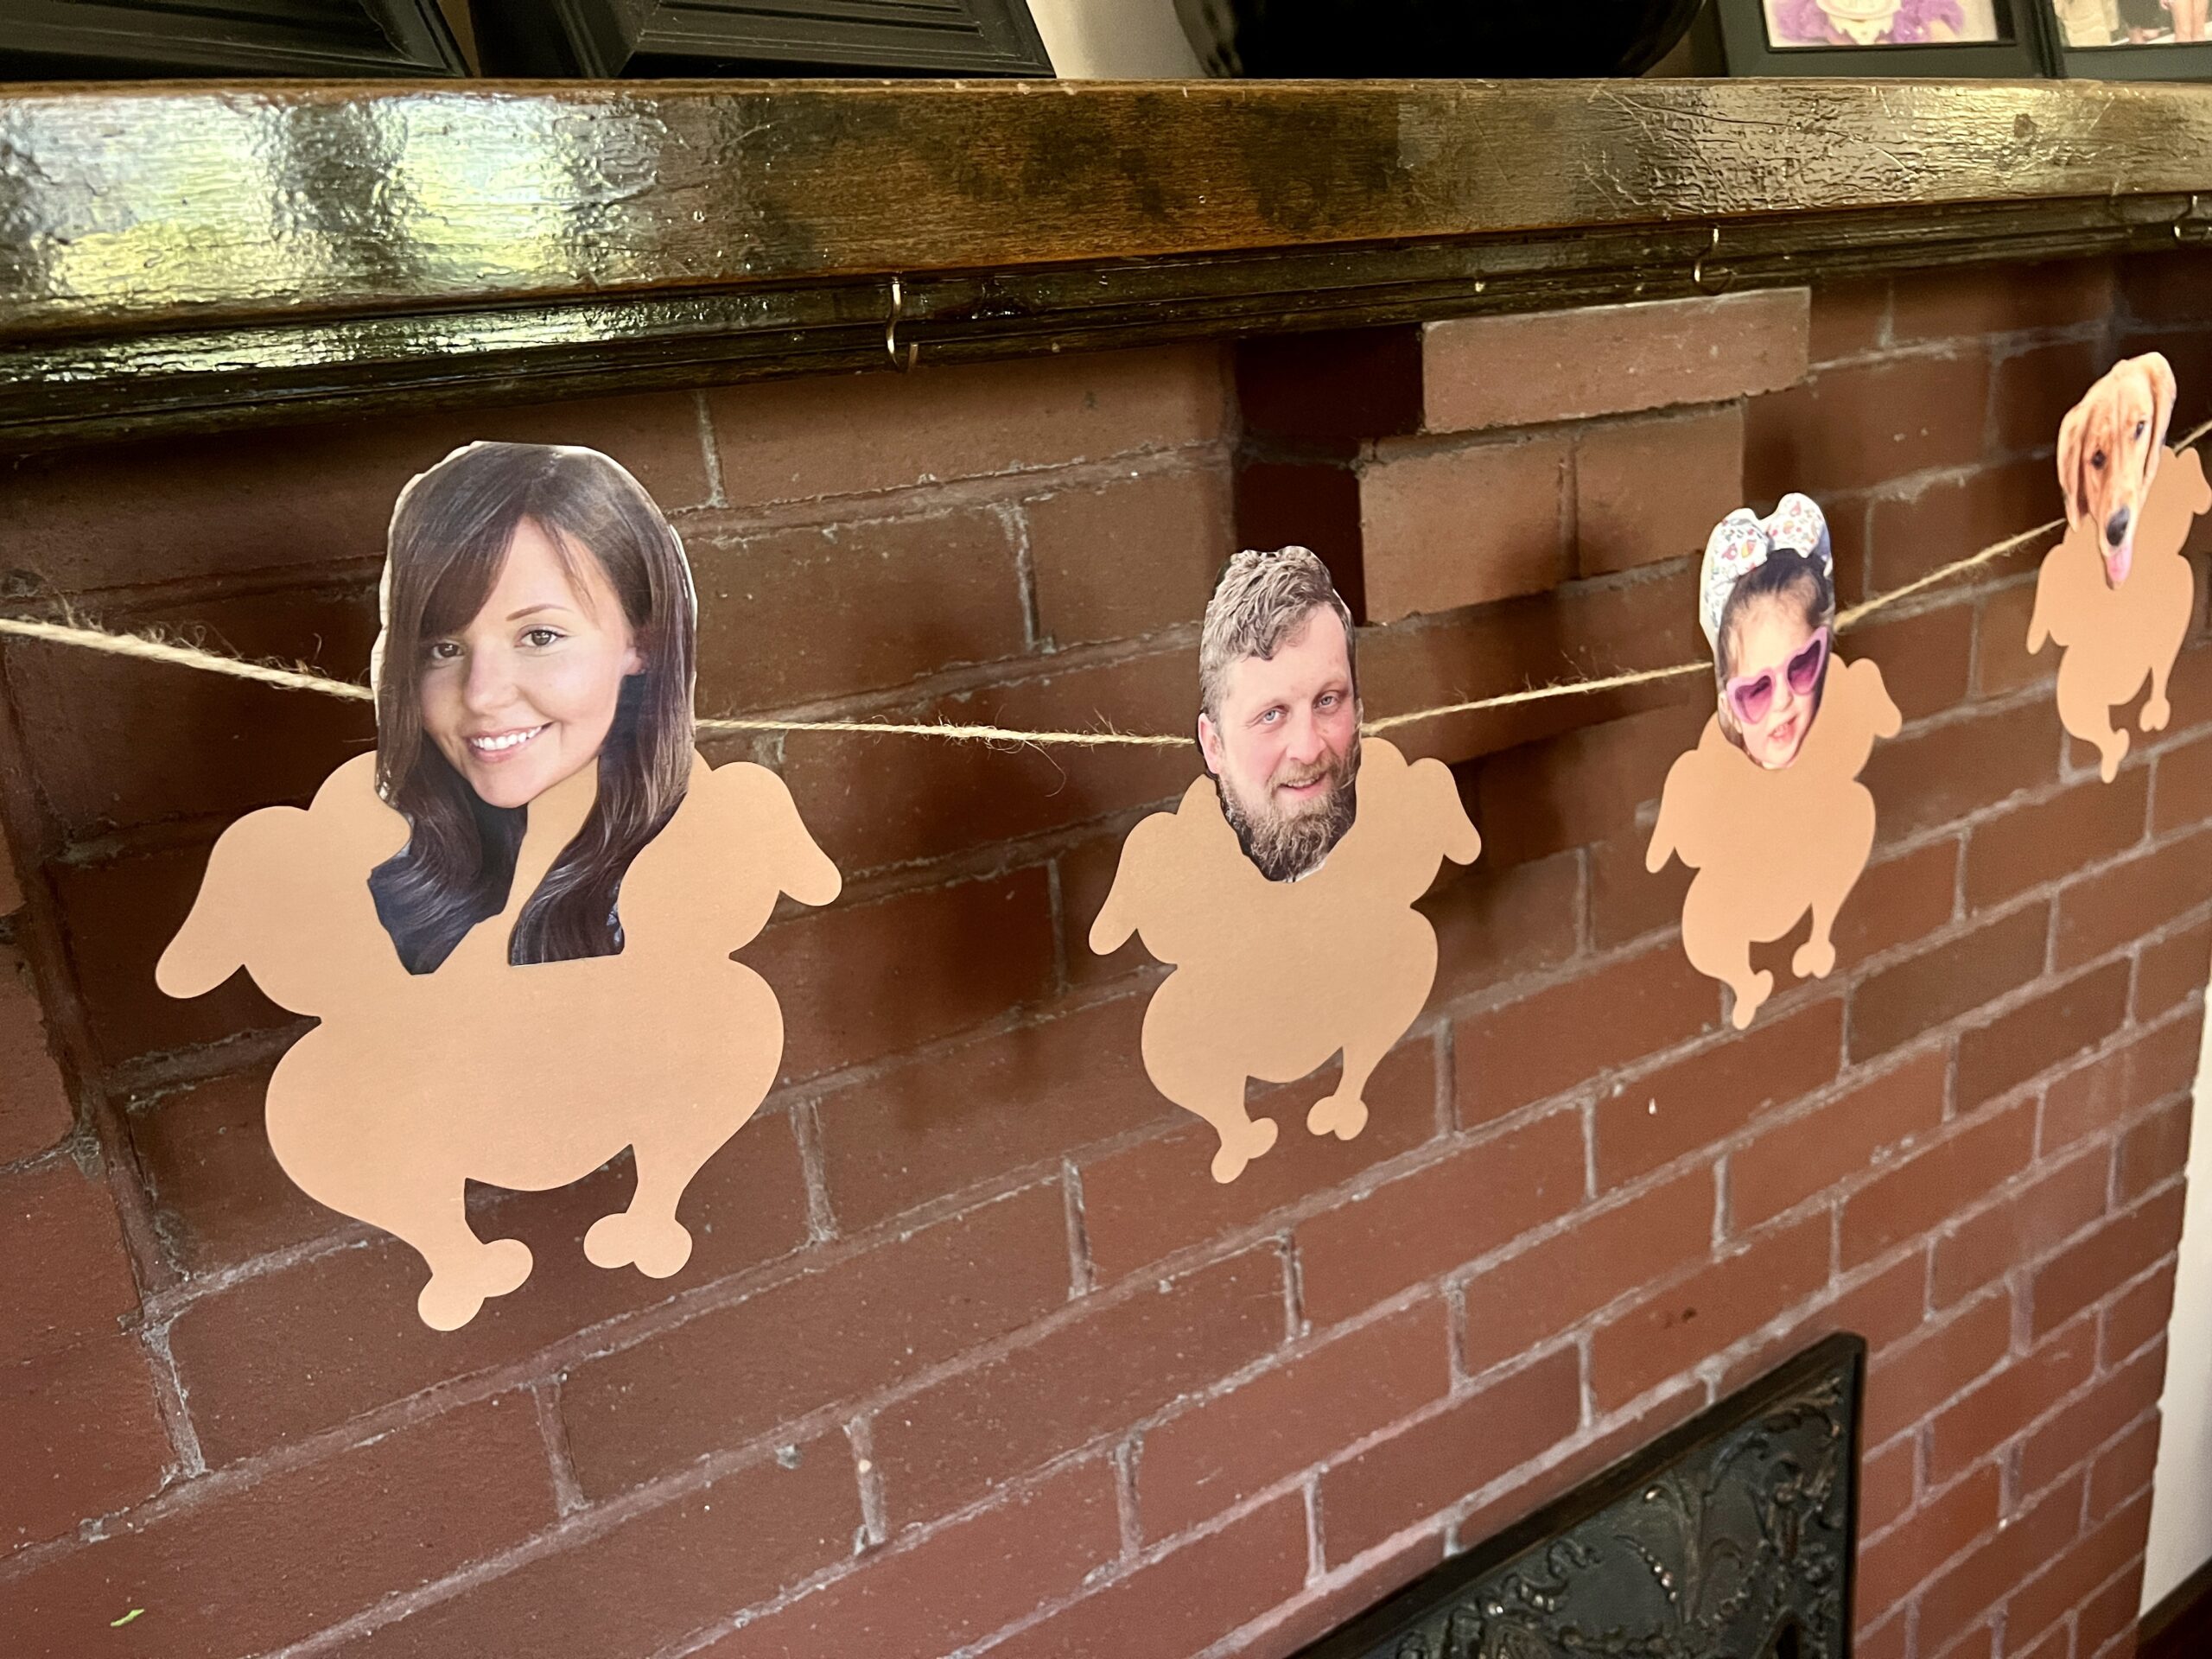
I really love this project because it combines several of my favorite things about the xTool M2. I used it to cut the turkey bodies from brown cardstock, printed each family member’s face, and then switched the laser module to pricisely cut around the printed faces.
Supplies Needed:
- xTool M2
- Brown Cardstock
- Photo Paper
- Glue
- Twine or string
- Scissors
- xTool Studio
- Photos of your family members
How To Make a Family Turkey Garland
Choose your photos
Begin by picking a photo for everyone you want to include. Individual portraits work great, but you can crop faces from family photos.
Choose images where the face is easy to see, since the face will become the center of each turkey. And if you have a furry family member, definitely give them their own turkey!
Create and Cut the turkey bodies
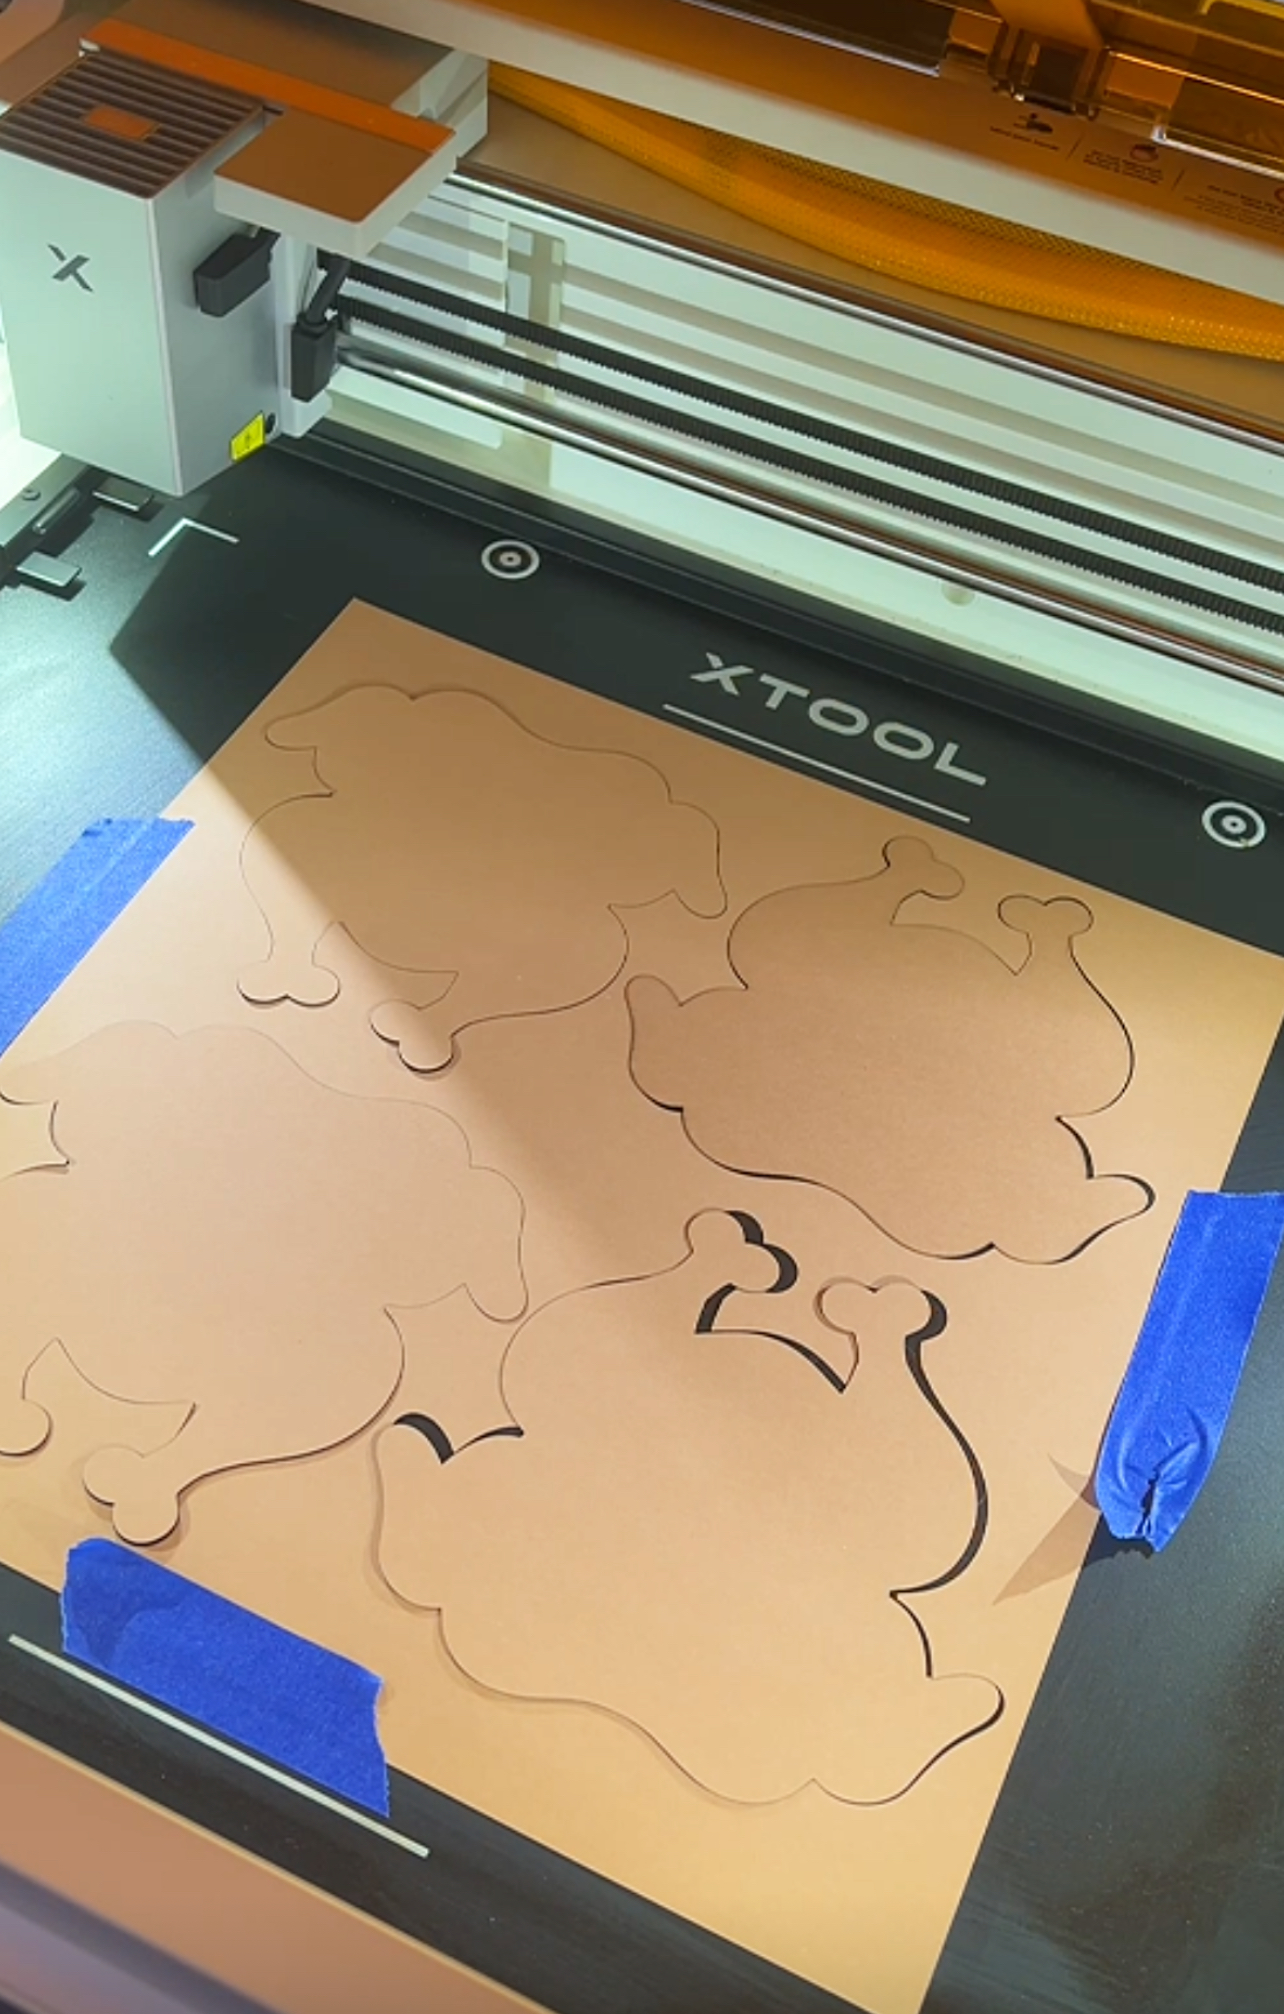
Download the turkey shape here then load it in xTool Studio. Click on image and select offset and change border to 0. Copy and paste this turkey shape as many times as you like onto your paper to cut. I was able to fit four to one page of brown cardstock. Make sure your turkey shapes are on the cut option. I used power 30 and speed 13 for my cut for the brown cardstock.
Print and Cut the faces
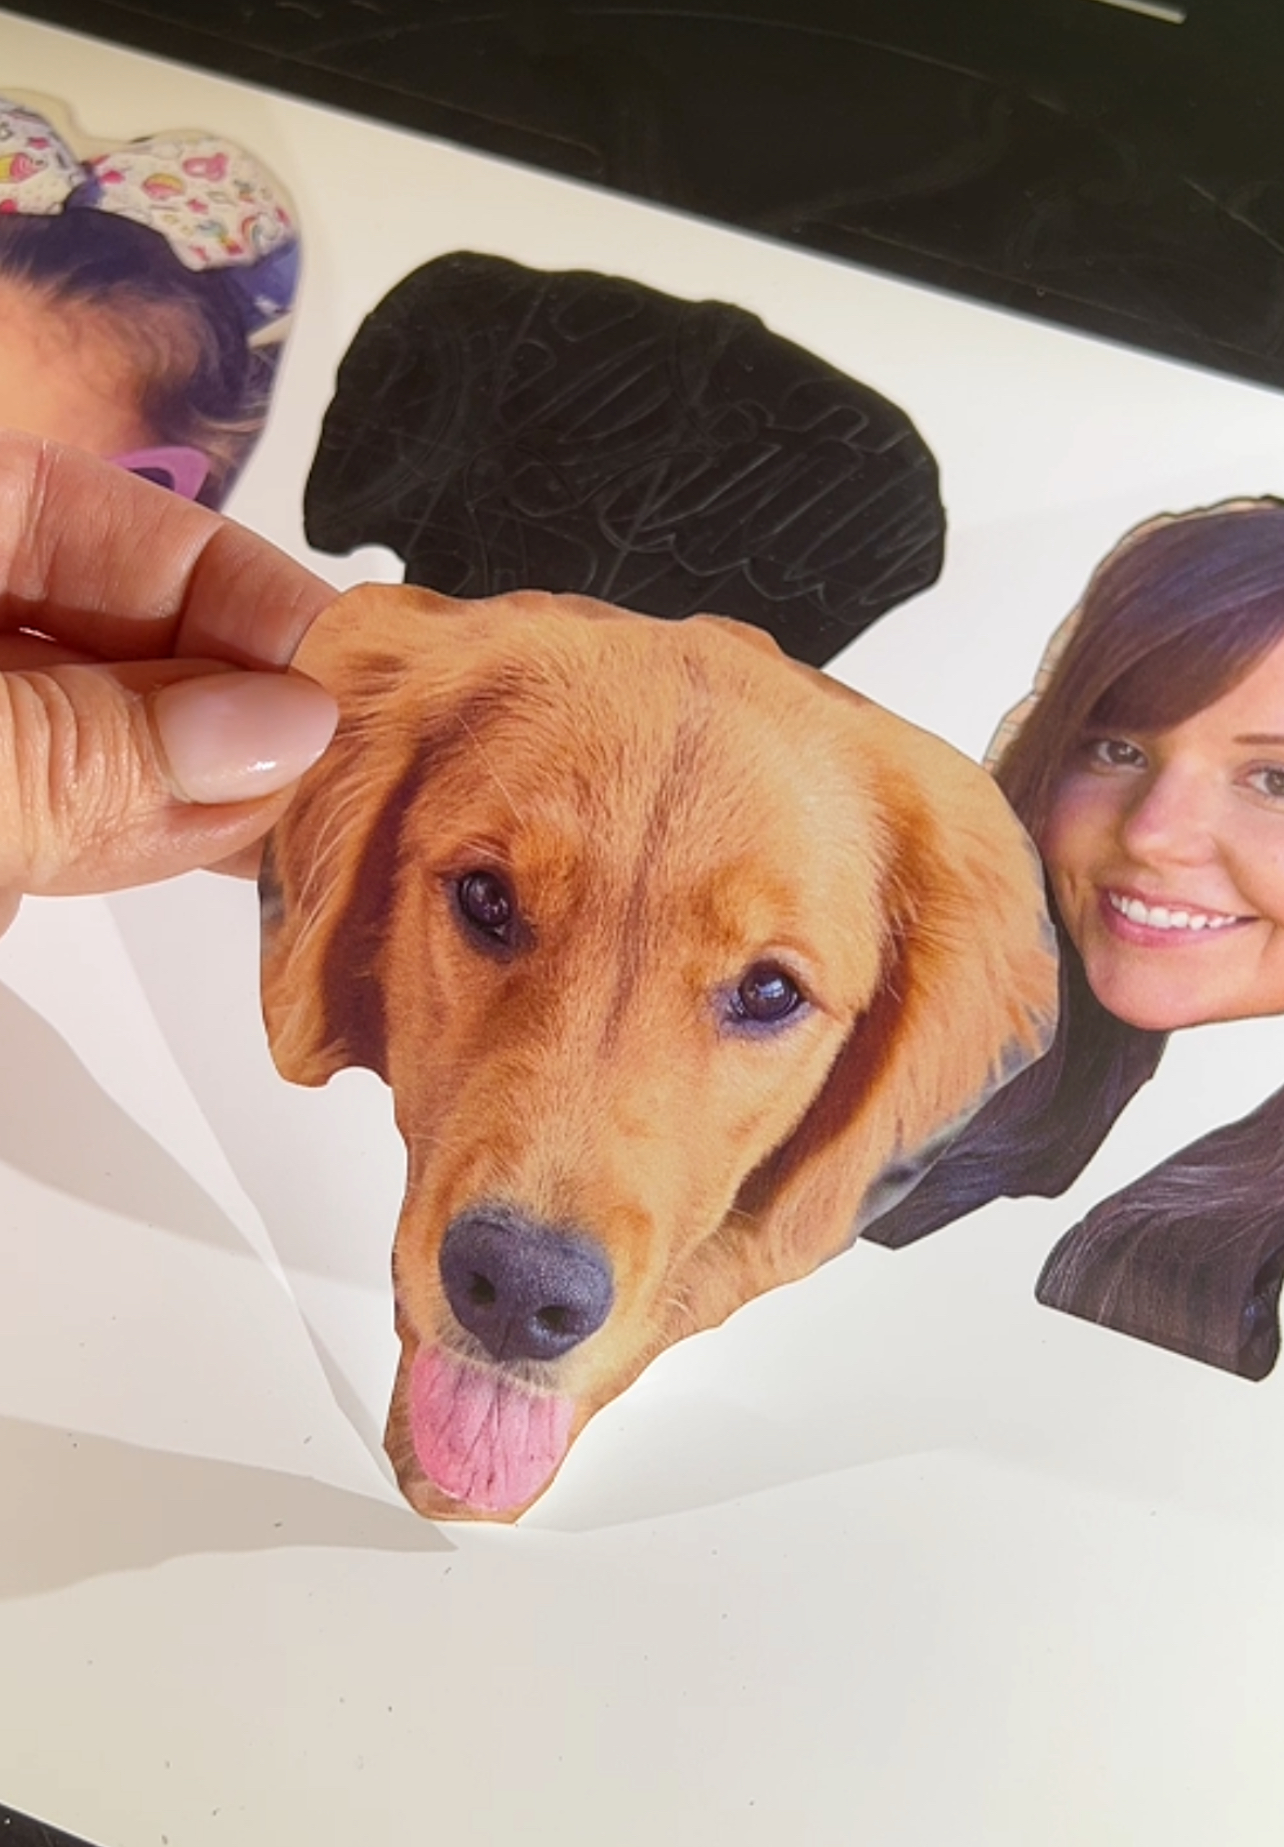
Next, print the family photos onto photo paper sizing each face so it fits nicely onto the turkey bodies. Once the photos were printed, I used the laser module on the xTool M2 to cut around the faces. This is one of the features that makes M2 so useful for personalized paper crafts. Rather than trying to trim around every curve with scissors the laser can create a clean precise cut around each printed face.
Assemble your tukeys
After cutting everything, simply glue each face onto its corresponding turkey body. Let the glue dry completely before attaching to string or twine.
Hang your finished garland across a mantel or thanksgiving table for an adorable personalized decoration!
I love when a craft becomes more than just a decoration, and this turkey garland is one of those projects. The finished garland is fun to display now, but it could also become a little Thanksgiving keepsake that oyu bring out year after year.
If you have an xTool M2, add this personalized turkey garland to your Thanksgiving craft list!
