Learn how to make your own homemade slime with this simple slime recipe using saline solution! The kids will love playing with this super stretchy slime!

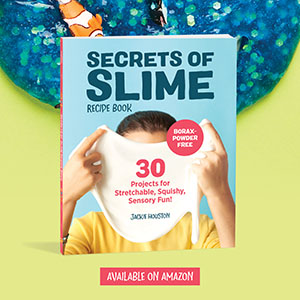
This slime recipe is just one of the few that we’ll be sharing as a sneak peak into the 30 kid-tested recipes that we have featured in our new Secrets Of Slime Recipe Book. Secrets Of Slime is set to release March 19th, but you can pre-order the book HERE on Amazon.
Easy Homemade Contact Solution Slime
This post contains affiliate links. Please see my disclosure policy.
Materials:
- 1/2 cup of Elmer’s Washable Non Toxic Clear Glue or Elmer’s White Glue
- 1 tsp Baking Soda
- 1/2 Cup of Hot Water
- Contact Solution
- Measuring Cup
- Bowls and a spoon
- Food Coloring or Paint
How to make slime using saline solution:
1. Add the 1/2 cup of hot water to a small bowl and then stir in the 1 tsp of baking soda. Stir that until it’s completely dissolved. Then in a separate bowl pour your 1/2 cup of clear or white Elmer’s Glue. Next, add in the water/baking soda mixture to the glue and stir well.
2. Next, this is the step where you’ll add in your food color, paint, or glitter. You can use either Elmer’s Clear School Glue or Elmer’s White glue but just remember when you add color to white glue, the color will be lighter. And you’ll use clear glue for jewel toned colors!

3. Then you’ll start stirring in your contact solution, a little at a time until the mixture starts to clump up. Add more solution until it is no longer sticky. . Once it starts completely sticking, then switch to mixing with your hands for a few minutes until you feel the majority of the liquid incorporated into the slime.

4. After using your hands for a few minutes the slime won’t be sticky or stringy anymore. Your slime can be played with right away but it’s consistency changes a bit over the next 30 mins to a smoother looking substance as opposed to the stringier slime that you’ll originally see. And don’t worry if the consistency isn’t changing, simply add more contact solution if it is too sticky and add more glue if it is too gloppy. You’ll want to store this in a clean and dry container or a zipper bag.

5. Then repeat these steps with your other colors. And then you can combine them at the end.

Make sure to follow I Heart Arts n Crafts on Facebook and Pinterest! And if you decide to make any of our crafts, please share them on our Facebook page for us to see!
Pin it for later:

