This post contains affiliate links. Please see my disclosure policy.
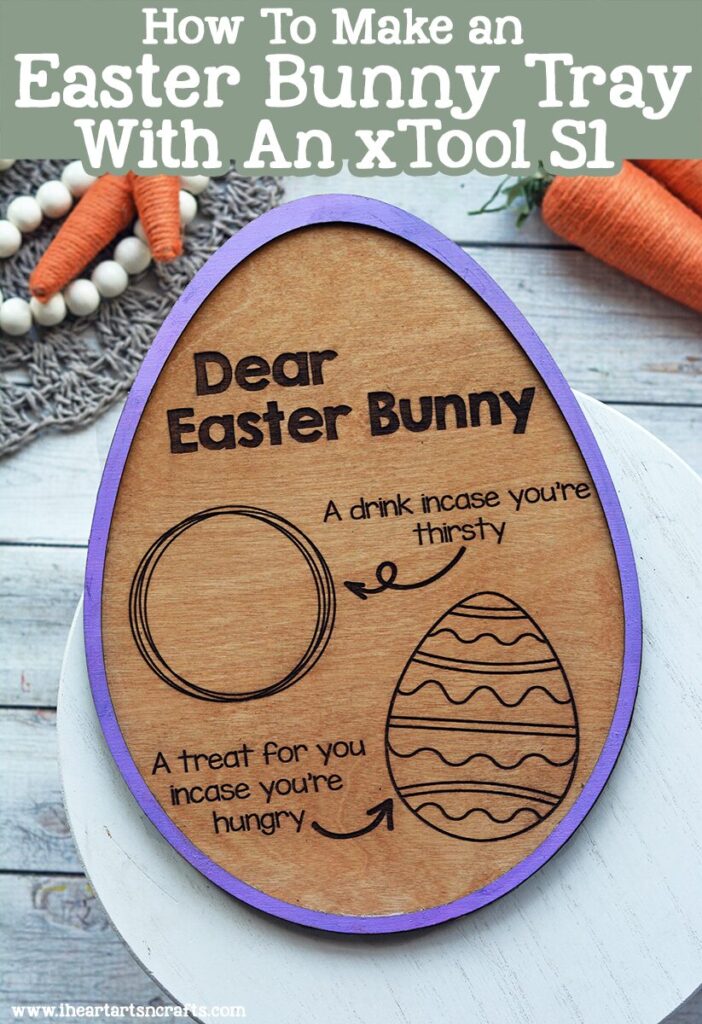
Learn how to make your own personalized wooden Easter Bunny tray with your xTool S1. These sell great online and make the cutest gifts for kids to sit out on the night before Easter.
What is the xTool S1 10w?
If you’re new to the world of laser crafting, then you have to check out my review on our xTool s1. It’s a laser cutter & engraver that can be used on so many materials like wood, acrylic, leather, glass and more!
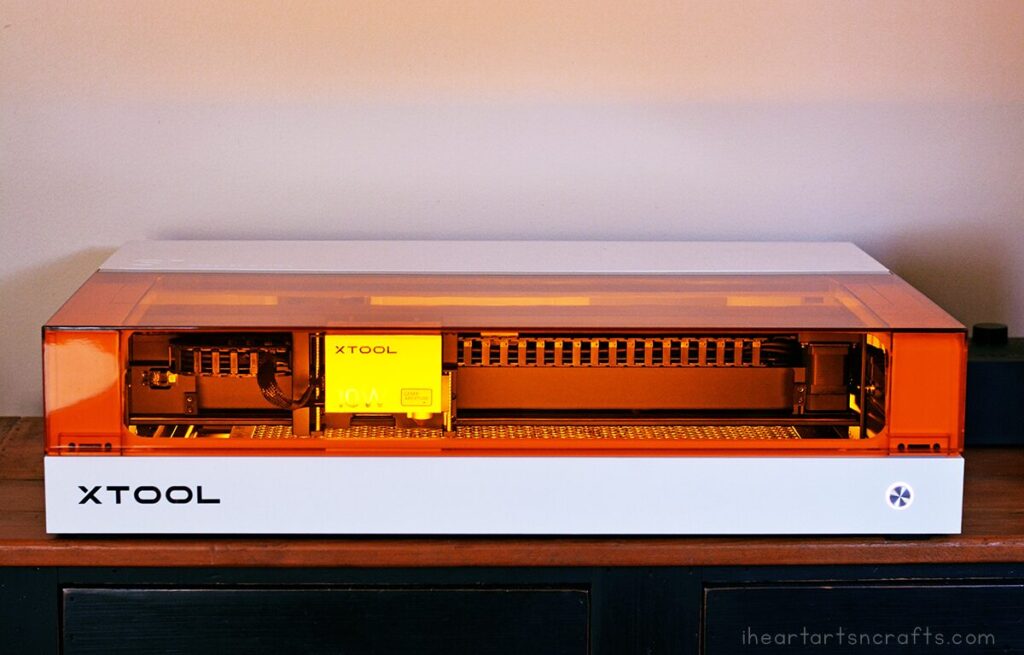
What kind of things can I make with an xTool s1?
While the ideas are endless, these are just some of the projects you can do on your xTool s1 for your personal use or an online shop.
- Keychains (like the ones I posted here)
- Signs
- Ornaments
- Earrings
- Necklaces
- Holiday Decor
- Kids’ Toys
- Personalized Engraved Items
- Cutting Boards
- Bookmarks
- Magnets
Here’s what you’ll need for this laser project.
- xTool S1
- 3MM plywood
- stain
- acrylic paint color of your choice
- wood glue
- Masking Tape
How To Make a Wooden Easter Bunny Tray
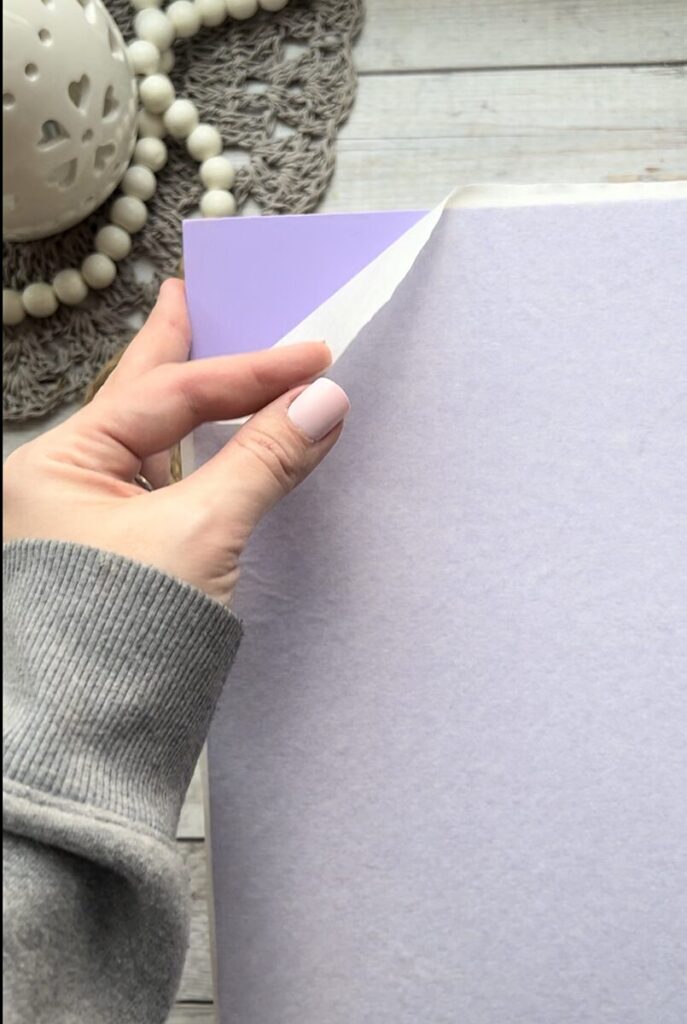
- The tray is going to be two layers of plywood. The top layer is an egg outline that will painted whatever color you’d like. And the bottom layer will have the engraving on it and stained. So, for the top layer, you’ll choose your color and paint one of the plywood pieces. Then once the paint is dried you’ll cover it with the masking tape.
2. Download your Easter Bunny Tray file here File 1 & File 2. Then you’re going to load your 3mm unpainted plywood into the S1. Then auto measure your distance by making sure the laser is above your plywood. Then select auto measure where the arrow is pointing in the image below. Then select start marking and mark your processing area.
3. Open up File #2 which should look like the photo below.
4. Select the egg outline with your pointer and make sure cut is selected. Then select the image inside the egg and make sure the engrave settings are set to 80 power and 40 speed.
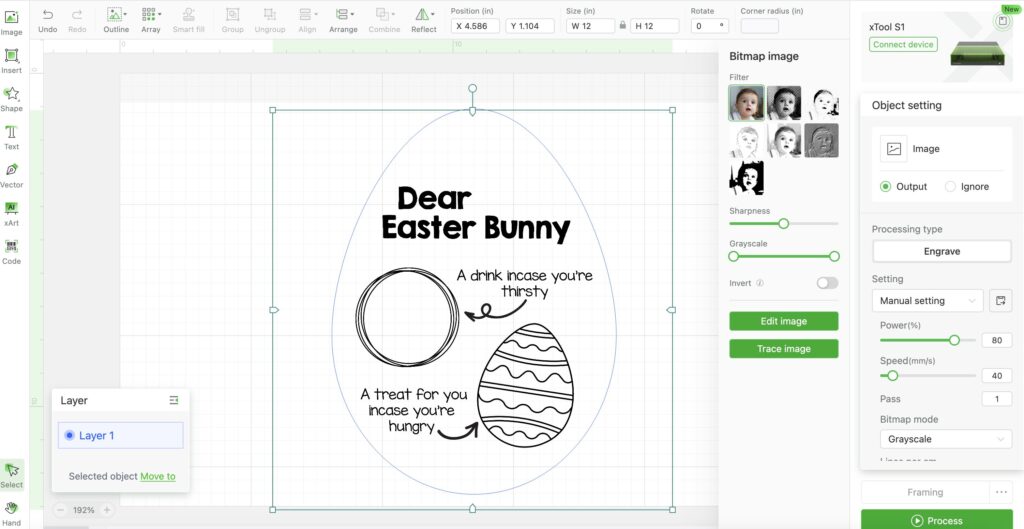
5. If everything looks good then you can process your image!
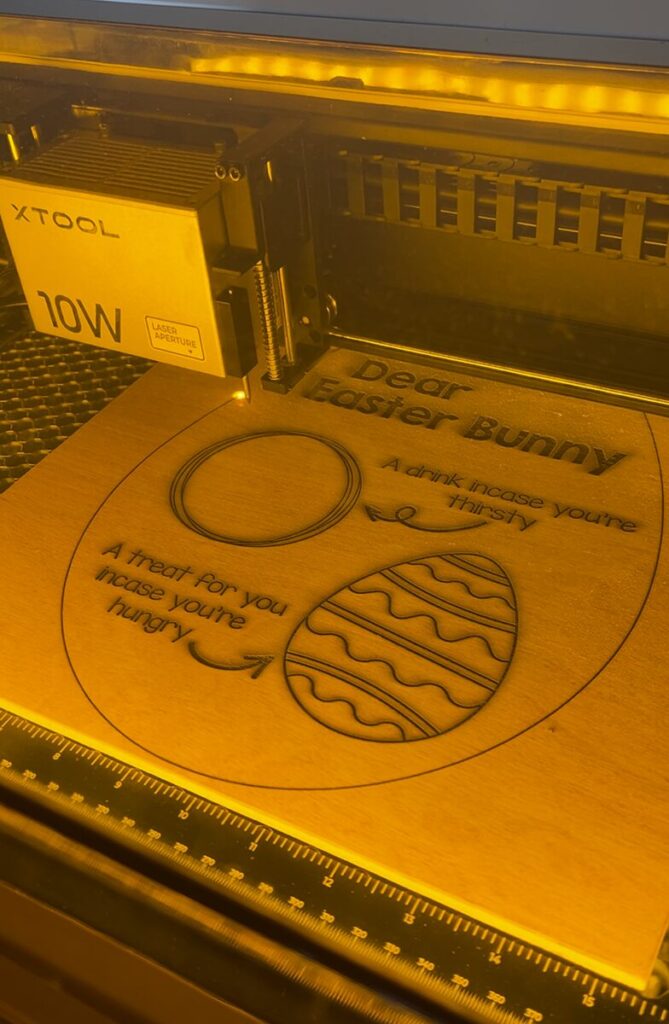
6. Once that’s done you can wipe it down with dawn power wash or vinegar to get rid of any marks. Then go ahead and stain to your liking.
7. Next, you’ll load in your painted plywood and open file 1 on the computer.
8. Make sure that the two egg shape lines are selected and changed to cut.
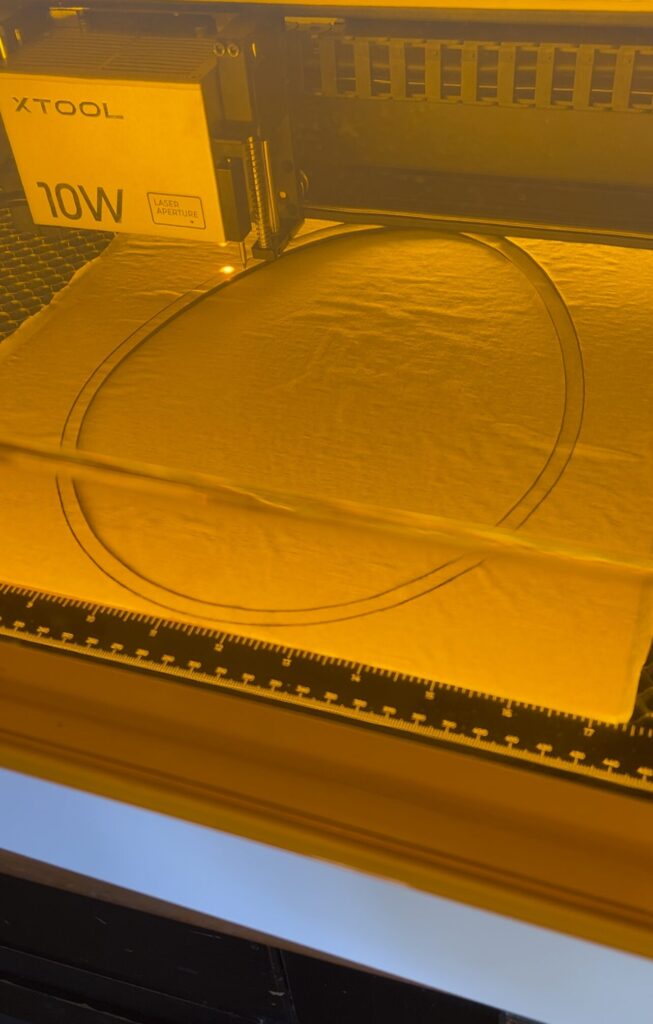
9. Then process your image. Once that’s cut out you can remove it and the masking tape from your outline piece. Then glue it to your first layer, making sure that the edges match up to the bottom.
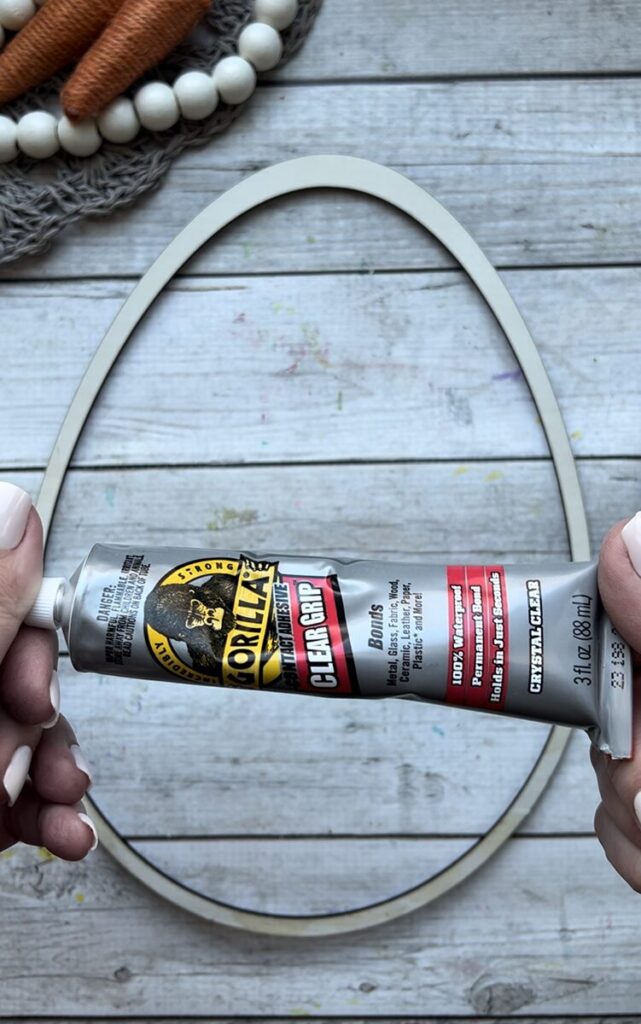
Then you’re done and it’s all ready to have the kids sit it out for the Easter Bunny! You can switch up the design and add in some personalization at the bottom of the tray with children’s names.
