This post contains affiliate links. Please see my disclosure policy.
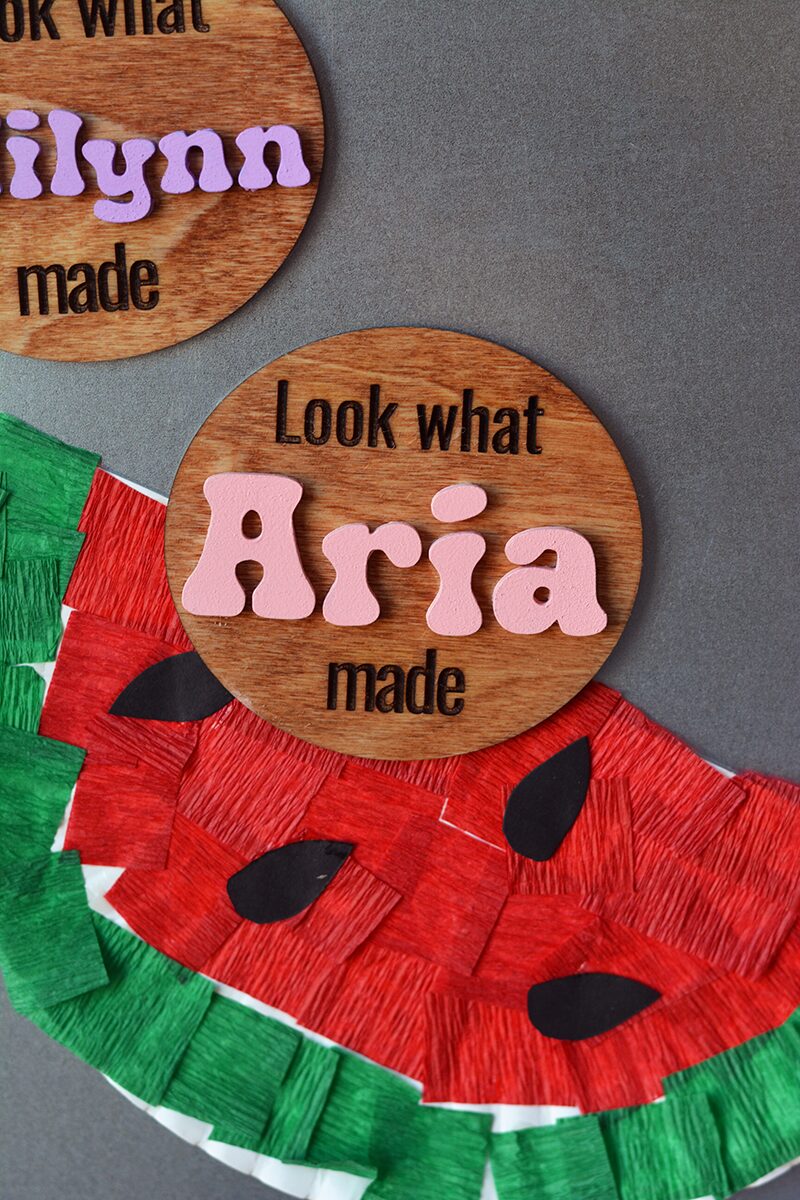
Learn how to make your own personalized wooden magnets with your xTool S1. It’s an easy process, and I’m walking you through the steps you can follow to make your own custom magnet. These sell great online and make the cutest gifts to display your kids schoolwork!
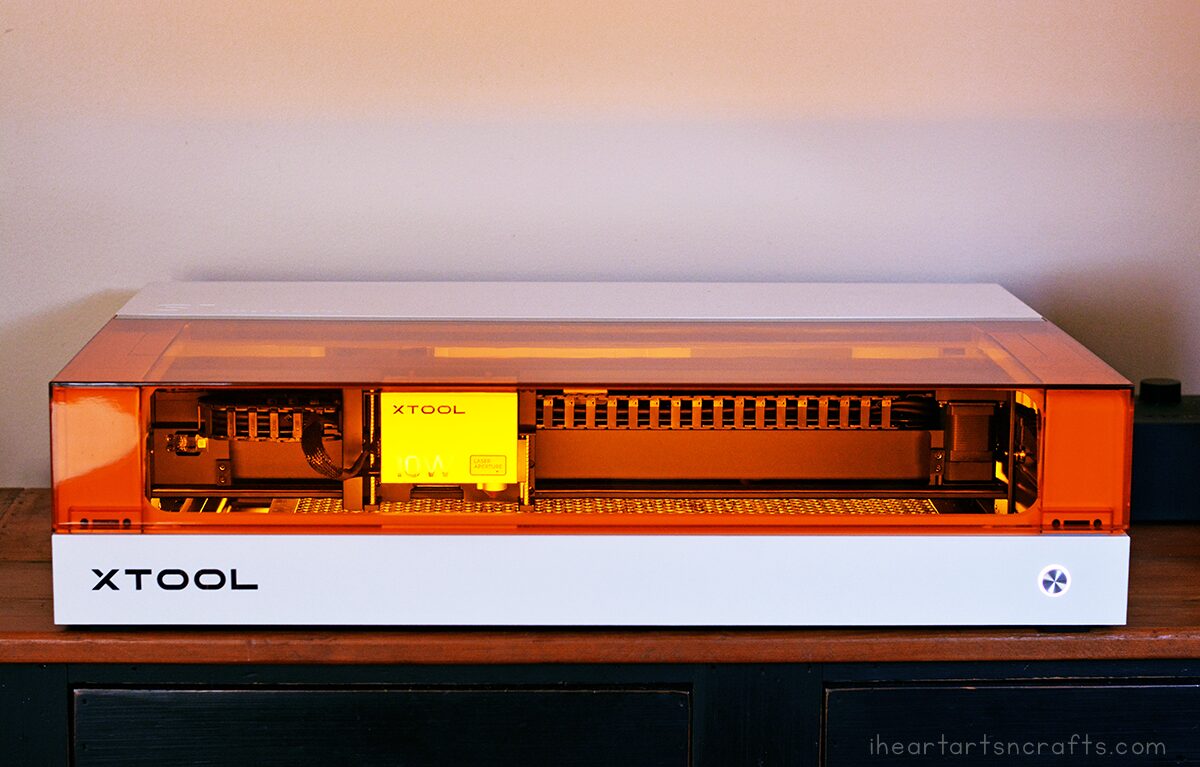
What is the xTool S1 10w?
If you’re new to the world of laser crafting, then you have to check out my review on our xTool s1. It’s a laser cutter & engraver that can be used on so many materials like wood, acrylic, leather, glass and more!
What kind of things can I make with an xTool s1?
While the ideas are endless, these are just some of the projects you can do on your xTool s1 for your personal use or an online shop.
- Signs
- Ornaments
- Earrings
- Necklaces
- Holiday Decor
- Kids’ Toys
- Personalized Engraved Items
- Cutting Boards
- Bookmarks
- Magnets
- Keychains (like the ones I posted here)
Can you make money with the xTool S1?
Yes, you absolutely can! Not only is the xTool S1 so much fun to create with. But, it brings a whole new world of personalization when making unique gifts or making items to sell. If you can think of the design, and your laser can help you make it, then you can sell it!
Here’s what you’ll need for this laser project:
- xTool S1 machine
- Smoke Purifier
- 3mm plywood
- Paint
- Super Glue
- Adhesive Magnets
How To Make DIY Personalized Wooden Magnets
- First you’re going to want to pick out a color scheme and font for your magnet. I stained mine and then painted the names with different shades of purple and and pinks. You can use a font that’s already available on your computer or use a site like www.dafont.com and look through the ones available on there for free.
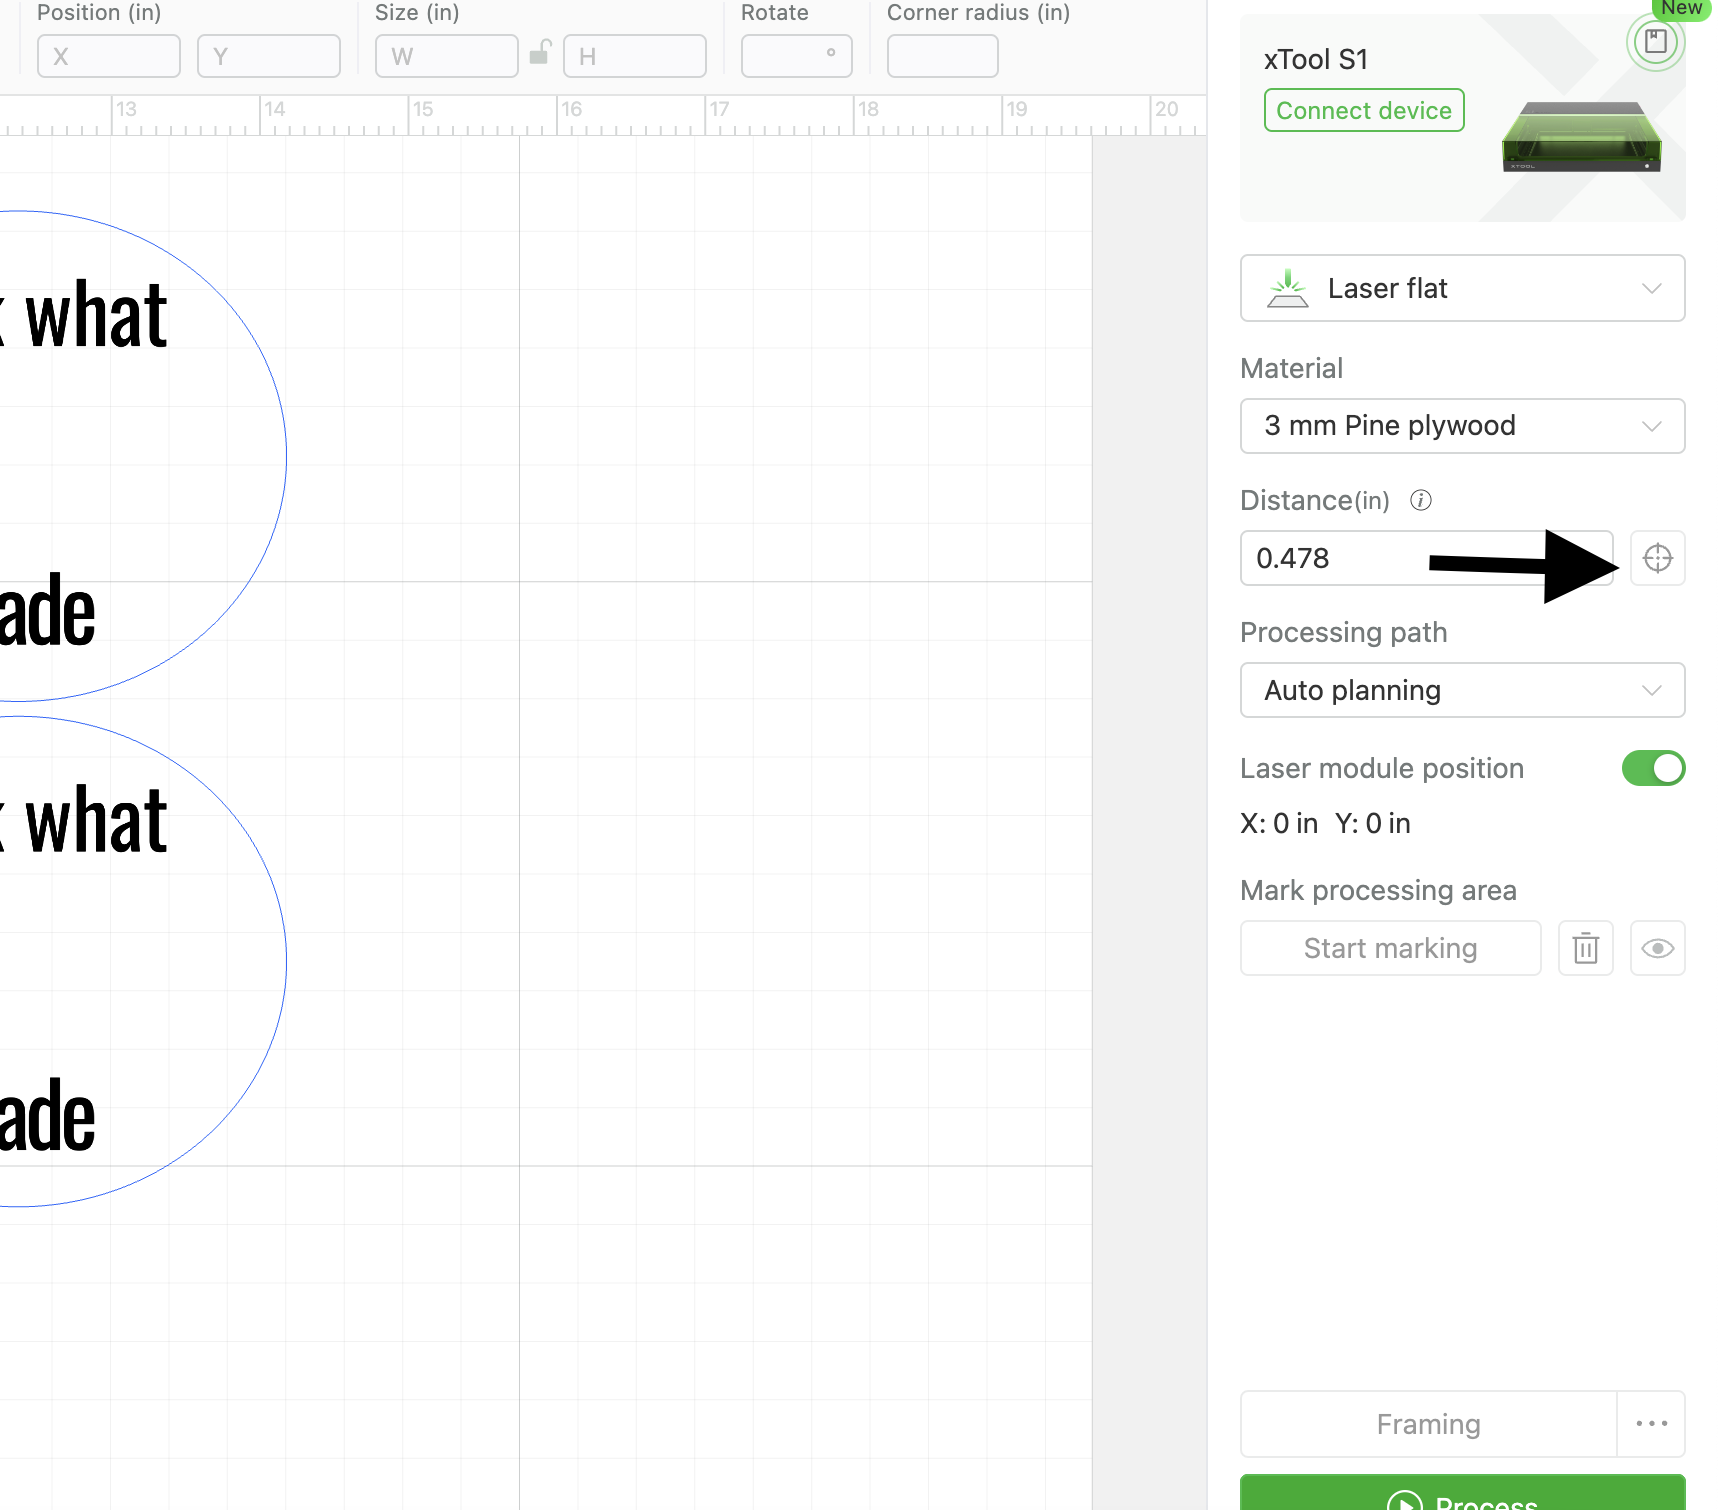
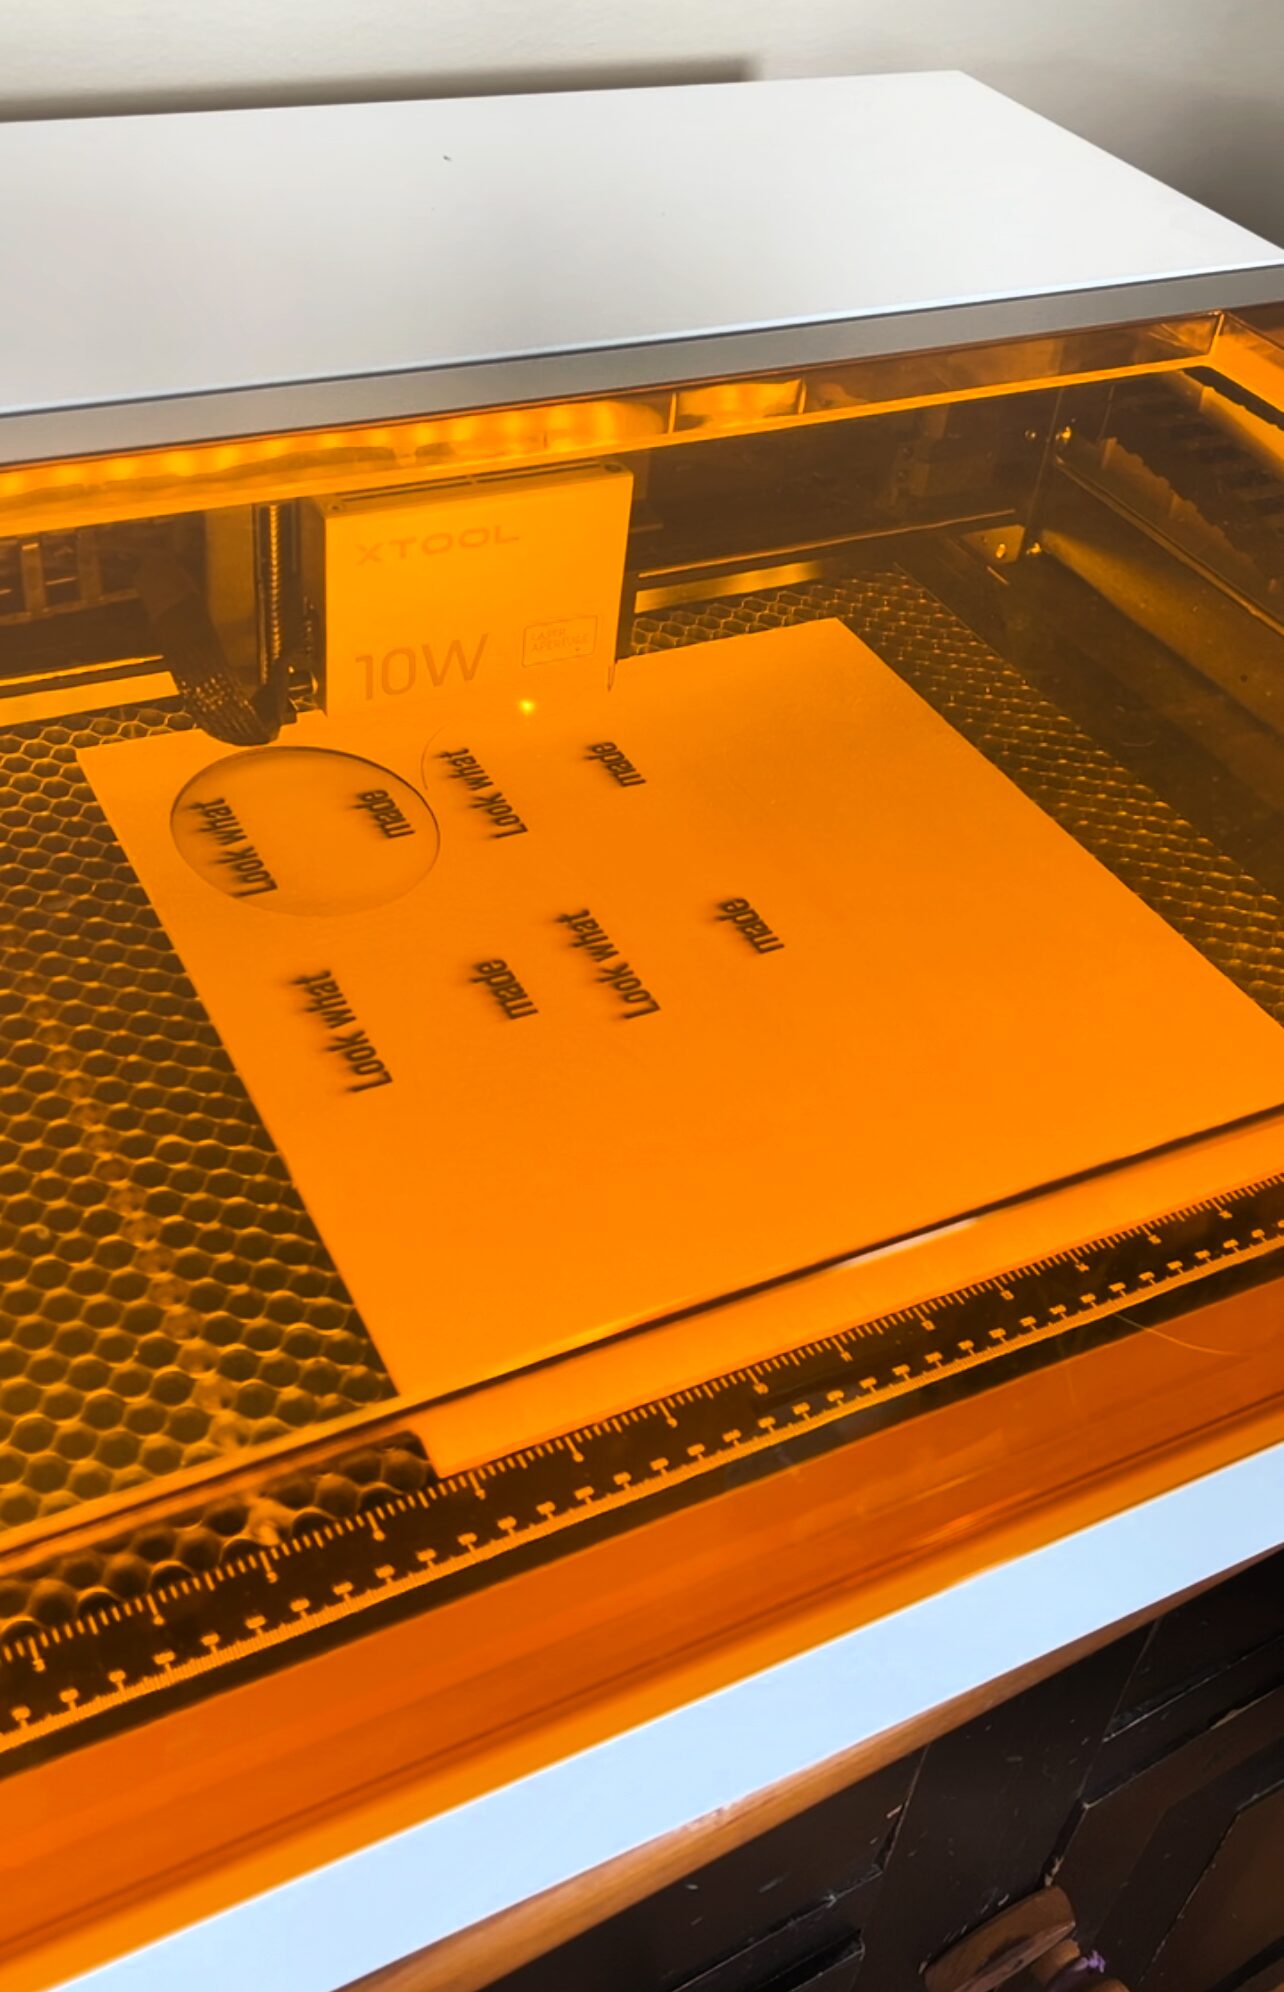
- First you’re going to load your 3mm plywood into the S1. Then auto measure your distance by making sure the laser is above your plywood. Then select auto measure where the arrow is pointing in the image below. Then select start marking and mark your processing area.
You can also choose to mask your wood before engraving and cutting (placing down a piece of blue painter’s tape) to prevent charring, but I found dawn power wash or vinegar was a faster effective method for removing the tiny amount of char.
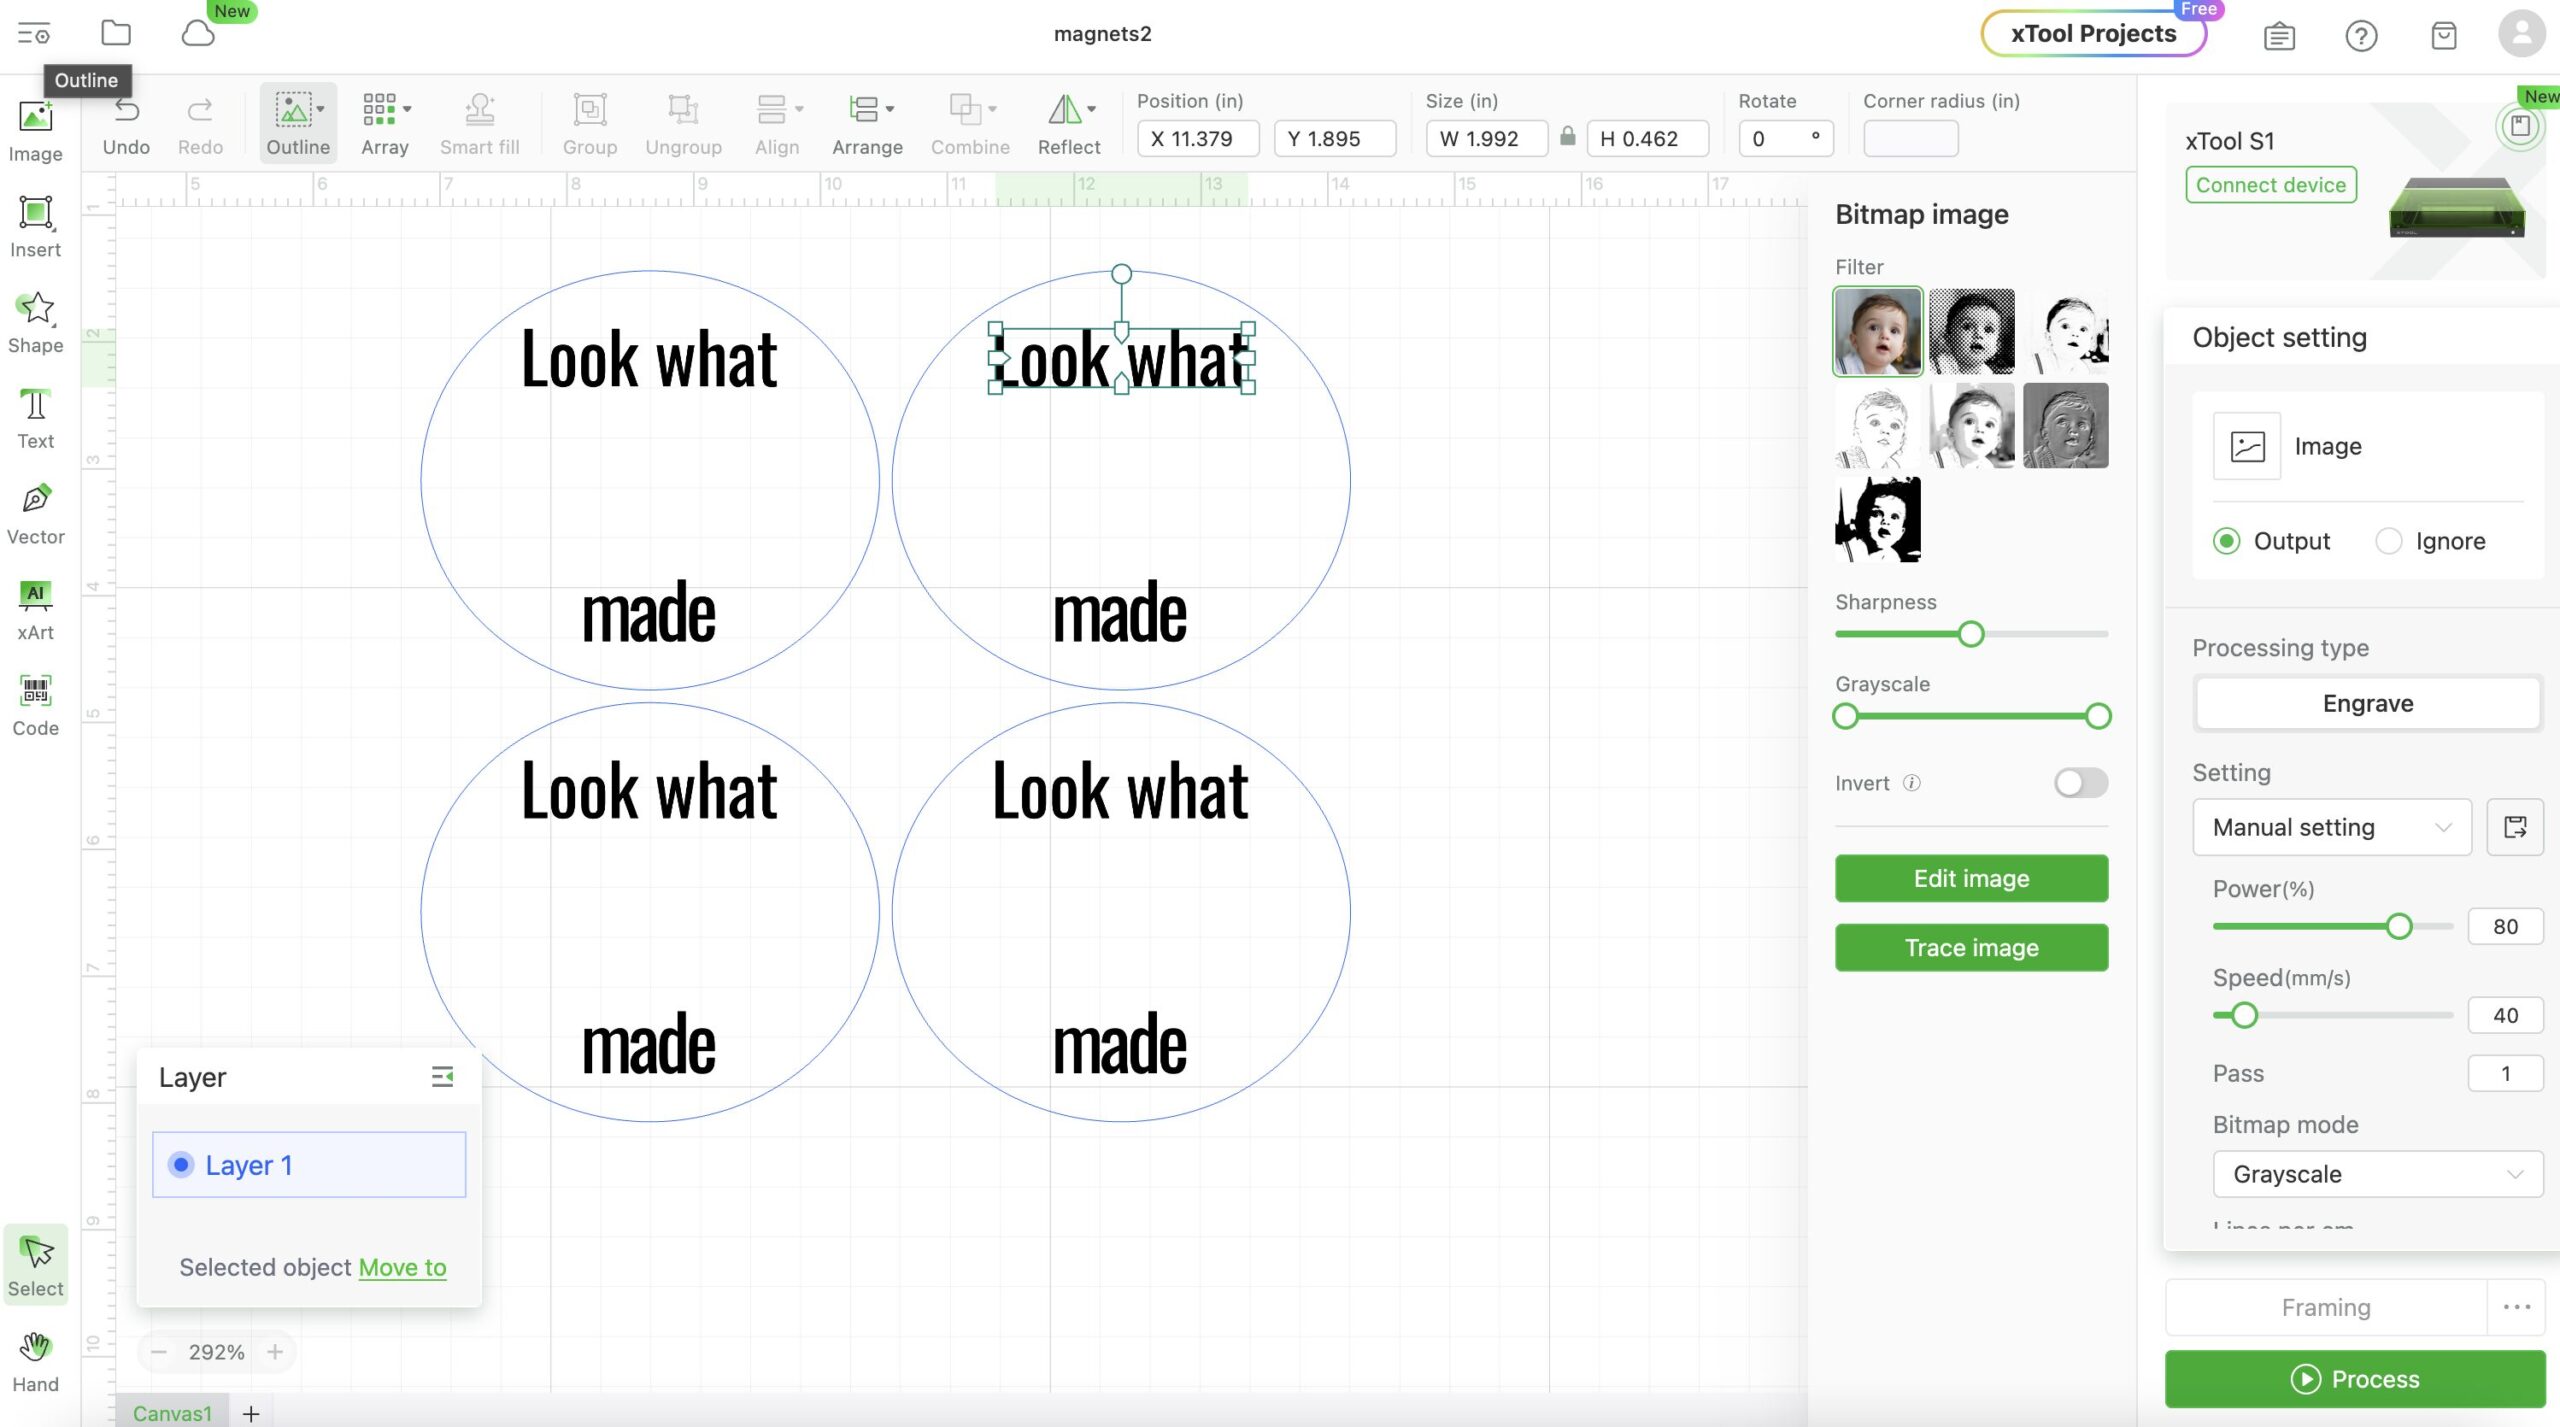
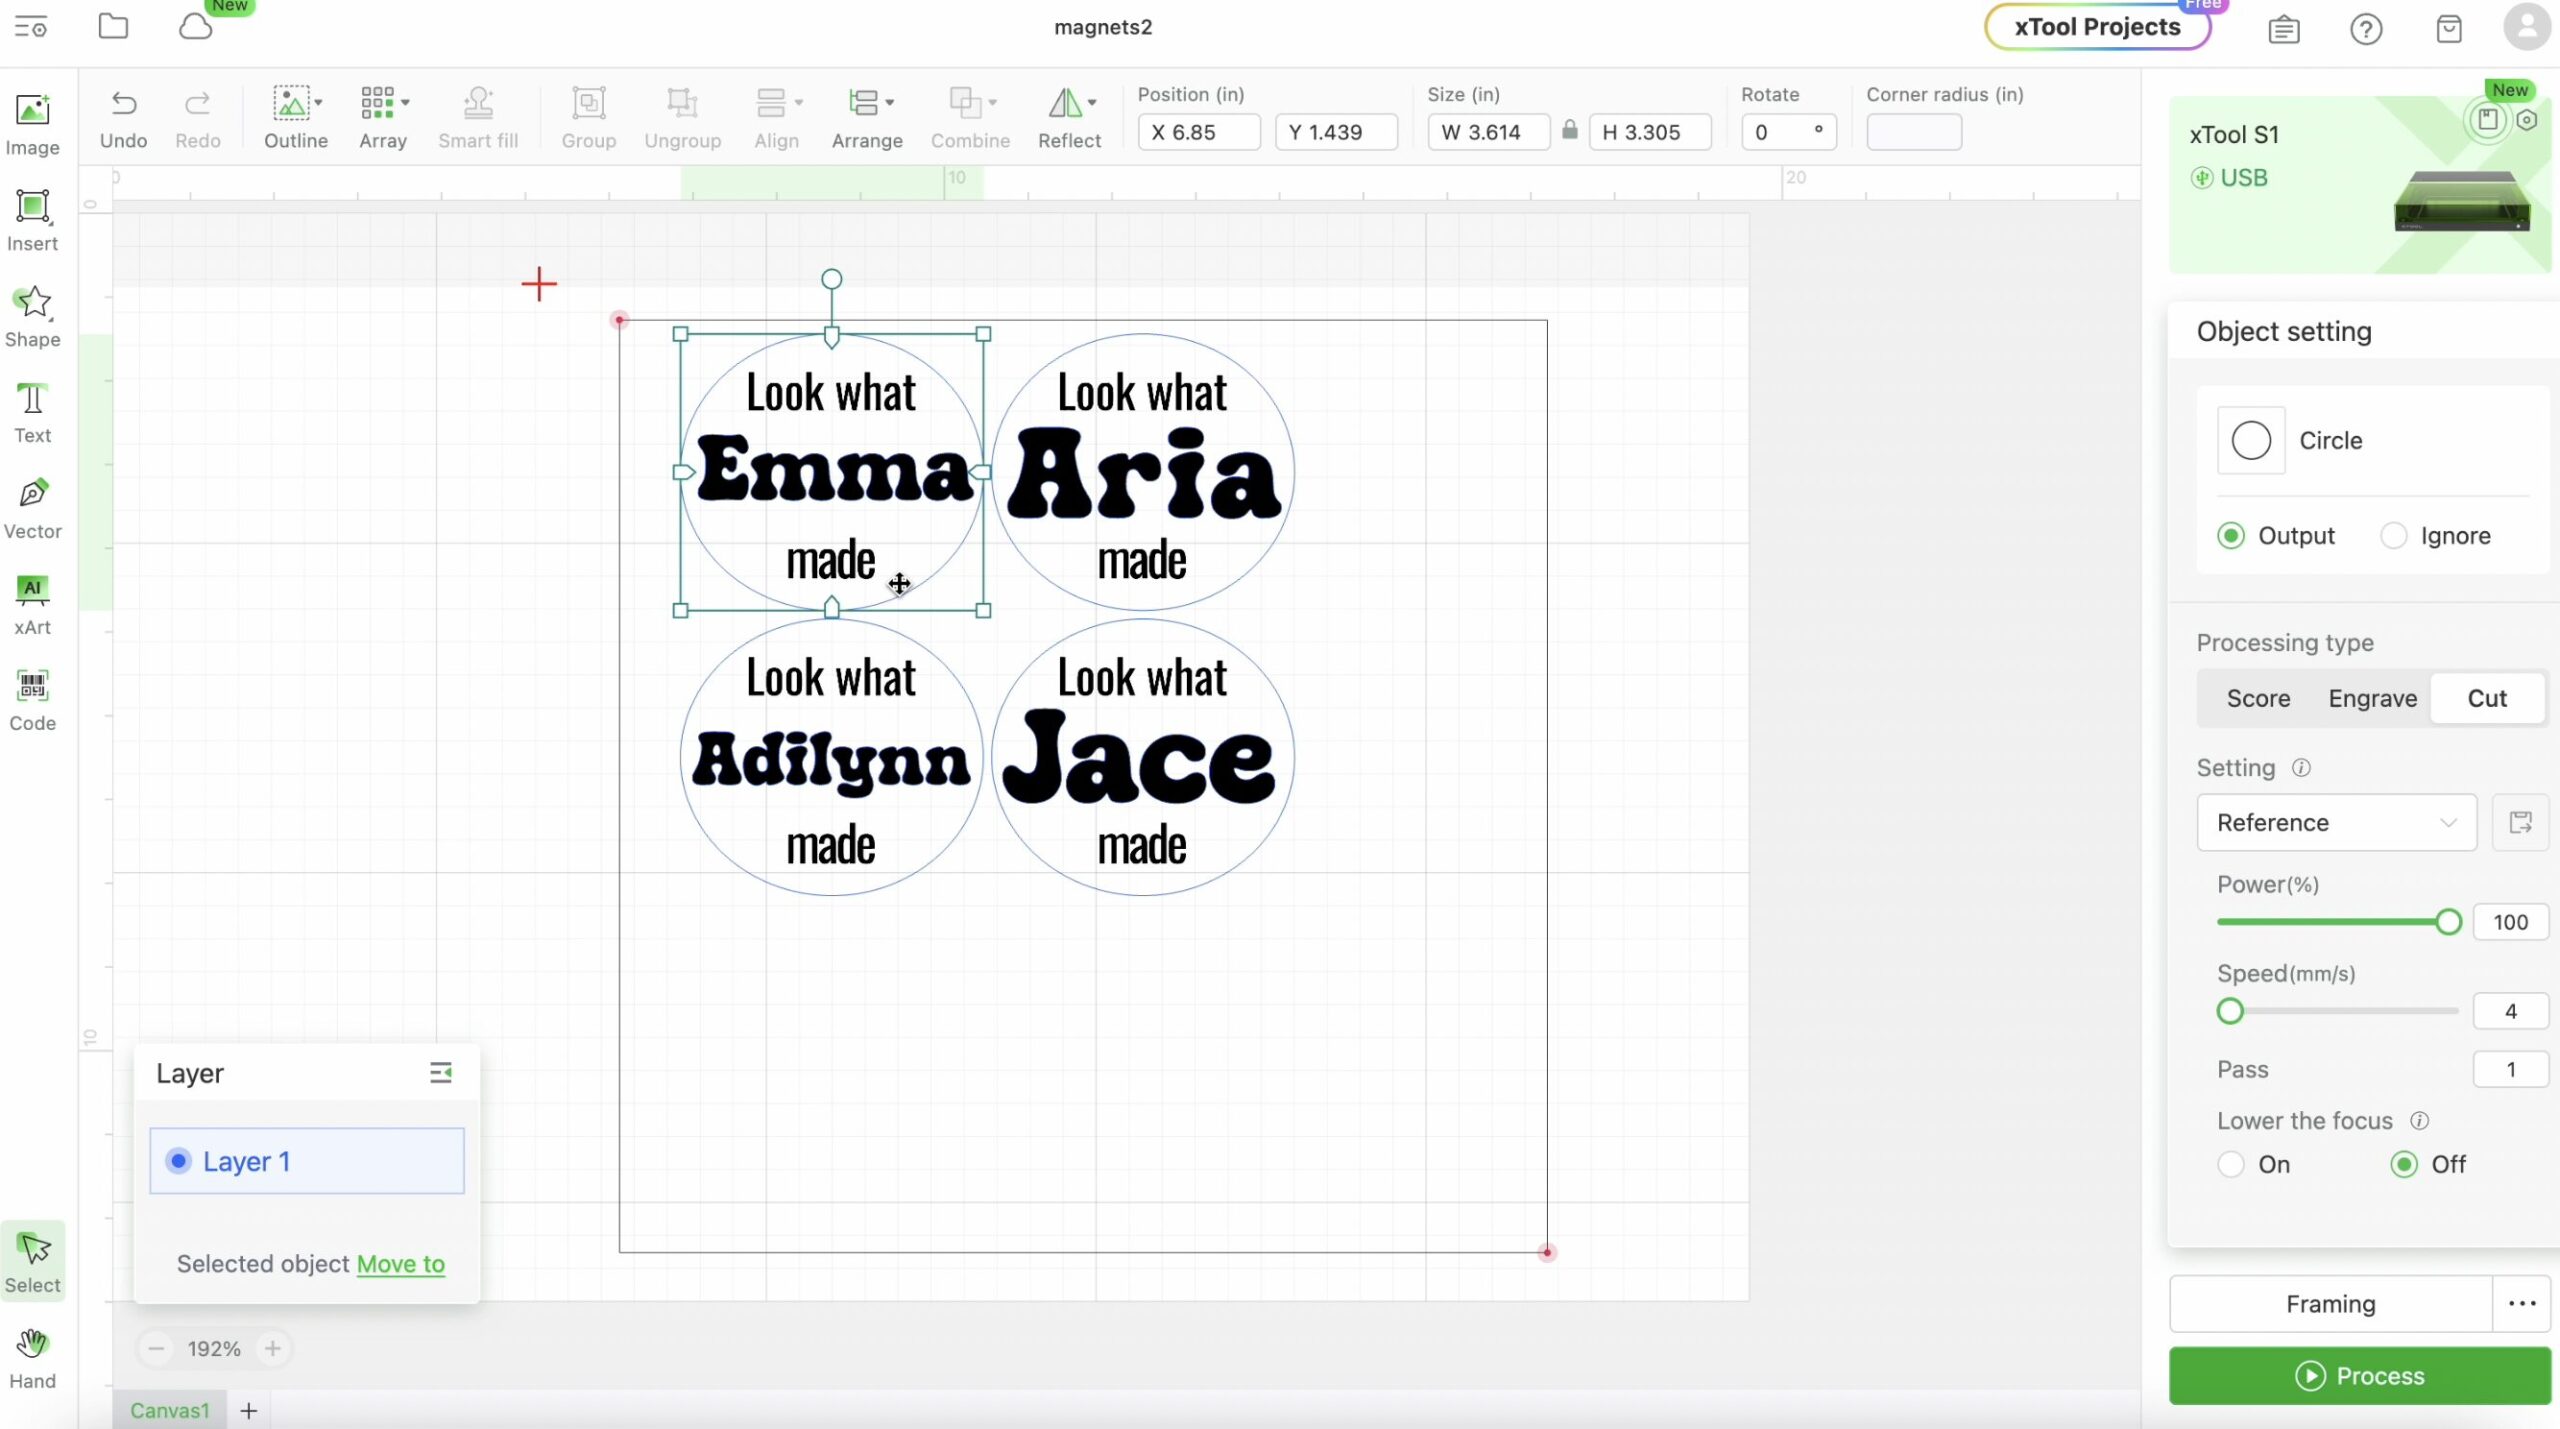
3. Once you have the area marked you can start designing your magnets. Select shape and then circle on the left hand side. Insert your circle, I did mine about 4 inches. Then go to array at the top and this will give you the option to duplicate if you want to make more than one.
4. Then we can add in the text for “Look What” at the top and then add in “Made” at the bottom of the circle.
5. Make sure that the Look what and Made text is selected and insert your settings for engrave to 80 power and 40 speed. Then select your circle and make sure that the cut option is selected.
6. Then for our font for the names I chose a different style to make the names stand out on the magnet. Type in the names and size them into your circles to make sure they fit. Once you have them the right size select them and drag them into a different area outside of your circles so that they can be cut out. Select your names and make sure that the cut option is selected for those. These will be cut out and glued to your magnet.
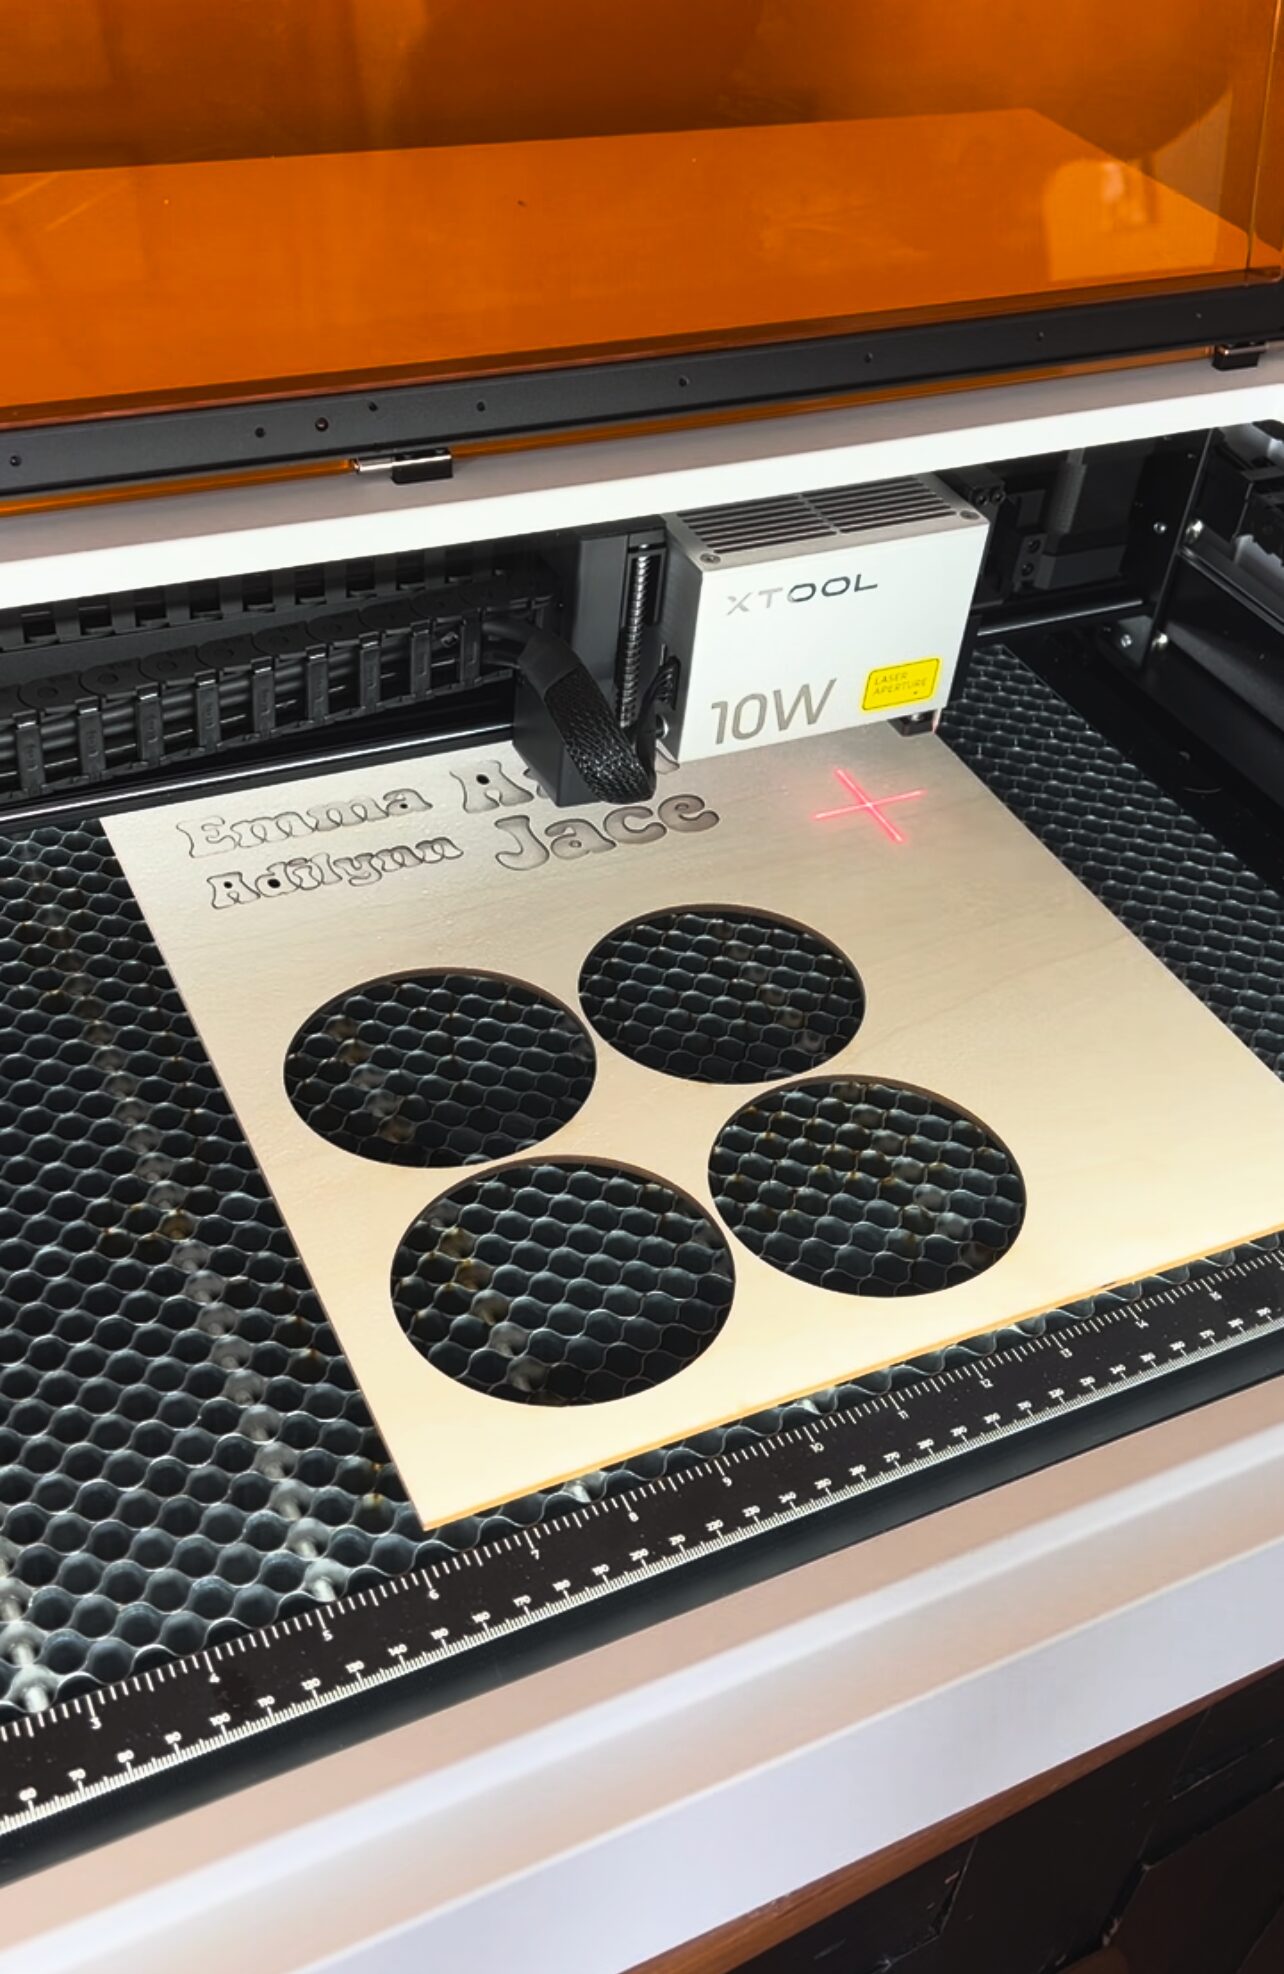
7. Then you can go ahead and process your project.
8. If you have any residue on your magnets when they’re finished you can spray with a little bit of dawn power wash to remove it. Then you can stain your circle piece to your liking.
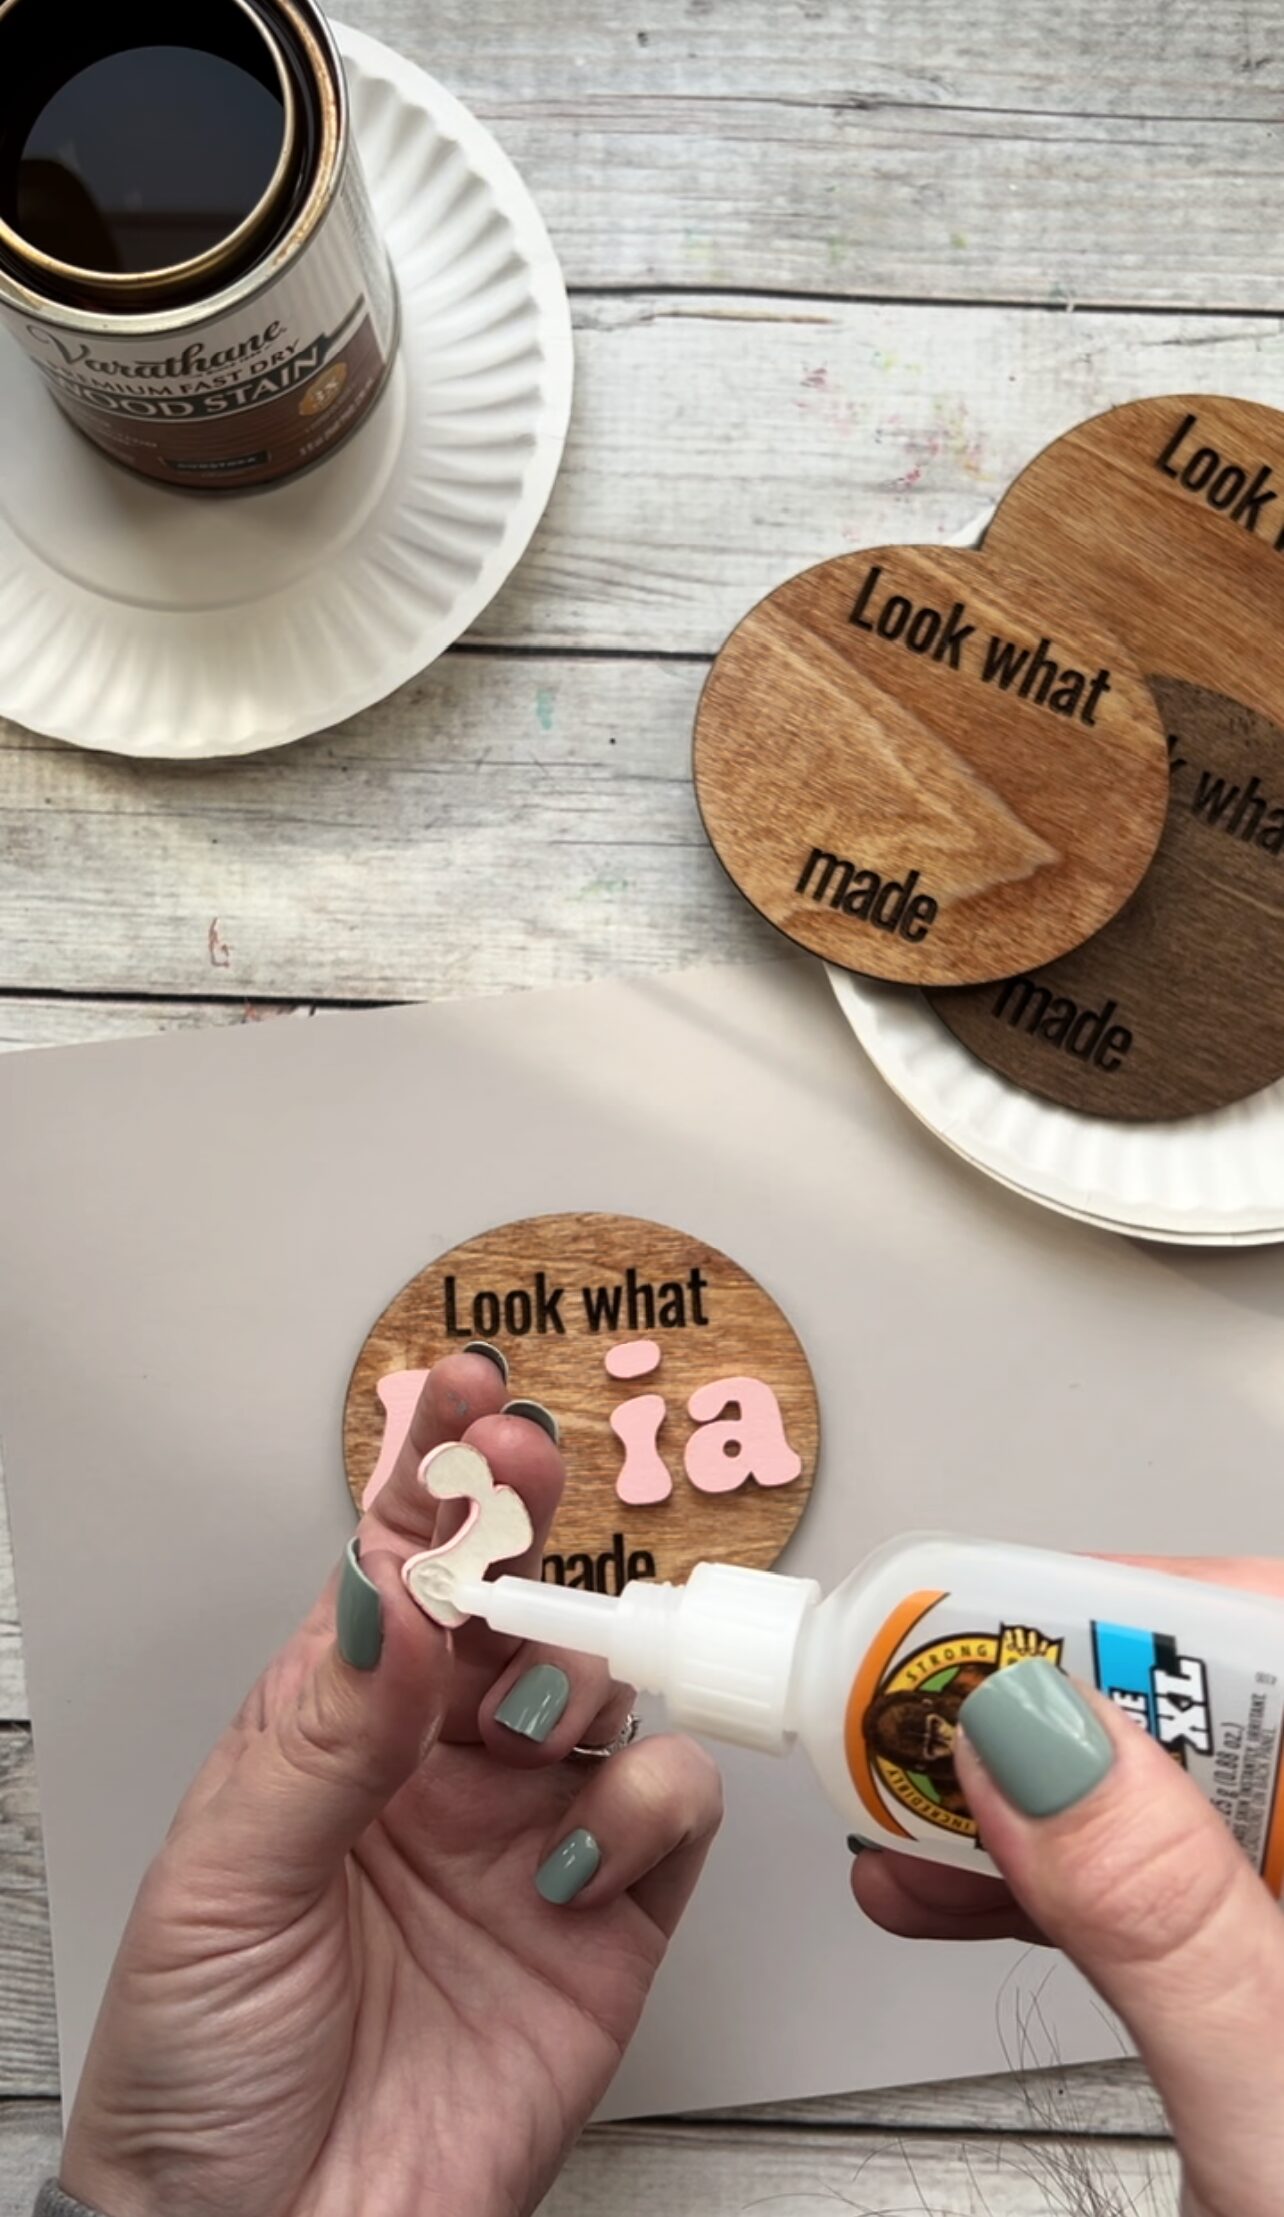
9. Next, you’ll want to paint your names. You can use a small roller or spray paint them. Then set aside to dry.
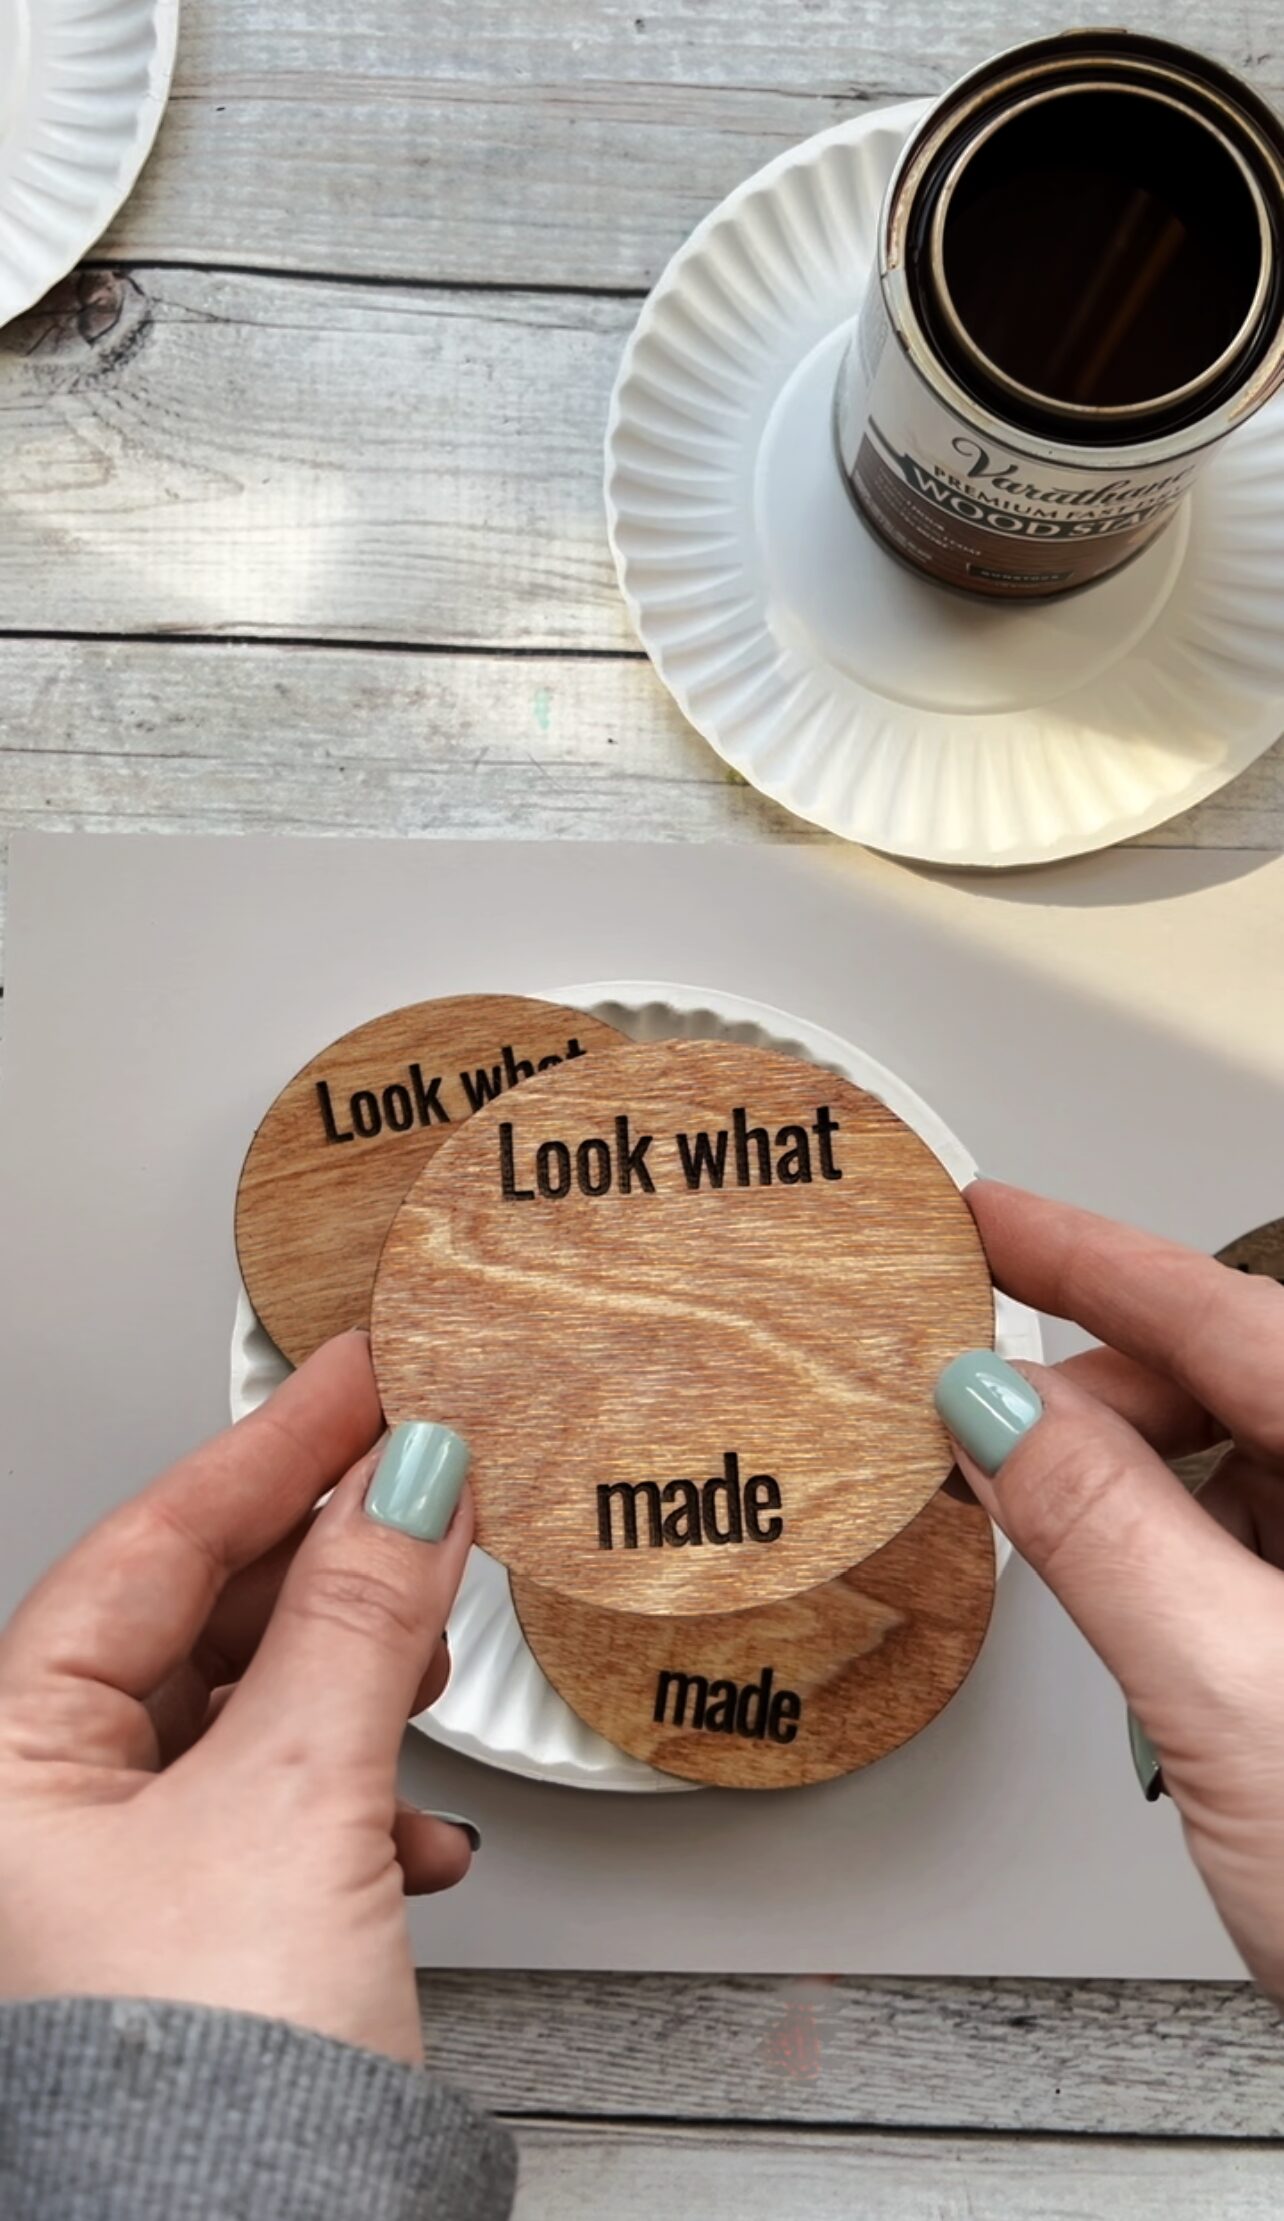
10. Once they’re dried you can glue them onto your magnet using wood glue or super glue.
11. Then add on your adhesive magnet to the back and you’re finished!
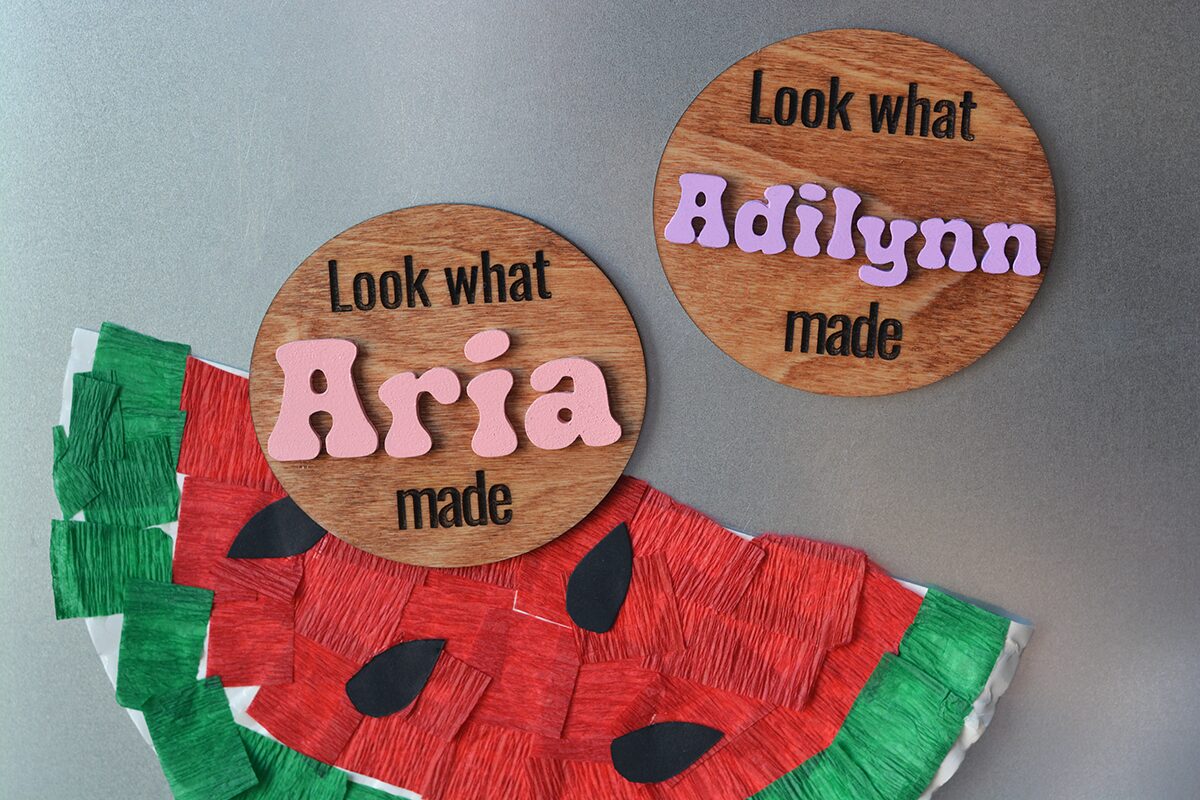
I love how pretty these turn out! If you are planning on selling these, the going rate that I’ve seen is anywhere between $8 – $12 a magnet.

