This post is a sponsored post. I was given the xTool M2 machine to review. As always, all opinions and experiences expressed are my own. This post contains affiliate links. Please see my disclosure policy.
If you have a creative person on your holiday shopping list, finding a gift they will actually use can be tricky. Craft supplies are always fun, but what if you could give them a gift that opens up an entire world of creative possibilities?
Enter the xTool M2.
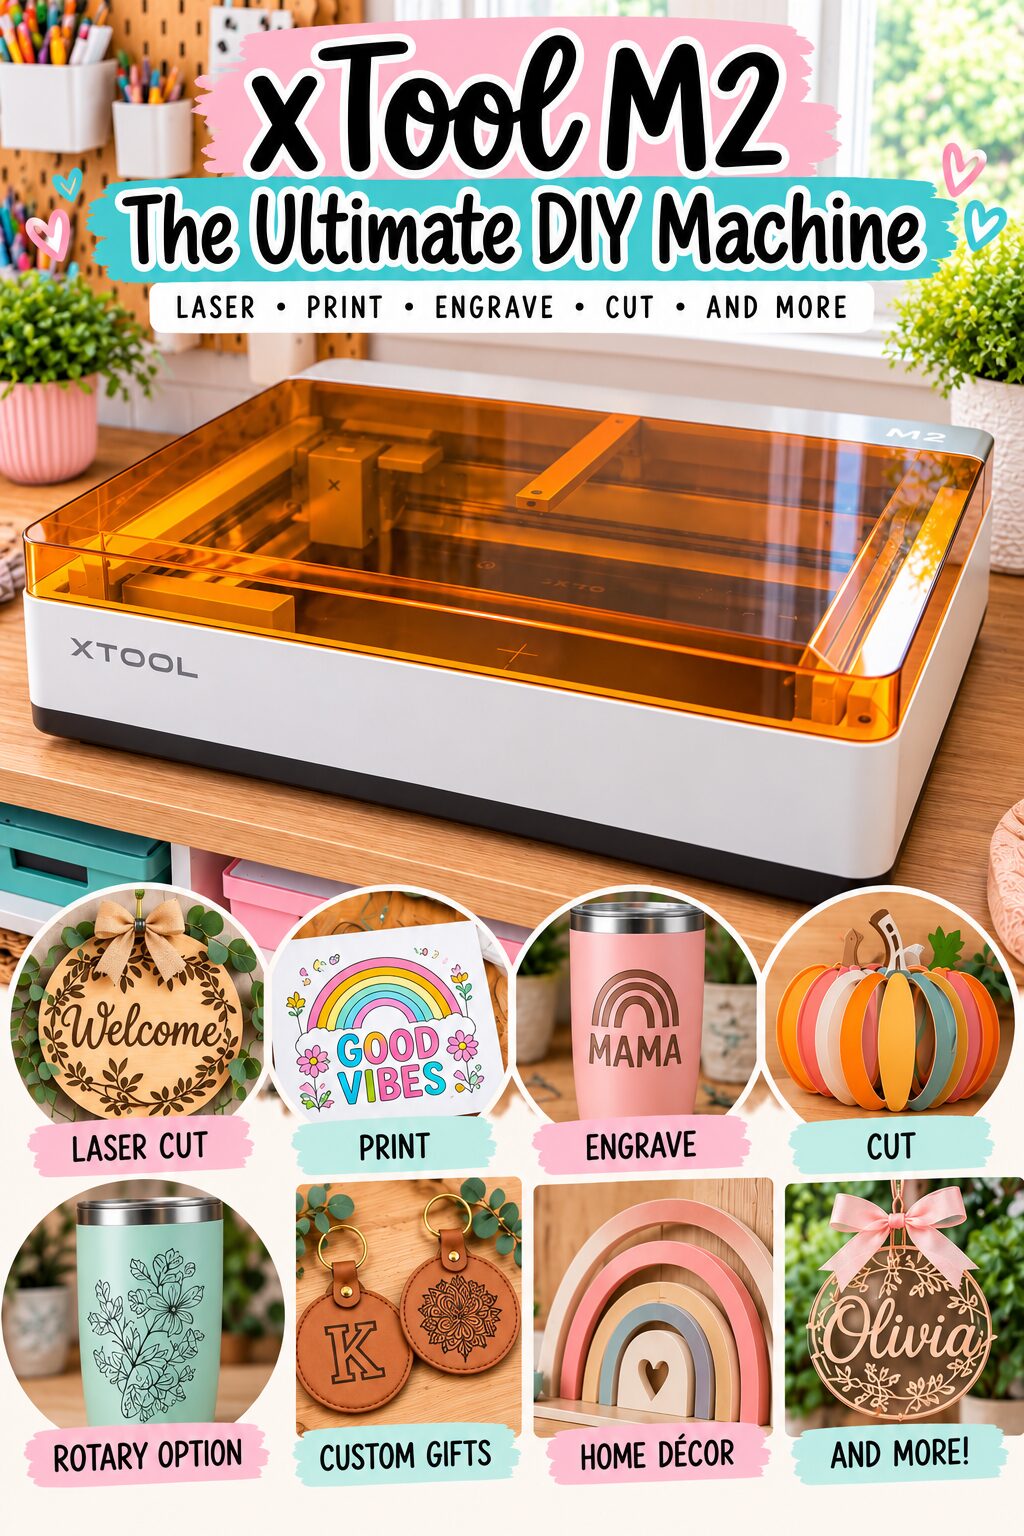
The xTool M2 Color Craft Laser Cutter & Engraver combines laser cutting, engraving, and optional full-color inkjet printing capabilities in one creative workspace. Whether you’re shopping for a serious DIY enthusiast, a small-business owner, or someone who loves making personalized gifts, this machine deserves a spot on your gift guide.
In this post, I’ll walk you through what the xTool M2 does, how it works, what materials it can handle, gift ideas you can make with it, and whether it’s worth considering for the crafter in your life.
What is the xTool M2?
The xTool M2 is a versatile crafting machine that combines full-color inkjet printing, laser cutting, and laser engraving into a single device. The M2 is available with a 10W or 20W diode laser and xTool also offers an optional 3W infrared module for engraving certain metals and plastics. The machine also supports a CMYK inkjet printing module.
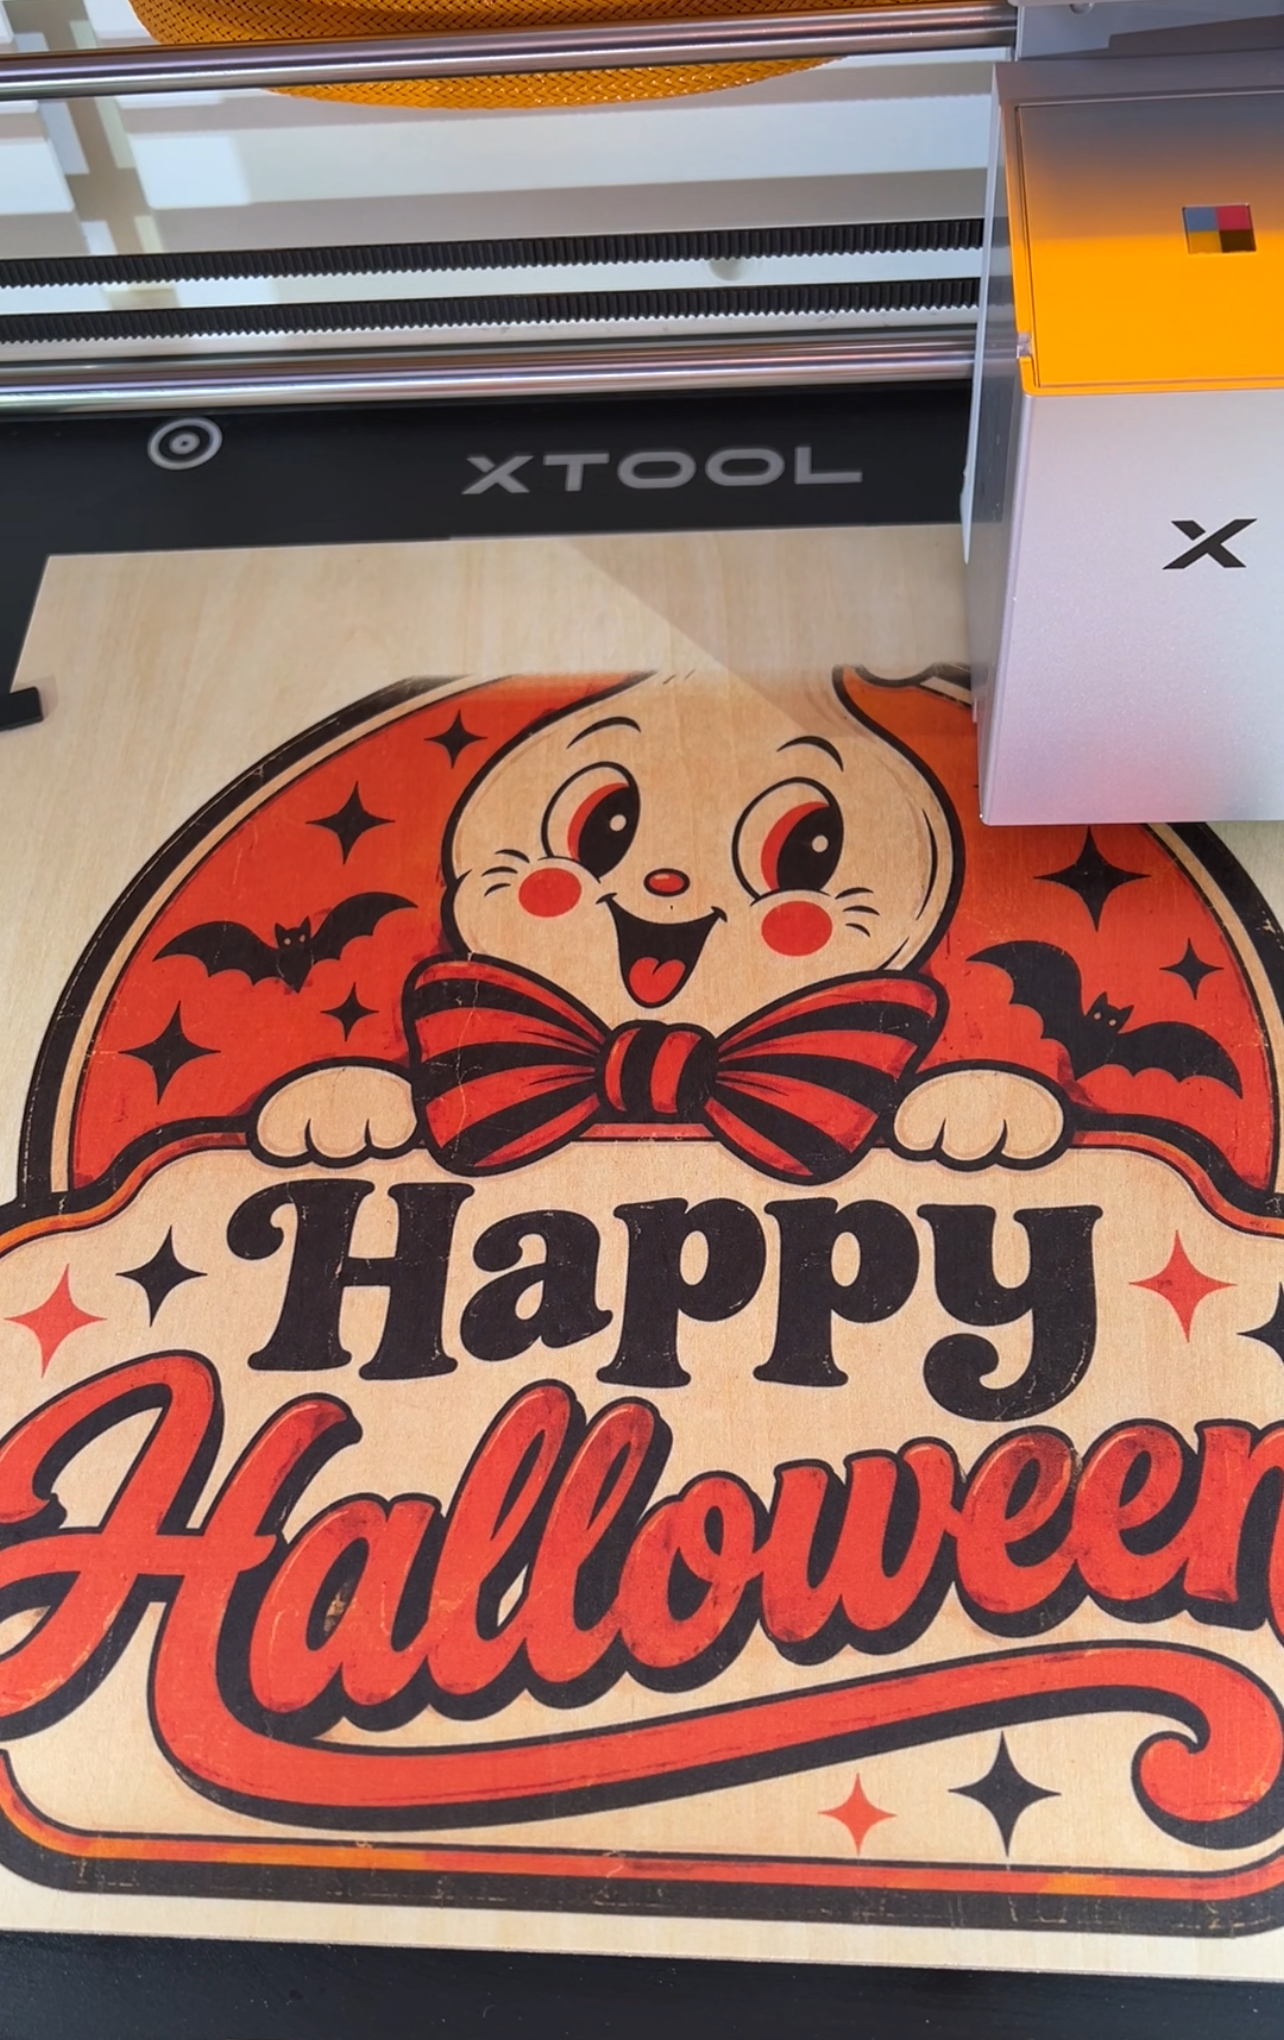
xTool M2 features:
- Enclosed Class 1 Design – One feature that’s important for a home craft room is the enclosed design. It’s enclosed design and safety interlocks are designed so that the laser stops when the projective cover is opened during operation. Of course, you should always follow manufacturer’s safety instructions and use the machine as directed.
- Large Working Area – Has a working area of 16.7 x 12.6 inches
- Built-In Air Assist
- Daul-Camera positioning system – The dual cameras really make it so that you cannot mess up placement and is very precise.
- Swappable Modules – switch between 10W/20W diode lasers for detailed engraving, a 3W module for metal, and a CMYK print head for full-color printing, all in the same machine
- Price: starts at around $599 and but cost increases depending on package and accessories
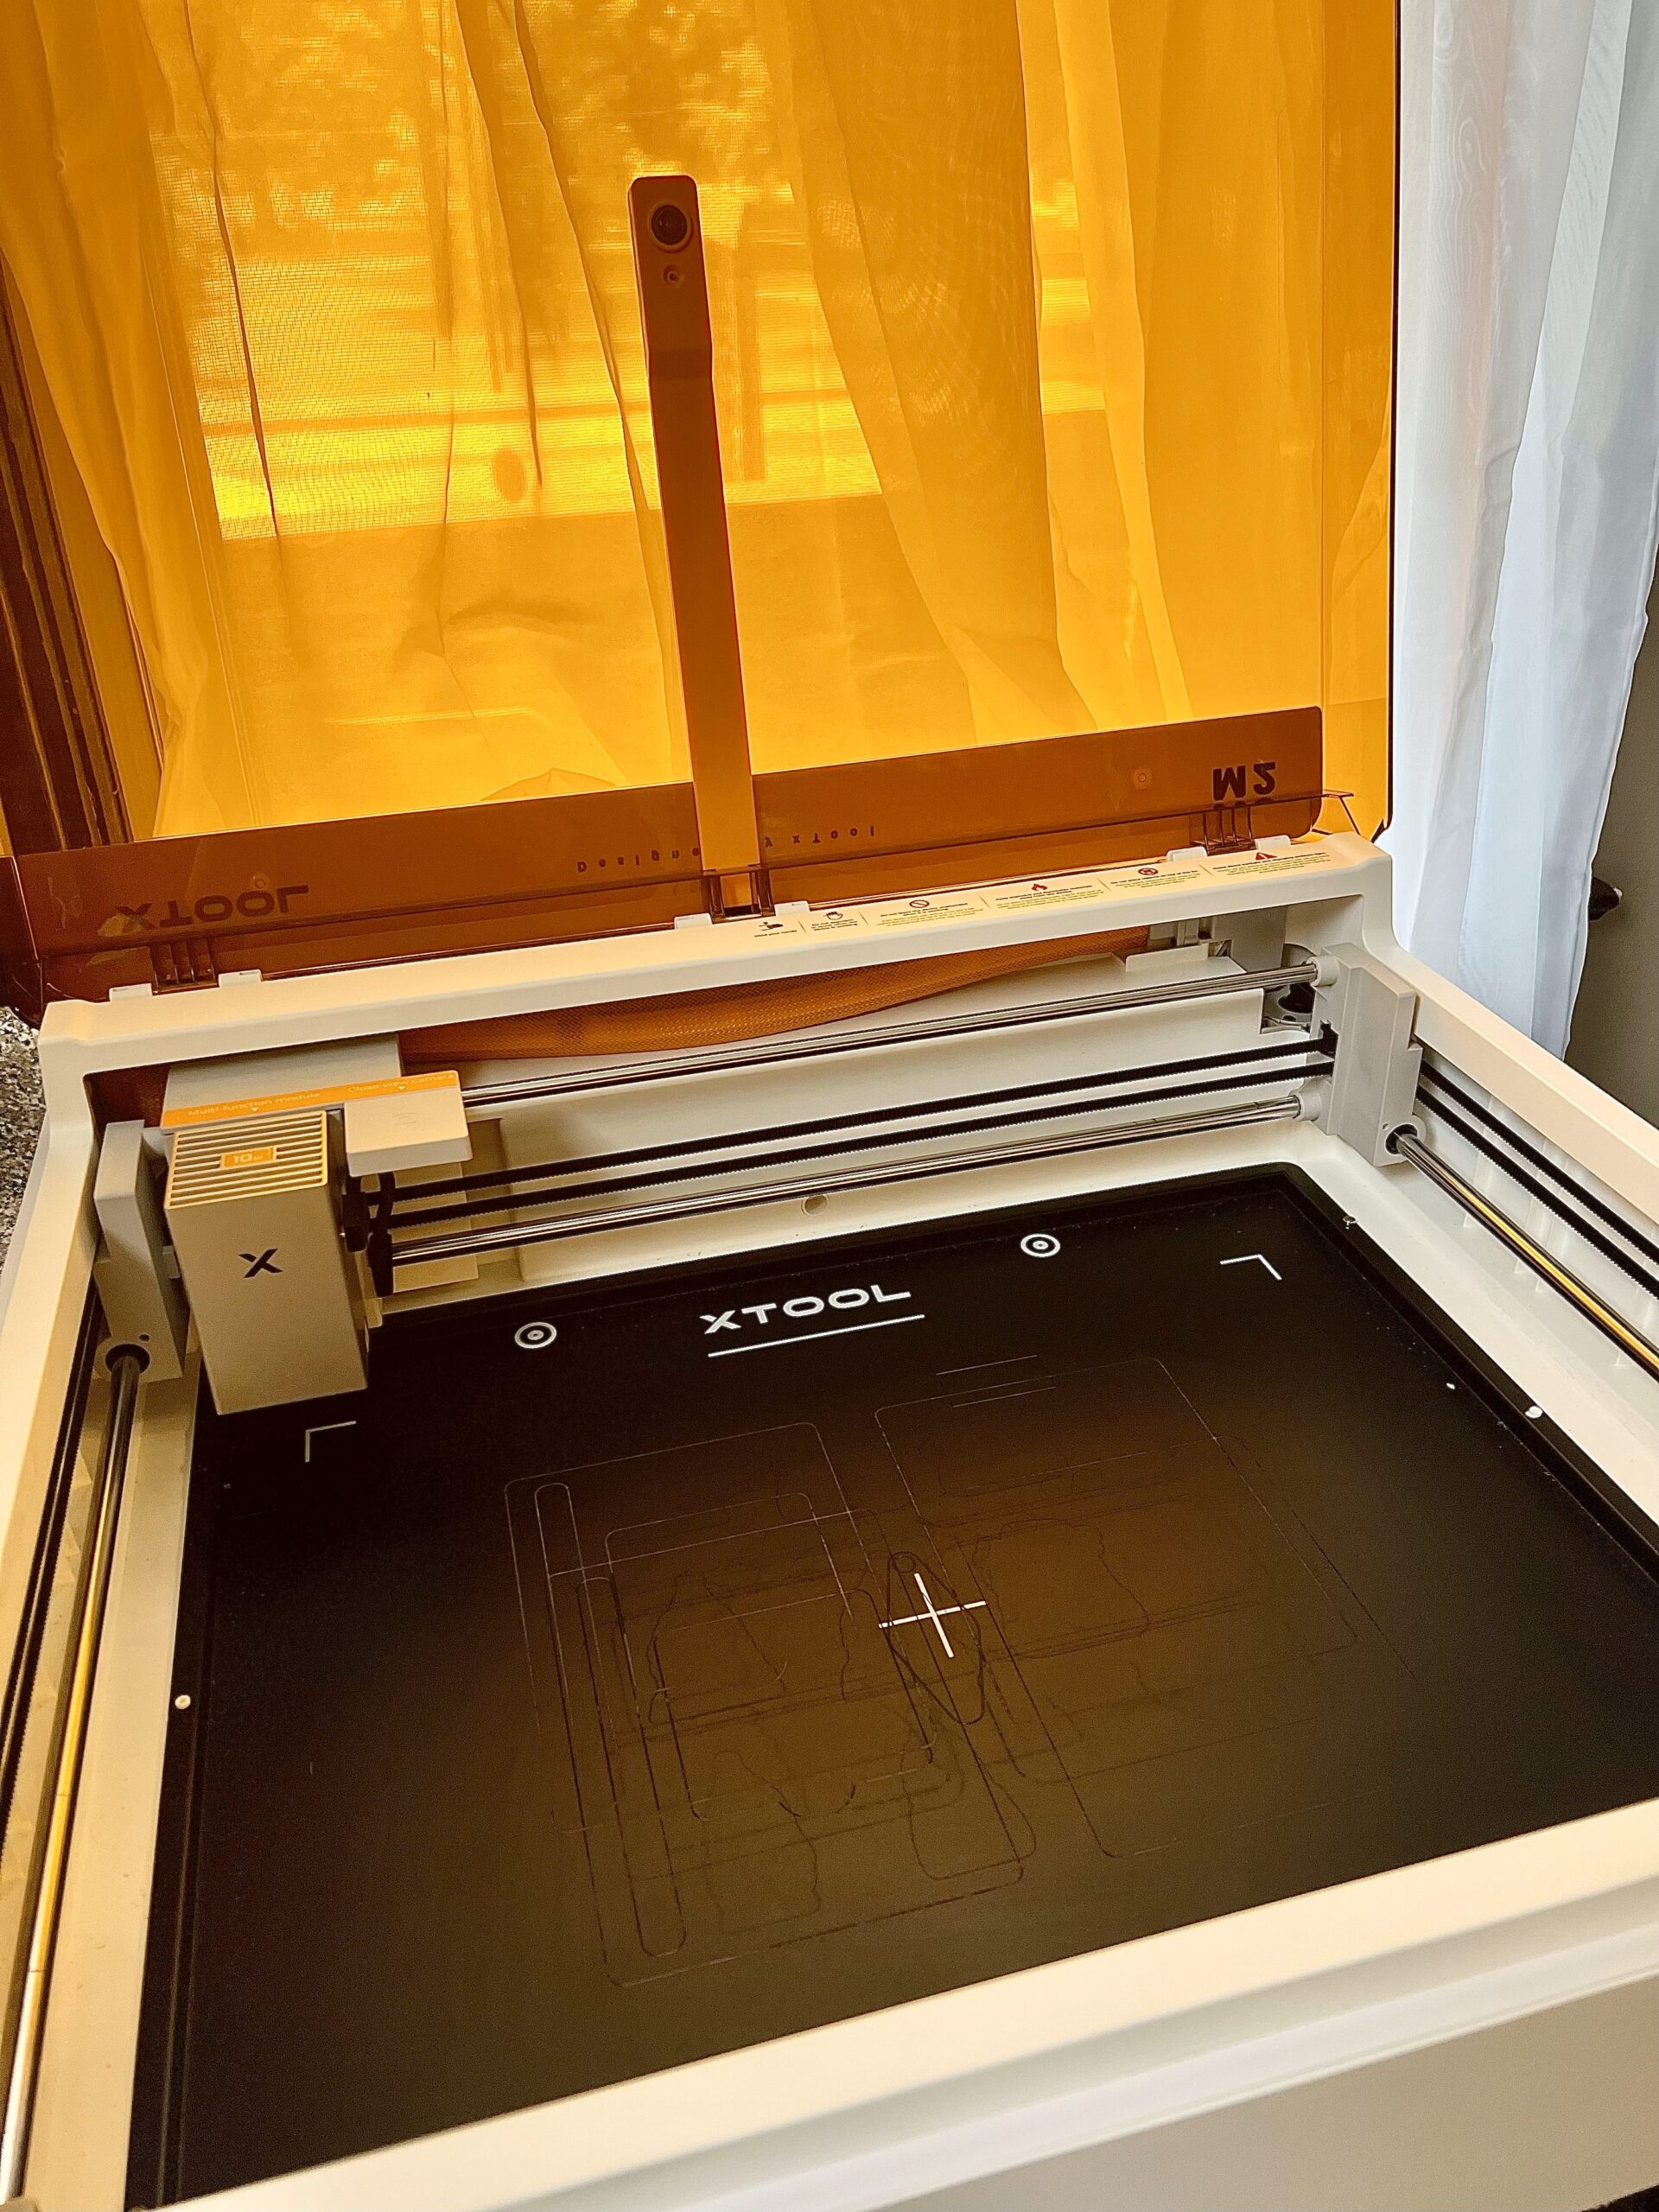
Instead of purchasing separate equipment for every type of project, the M2 offers multiple creative functions in one machine. Its enclosed design, camera-assisted positioning, and compatible software help make digital designs easier to turn into finished crafts.
Some of the projects you can explore include:
- Personalized wooden signs and ornaments
- Custom cupcake toppers
- Holiday decorations and garlands
- Engraved wooden gifts and keepsakes
- Leather keychains and personalized accessories
- Printed designs and stickers using compatible materials
- Custom drinkware projects using the appropriate rotary accessory and compatible laser settings
- Small-business products and personalized gifts
Why the xTool M2 Made My Holiday Gift Guide
One of the most exciting things about adding a laser machine to a craft room is being able to create designs that would be difficult to make by hand.
Imagine making personalized Christmas ornaments for every member of the family, custom wooden name signs, engraved keepsakes, or decorations for a birthday party. You can design projects for your own home, make thoughtful gifts, or create products to sell.
For someone who loves DIY projects, the possibilities go well beyond a single holiday or craft trend. Instead of buying someone a single craft kit they’ll use once, you’re giving them a tool they can continue using for project after project.
How Do You Use the xTool M2
If you’ve never used a laser cutter before, the idea of operating one can sound intimidating. But I was able to start my first project right after putting the machine together.
Here’s the basic process:
Step 1: Open xTool Studio and select your project
Start by deciding what you want to make. The M2 works with xTool Studio, xTool’s design and control software. You can import your design, create your project, adjust settings, and prepare it for cutting, engraving, or printing. xTool studio offers a variety of templates and tutorials as well as offering recommended settings for selected materials.
For beginners, having software with templates and recommended settings can make getting started much less intimidating.
Step 2: Position your design
Put your material in the machine and postion it with the magnetic clamps onto the work surface. Use the camera preview to position your design where you want it on your material. The camera is espcially helpful when you’re working with smaller pieces or trying to get the most out of a sheet of material.
Step 3: Select your material settings
Choose the appropriate material and processing settings. Your settings will depend on what your doing and what material your using. Always follow xTool’s recommended settings and test unfamiliar materials before committing to a larger project.
Step 4: Start your project
Once everything is positioned and you’ve checked your design you can start the machine. Then let the M2 do the work. For a project involving printing and cutting, the machine can combine those steps into a streamlined workflow. It takes just seconds to switch out from the print module to the laser module with the magnetic clasps. Afterward, remove the finished piece and add any final touches, such as ribbon, embellishments, or assembly.
My xTool M2 Projects
Of course, the best part of having a laser machine is actually making things! I’ve used my M2 for serveral projects so far and I’ve shared the tutorials here with you. They also include the PNG images for you to upload into xTool Studio to customize yourself.
So far I’ve made:

Custom Cupcake Toppers

Vintage Inspired Halloween Garland

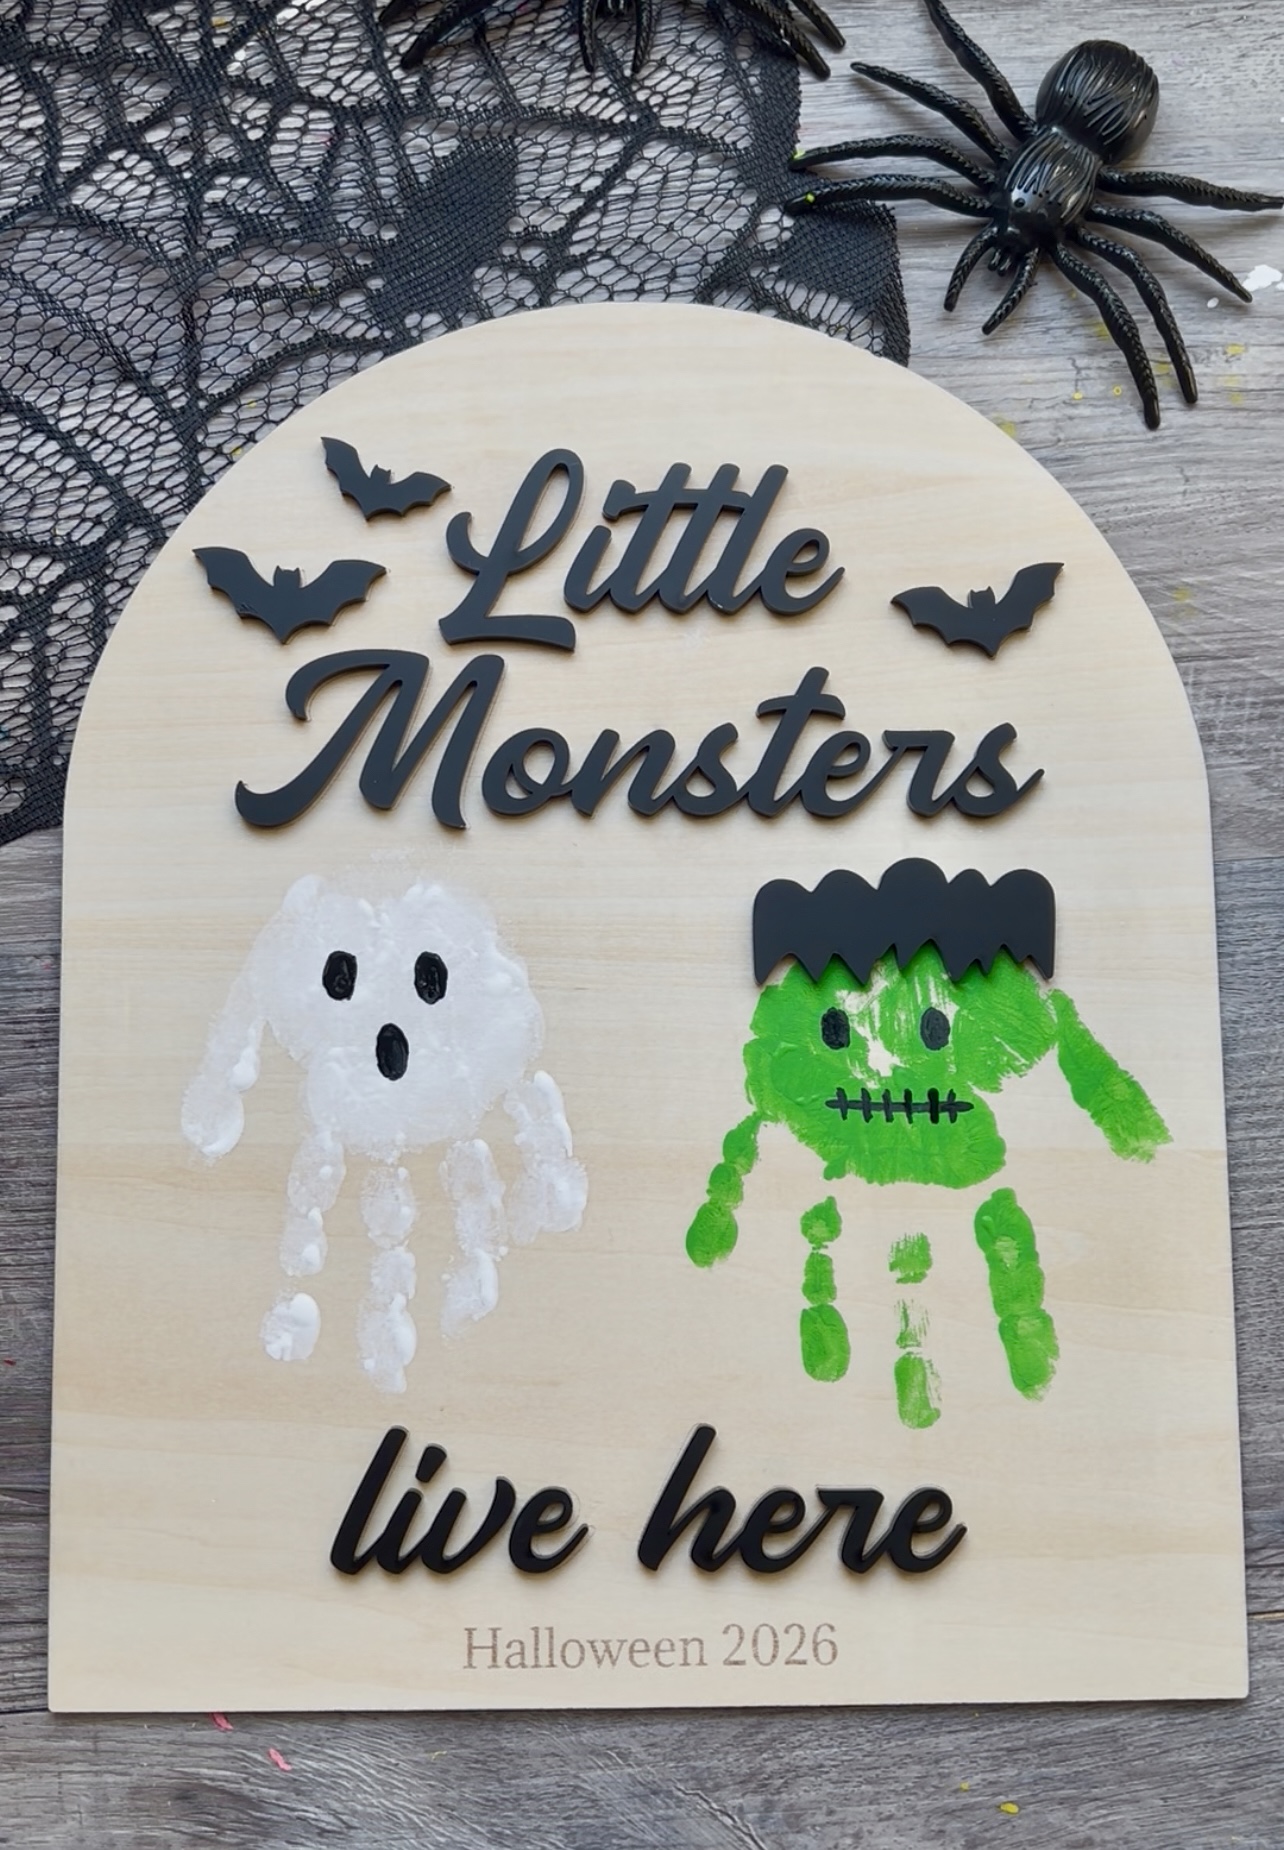
Little Monsters Halloween Handprint Sign
Is the xTool M2 Worth It?
The xTool M2 is worth considering if you want a machine that brings several creative functions into one workspace.
I especially like the range of possibilities it offers for personalized gifts, seasonal decorations, and party crafts. For someone who regularly creates DIY content, the ability to explore different materials and project styles can be a real advantage.
Additional Helpful M2 Resources
- xTool M2 Support Center – Find user guides, setup instructions, troubleshooting help, maintenance tips, and tutorials.
- Official xTool M2 Facebook Group
- xTool M2 material guide
